This Halloween bark is the antidote to those fancy, overly complicated treats. It’s messy in the best way—colorful, crunchy, and downright fun to make. I love how it feels like a little rebellion in the kitchen, breaking rules, mixing textures, and making something spooky and sweet at the same time.
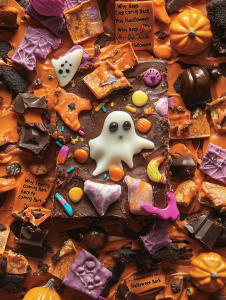
Why I Keep Coming Back to This Halloween Bark
It’s unpredictable, colorful chaos that always turns out pretty and delicious. There’s satisfaction in quickly transforming simple ingredients into something visually striking. Plus, it’s a perfect, no-fuss project for kids or a last-minute party treat. Every time, I find new topping combos, and that keeps it fresh and fun.
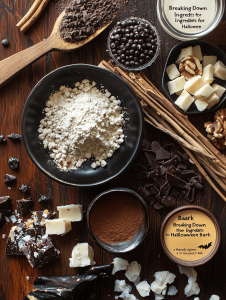
Breaking Down the Ingredients for Halloween Bark
- Chocolate (dark or milk): The base—melts smooth, provides that glossy charm, and a hint of richness.
- Toppings (candy, cookies, sprinkles): Colorful, crunchy bits that make each piece festive and fun.
- Edible glitter or shimmer powder: Adds a spooky sparkle, catching light and eye alike.
- Sea salt flakes: A tiny pinch amplifies sweetness, balances flavors, and adds a little crunch.
- Optional: White chocolate or contrasting drizzle: For decorative contrast—drizzle while still warm for a marbled, spooky effect.
Tools of the Trade for Halloween Bark
- Double boiler or microwave: Gently melts chocolate without scorching.
- Spatula: Spreads melted chocolate evenly.
- Baking sheet with parchment or silicone mat: Holds the chocolate and toppings during chilling.
- Knife or breaker: Breaks the hardened bark into rustic pieces.
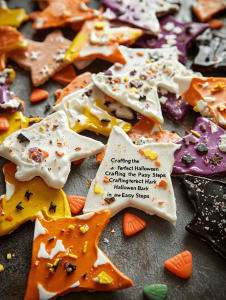
Crafting the Perfect Halloween Bark in a Few Easy Steps
Step 1: Line a baking sheet with parchment paper or silicone mat.
Step 2: Melt your chocolate in a double boiler or microwave, stirring until smooth.
Step 3: Pour melted chocolate onto the prepared sheet, spreading evenly with a spatula.
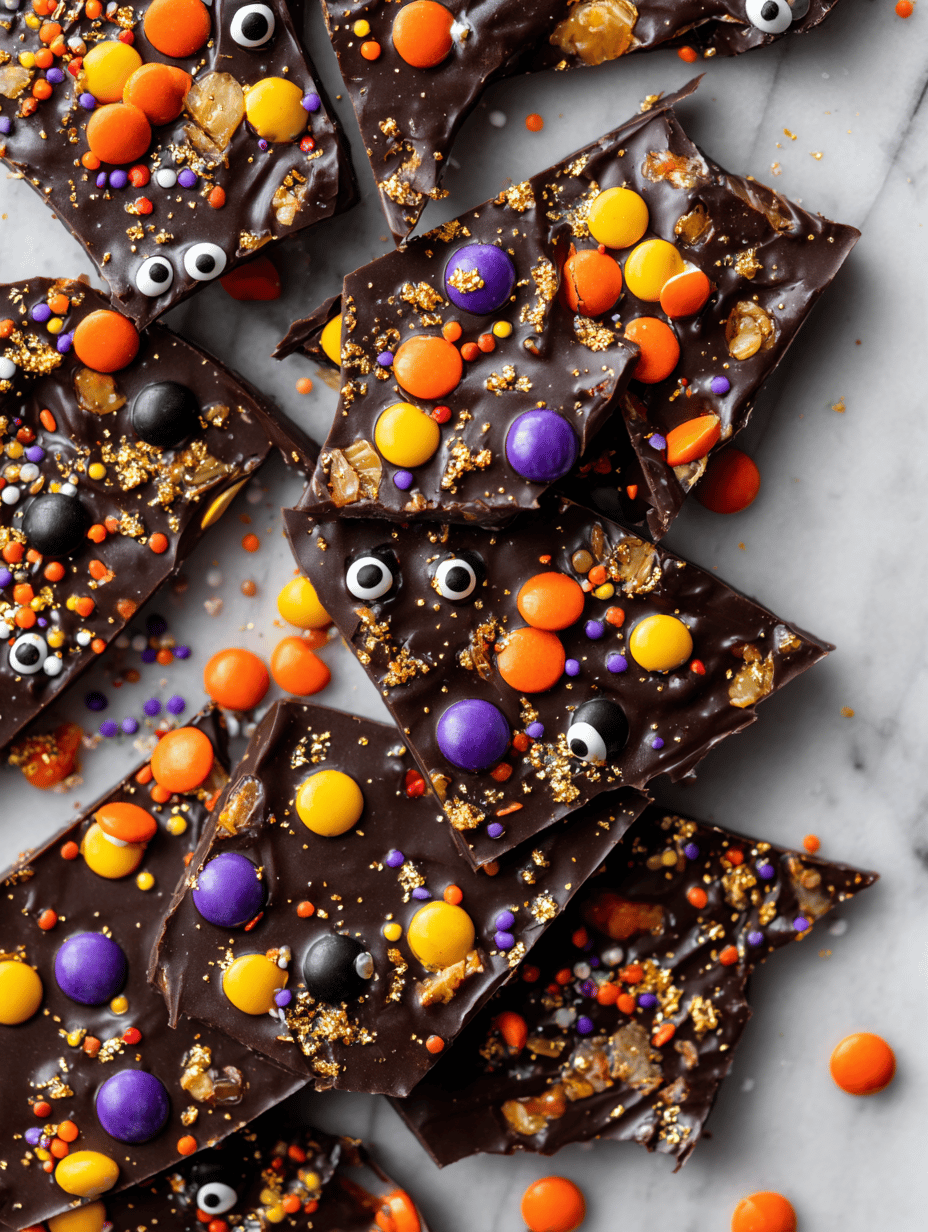
Step 4: Add your spooky toppings—think crushed cookies, candy eyes, or edible glitter—while the chocolate is still warm.
Step 5: Chill in the fridge for at least 30 minutes, until firm and crisp.
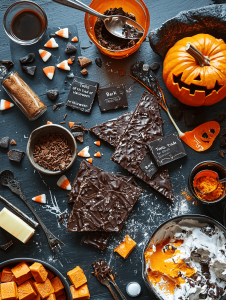
Step 6: Break into irregular shards, revealing colorful, glossy surfaces.
Step 7: Optional: drizzle with contrasting melted chocolate for extra visual punch.
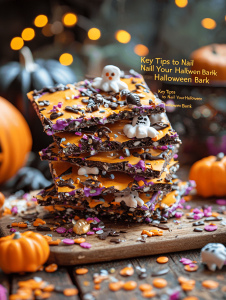
Key Tips to Nail Your Halloween Bark
- Ensure chocolate is fully melted but not overheated to avoid blooming.
- Spread the chocolate as evenly as possible for a uniform snap.
- Add toppings quickly while the chocolate is still warm so they stick.
- Check the fridge after 30 minutes; it should be firm and shiny.
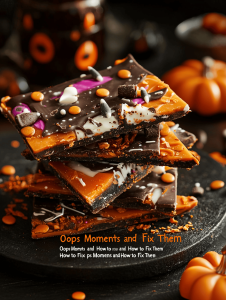
Oops Moments and How to Fix Them
- Chocolate looks dull and streaky.? Melted chocolate blooms and gets dull → Stir in a tiny bit of vegetable oil to smooth.
- Toppings falling off.? Toppings slide off → Press them in gently while the chocolate is still warm.
- Bark is too brittle.? Chill too long and bark gets too hard → Let it sit at room temp for 5 minutes before breaking.
- Chocolate becomes grainy.? Chocolate overheats and seizes → Add a splash of warm milk and stir gently.
Halloween Bark
Ingredients
Equipment
Method
- Line a baking sheet with parchment paper or a silicone mat to prepare for melting the chocolate.
- Gently melt the chocolate in a double boiler or microwave, stirring every 20 seconds until smooth and glossy, and the chocolate is fully melted.
- Pour the melted chocolate onto the prepared baking sheet, using a spatula to spread it out evenly into a thin, smooth layer.
- Add your colorful toppings—sprinkles, candies, crushed cookies, and edible glitter—while the chocolate is still warm, pressing them lightly into the surface so they adhere.
- Sprinkle a tiny pinch of sea salt flakes over the toppings for a flavor boost, and dust with edible shimmer powder for a sparkling effect.
- If desired, melt white chocolate and drizzle it over the surface in a zigzag pattern for a marbled, spooky look.
- Place the baking sheet in the fridge and chill for at least 30 minutes until the chocolate is firm and crisp to the touch.
- Once chilled, gently break the hardened bark into rustic, irregular shards using a knife or your hands.
- Arrange the broken pieces on a serving platter, showcasing the colorful toppings and glossy surface, ready to enjoy or share.
Notes

Welcome to Exploreing New Tastes. I’m really glad you found your way here. I’m a food blogger driven by curiosity more than perfection. I think about flavors constantly, how they change across cultures, how a small tweak can completely shift a dish, and how food tells stories long before anyone sits down to eat. This blog is where I document that curiosity, one recipe and one experience at a time.