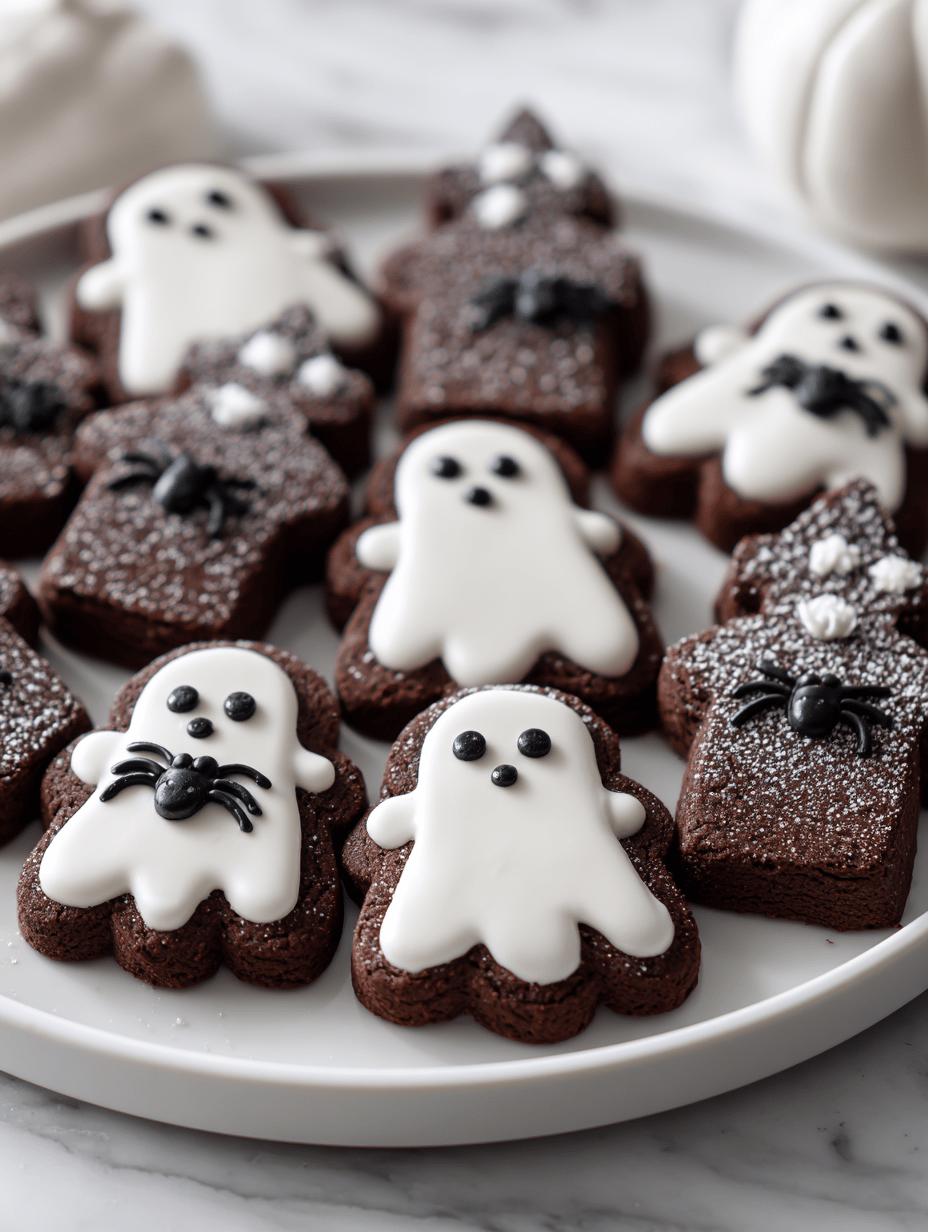
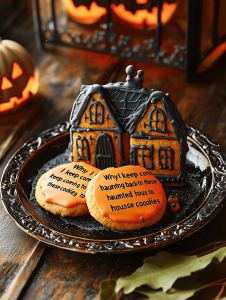
There’s something oddly satisfying about baking cookies that look like haunted houses. Maybe it’s the thrill of turning simple ingredients into spooky, edible art that sparks the imagination. Or perhaps it’s the smoky aroma that fills the kitchen, promising a treat that’s both fun and comforting. Whatever the reason, these cookies bring a bit of playful chaos to baking, making every step a small adventure.
Why I keep coming back to these haunted house cookies
Their imperfect, cracked surfaces remind me of childhood Halloween nights. The smoky aroma is oddly nostalgic, stirring memories of cozy autumn evenings. Plus, decorating them is a chaotic joy—no two are ever the same. That unpredictable charm keeps me returning, especially when I need a little playful escape in the kitchen.
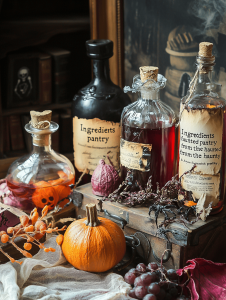
Ingredients from the haunted pantry
- Butter: Rich, creamy base that gives cookies their tender crumb. Swap with margarine if dairy-free.
- Granulated sugar: Sweetens and helps with browning. Brown sugar adds a deeper caramel note.
- Eggs: Bind everything together, giving structure and stability.
- Vanilla extract: Adds warmth and depth. Use pure vanilla for a smoky, caramel aroma.
- Flour: The skeletal framework of your cookies. All-purpose works best, but cake flour will make them lighter.
- Chocolate for decoration: Melts into a glossy, dark drizzle, like spilled ink. Use white chocolate for a ghostly glow.
- Spooky sprinkles: Add texture and color—think tiny bats, pumpkins, or stars.
Tools of the spectral trade
- Mixing bowls: Combine ingredients smoothly and efficiently.
- Electric mixer: Cream butter and sugar with less effort.
- Baking sheet: Provide the perfect base for baking.
- Parchment paper: Prevent sticking and easy cleanup.
- Decorating brushes: Apply melted chocolate or icing precisely.
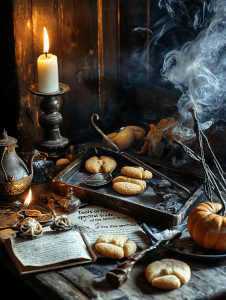
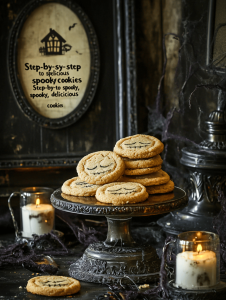
Step-by-step to spooky, delicious cookies
Step 1: Preheat your oven to 175°C (350°F).
Step 2: Line a baking sheet with parchment paper.
Step 3: Cream together butter and sugar until light and fluffy, about 3 minutes.
Step 4: Add eggs one at a time, mixing well after each.
Step 5: Stir in vanilla extract and a pinch of salt.
Step 6: Gradually mix in flour until just combined.
Step 7: Using a tablespoon, scoop dough onto the prepared baking sheet, spacing evenly.
Step 8: Bake for 12-15 minutes, until edges are golden and creepy cracks appear.
Step 9: Let cookies cool on the sheet for 5 minutes, then transfer to a wire rack.
Step 10: Decorate with melted chocolate and spooky sprinkles once cooled.
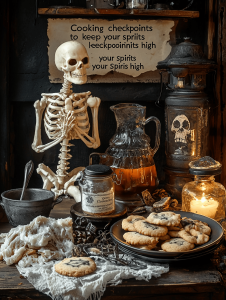
Cooking checkpoints to keep your spirits high
- Cookies should be golden around the edges and slightly cracked on top.
- If edges darken too quickly, lower oven temperature slightly.
- The cookies should feel firm but not hard when you gently press the center.
- Chocolate decorations should melt smoothly without burning—keep the oven door closed while decorating.
Beware the spectral pitfalls: mistakes and fixes
- Cookies stuck to the sheet.? Use parchment paper to prevent sticking.
- Burnt edges before cookies set.? Lower oven temp if edges darken fast.
- Tough cookies from overworked dough.? Don’t overmix the dough.
- Difficult shaping due to sticky dough.? Add a pinch more flour if dough is too sticky.
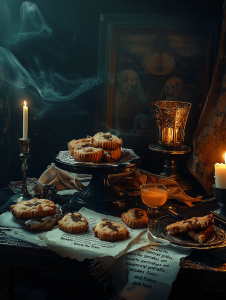
Haunted House Cookies
Ingredients
Equipment
Method
- Preheat your oven to 175°C (350°F) and line a baking sheet with parchment paper — this helps the cookies bake evenly and prevents sticking.
- In a large mixing bowl, use an electric mixer to cream the softened butter and sugar together until the mixture is light, fluffy, and fragrant — about 3 minutes. You’ll notice it turns pale and slightly increased in volume.
- Add the eggs one at a time, mixing well after each addition. The mixture should become smooth and slightly thicker, with a glossy appearance.
- Stir in the vanilla extract and a pinch of salt, combining thoroughly until you smell a warm, inviting aroma.
- Gradually add the flour to the mixture, mixing on low speed just until the dough comes together — it should be soft but manageable, not sticky.
- Using a tablespoon or cookie scoop, portion out the dough onto the prepared baking sheet, spacing each dollop about 2 inches apart to allow for spreading.
- Bake the cookies for 12-15 minutes, or until they are golden around the edges and develop charming cracks on top, which resemble haunted house roofs.
- Remove the cookies from the oven and let them cool on the baking sheet for about 5 minutes — this helps them firm up and makes decorating easier.
- Transfer the cookies to a wire rack to cool completely. Once cooled, use a decorating brush to apply melted chocolate carefully over the cookies, creating spooky, dripping effects.
- Sprinkle spooky decorations like tiny bats, pumpkins, or stars on the chocolate before it sets — this adds texture and playful Halloween flair.
- Let the decorated cookies sit until the chocolate is firm and glossy, then enjoy these charming haunted house treats with a glass of your favorite autumn drink.
Notes

Welcome to Exploreing New Tastes. I’m really glad you found your way here. I’m a food blogger driven by curiosity more than perfection. I think about flavors constantly, how they change across cultures, how a small tweak can completely shift a dish, and how food tells stories long before anyone sits down to eat. This blog is where I document that curiosity, one recipe and one experience at a time.