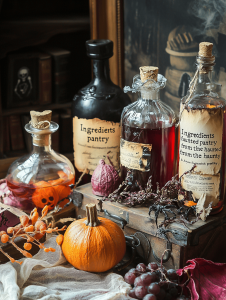
Ingredients
Equipment
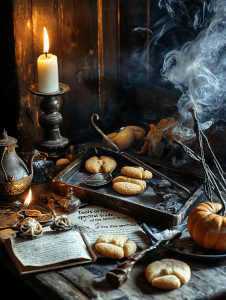
Method
- Preheat your oven to 175°C (350°F) and line a baking sheet with parchment paper — this helps the cookies bake evenly and prevents sticking.
- In a large mixing bowl, use an electric mixer to cream the softened butter and sugar together until the mixture is light, fluffy, and fragrant — about 3 minutes. You’ll notice it turns pale and slightly increased in volume.
- Add the eggs one at a time, mixing well after each addition. The mixture should become smooth and slightly thicker, with a glossy appearance.
- Stir in the vanilla extract and a pinch of salt, combining thoroughly until you smell a warm, inviting aroma.
- Gradually add the flour to the mixture, mixing on low speed just until the dough comes together — it should be soft but manageable, not sticky.
- Using a tablespoon or cookie scoop, portion out the dough onto the prepared baking sheet, spacing each dollop about 2 inches apart to allow for spreading.
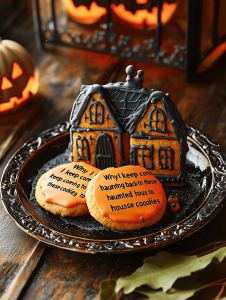
- Bake the cookies for 12-15 minutes, or until they are golden around the edges and develop charming cracks on top, which resemble haunted house roofs.
- Remove the cookies from the oven and let them cool on the baking sheet for about 5 minutes — this helps them firm up and makes decorating easier.
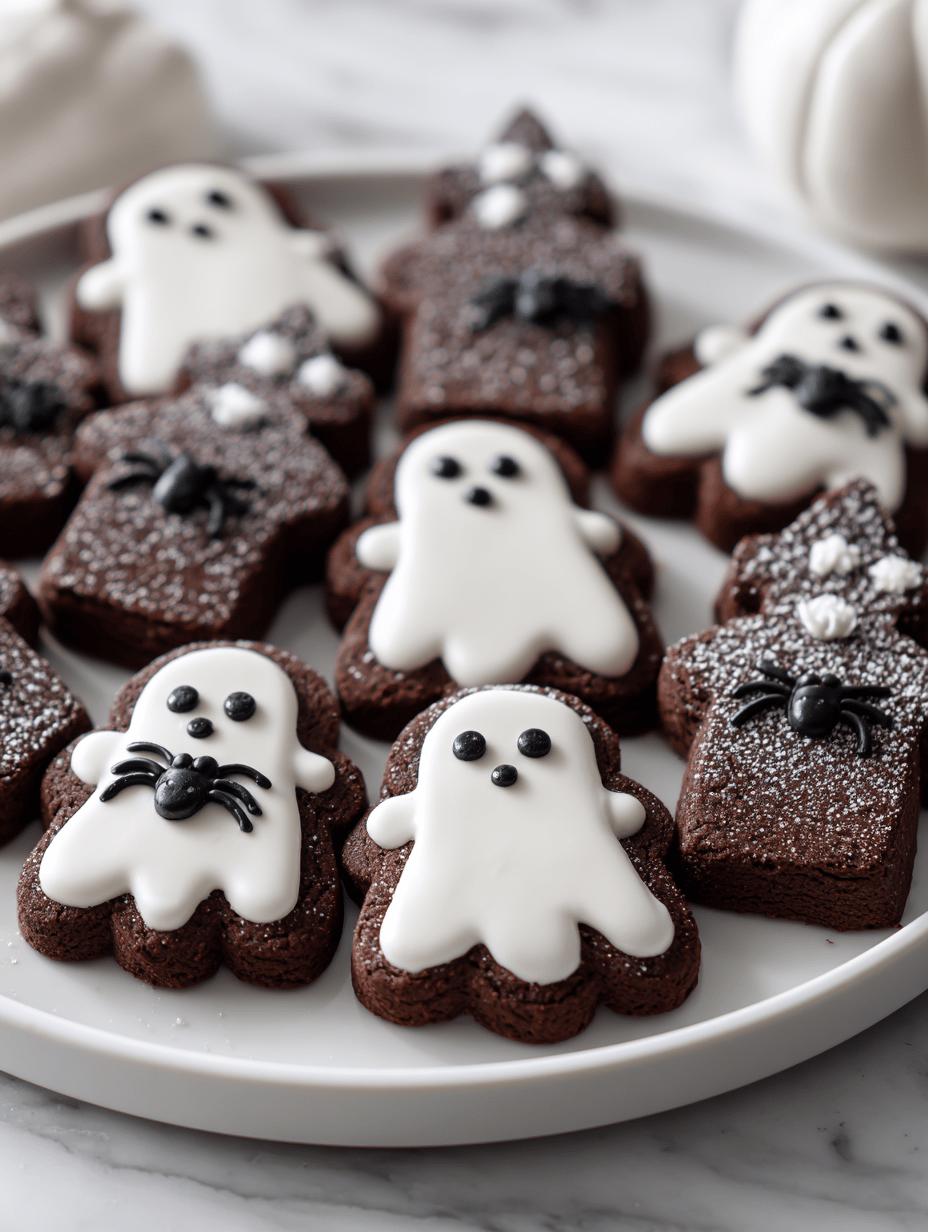
- Transfer the cookies to a wire rack to cool completely. Once cooled, use a decorating brush to apply melted chocolate carefully over the cookies, creating spooky, dripping effects.
- Sprinkle spooky decorations like tiny bats, pumpkins, or stars on the chocolate before it sets — this adds texture and playful Halloween flair.
- Let the decorated cookies sit until the chocolate is firm and glossy, then enjoy these charming haunted house treats with a glass of your favorite autumn drink.
Notes
For extra spooky effects, use white chocolate for ghostly accents or add edible glitter. Keep a close eye on baking time to prevent over-browning, and have fun decorating each unique haunted house!