I’ve always loved the idea of turning simple ingredients into a moment of warmth and memory. Mummy Brownies are my way of reconnecting with childhood—those afternoons when the house smelled of chocolate and chaos. There’s a kind of honest comfort in a fudgy, crackly topped square, no fuss, no pretenses.
Why I Keep Coming Back to Mummy Brownies
They remind me of lazy afternoons in my mom’s kitchen, with the smell of melting chocolate and the clatter of baking utensils. No matter how many fancy desserts I try, these brownies stay my go-to—simple, honest, a bit messy, but always satisfying. That nostalgic bite keeps pulling me back, especially when I need a quick dose of comfort.
Inside the Ingredients of Mummy Brownies
- Unsalted butter: Adds richness and a velvety texture. Substitute with coconut oil for a dairy-free version.
- Sugar: Creates that sweet, caramelized edge. Brown sugar adds a deeper flavor—use it if you have it.
- Eggs: Bind everything together. Flax eggs work if you’re vegan.
- Cocoa powder: Gives the brownies their deep chocolate flavor. Dutch-processed for smoothness, natural for a more tangy bite.
- Vanilla extract: Enhances the chocolate. A splash of almond extract can add a nutty note.
- Salt: Balances sweetness. Sea salt flakes on top make a nice finish.
- Baking powder: Helps with slight rise, but keep it minimal for that fudgy texture.
Tools & Equipment for Perfect Mummy Brownies
- Mixing bowls: For combining wet and dry ingredients.
- Whisk or spoon: To stir and fold the batter.
- 20cm (8-inch) square baking pan: To bake the brownies evenly.
- Parchment paper: For easy removal and clean edges.
- Cooling rack: To cool brownies without sogginess.
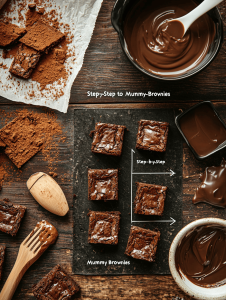
Step-by-Step to Mummy Brownies
Step 1: Preheat your oven to 175°C (350°F).
Step 2: Line a 20cm (8-inch) square baking pan with parchment paper, leaving edges hanging for easy lifting.
Step 3: In a microwave-safe bowl, melt 125g (1/2 cup) unsalted butter and 150g (3/4 cup) sugar together until just warm.
Step 4: Add 2 large eggs one at a time, stirring well after each. Stir in 1 tsp vanilla extract.
Step 5: In a separate bowl, sift together 50g (1/2 cup) cocoa powder, 1/4 tsp baking powder, and a pinch of salt.
Step 6: Gradually fold dry ingredients into wet until just combined. Don’t overmix.
Step 7: Pour batter into prepared pan. Bake for 20-25 minutes, or until a toothpick inserted into the center comes out with moist crumbs.
Step 8: Let cool in pan for 10 minutes, then lift out using parchment edges. Transfer to a wire rack to cool completely.
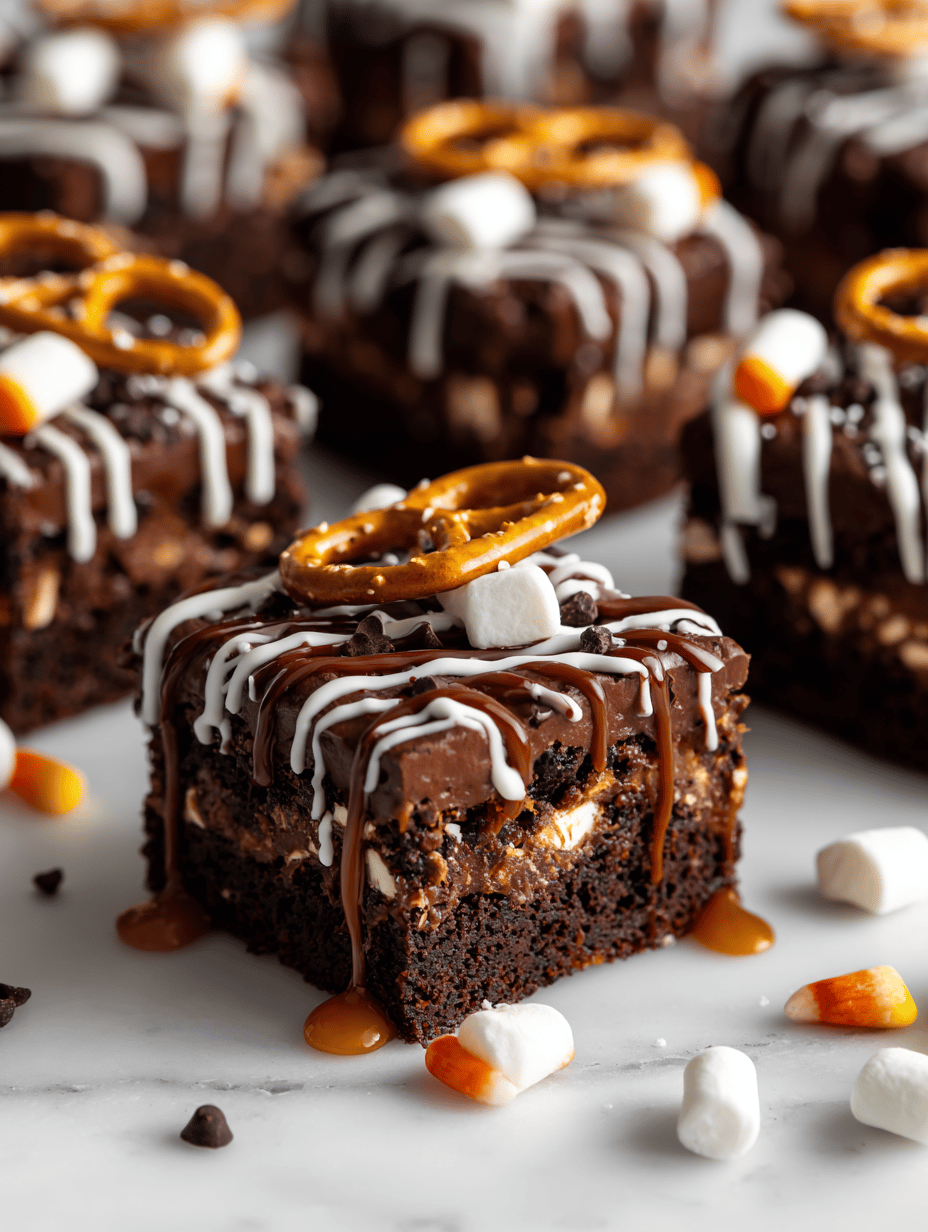
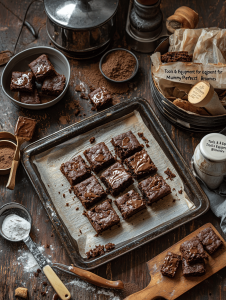
Step 9: Cut into squares when fully cooled. Serve with a dusting of powdered sugar or a scoop of vanilla ice cream.
Cooking Checkpoints & Tips
- The batter should be thick but pourable, not runny.
- Brownies are done when the edges pull slightly away from the pan.
- The top should crackle and have a shiny, slightly crisp surface.
- If the toothpick is sticky, bake for a few more minutes, but avoid overbaking.
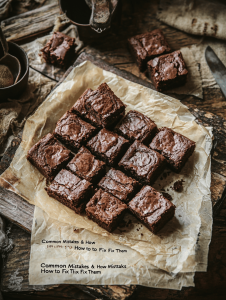
Common Mistakes & How to Fix Them
- Baking too long makes brownies dry and crumbly.? Undercooked center? Extend baking time by 2-3 minutes, check with a toothpick.
- Overmixing develops gluten, leading to a dense texture.? Soggy brownies? Don’t overmix the batter, and ensure the oven isn’t too hot.
- Too high heat causes rapid surface setting and cracks.? Cracked top? Slightly lower oven temperature or bake for a minute less.
- The batter is too runny or the pan is too small.? Batter spilling over? Use a larger pan or keep an eye during pouring.
Mummy Brownies
Ingredients
Equipment
Method
- Preheat your oven to 175°C (350°F) and line the baking pan with parchment paper, leaving overhang on the sides for easy removal.

- Melt the butter in a microwave-safe bowl until just warm, then stir in the sugar until combined and slightly shiny.
- Add the eggs one at a time, whisking well after each to create a smooth, thick batter. Stir in the vanilla extract for an inviting aroma.
- Sift together the cocoa powder, baking powder, and salt into a separate bowl, then gently fold these dry ingredients into the wet mixture until just combined. Avoid overmixing to keep the brownies fudgy.
- Pour the batter into the prepared pan, spreading evenly with a spatula. Tap the pan lightly on the counter to settle the batter and remove air bubbles.
- Bake for 20 to 25 minutes, until the edges pull away slightly from the sides and a toothpick inserted into the center comes out with moist crumbs. The top will crackle and have a shiny, crisp surface.
- Remove from the oven and let the brownies cool in the pan for about 10 minutes, then lift them out using the parchment overhang and transfer to a wire rack to cool completely.
- Once cooled, cut the brownies into squares and serve plain or dusted with powdered sugar. For extra indulgence, add a scoop of vanilla ice cream.
Notes

Welcome to Exploreing New Tastes. I’m really glad you found your way here. I’m a food blogger driven by curiosity more than perfection. I think about flavors constantly, how they change across cultures, how a small tweak can completely shift a dish, and how food tells stories long before anyone sits down to eat. This blog is where I document that curiosity, one recipe and one experience at a time.