Ingredients
Equipment
Method
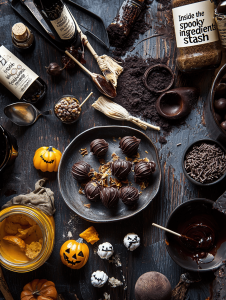
- Start by melting your chocolate in a heatproof bowl over a double boiler or in short bursts in the microwave, stirring until smooth and glossy. The chocolate should be silky and shiny—if it looks dull, keep warming gently.
- Use a spoon or piping bag to dollop a small amount of melted chocolate into each cavity of your cake crumb mixture, then nestle a surprise mini candy or a splash of flavored syrup inside each one. Cover with more cake crumbs to seal the surprises inside.
- Gently roll the mixture into balls, about the size of a golf ball, making sure each is firm and well-shaped. Place a cake pop stick into each ball at a slight angle, pressing gently to secure.
- Place the assembled cake pops on a parchment-lined tray and chill in the refrigerator for about 30 minutes until they’re firm and cold. This helps them hold their shape during coating.
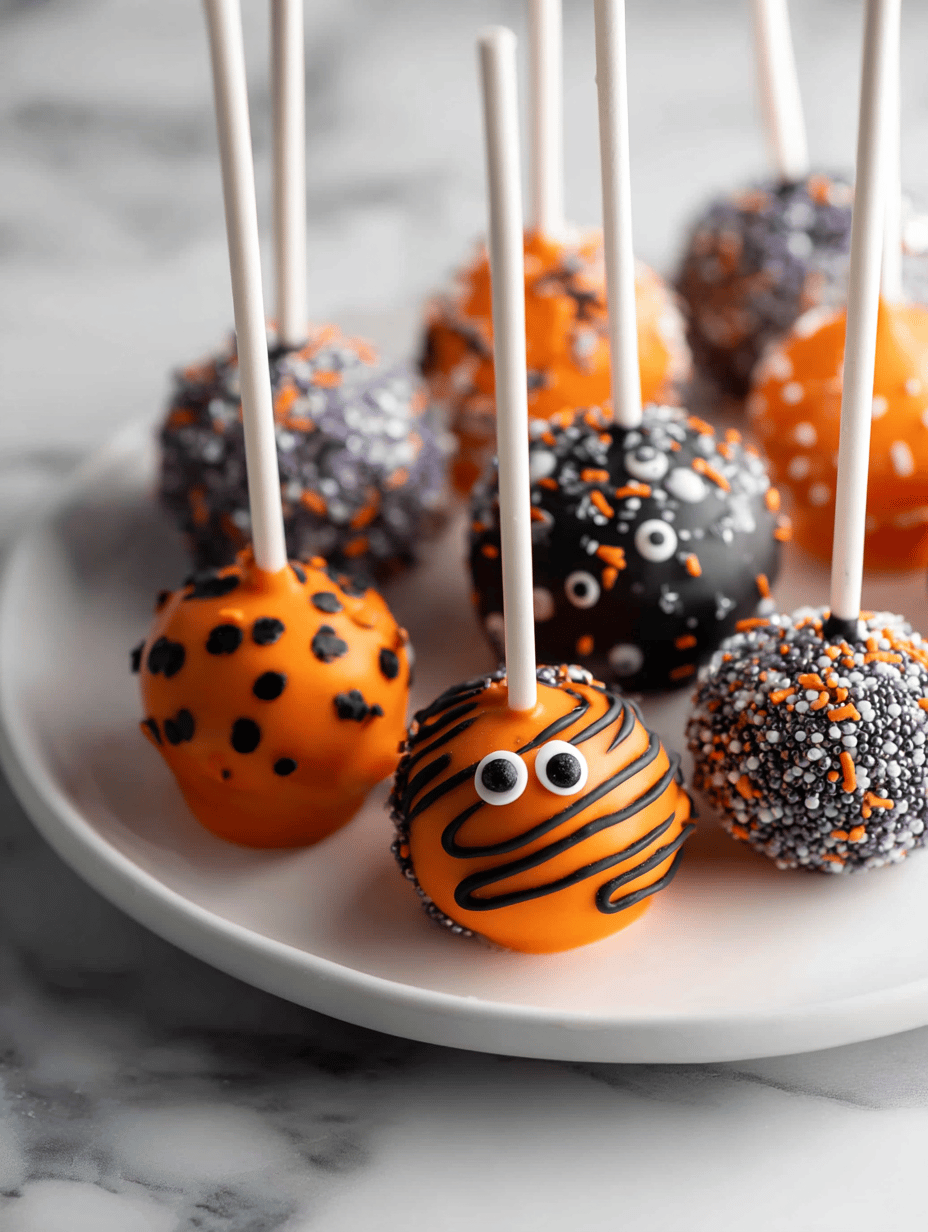
- Once chilled, dip each cake pop into the melted chocolate, swirling gently to coat evenly. Tap off excess chocolate and place the coated pops on a cooling rack.
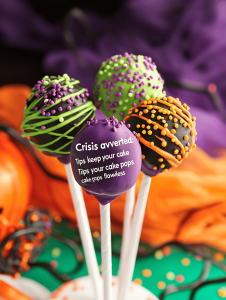
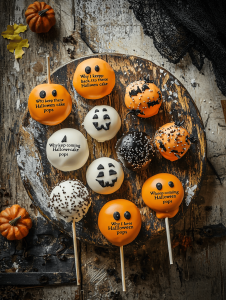
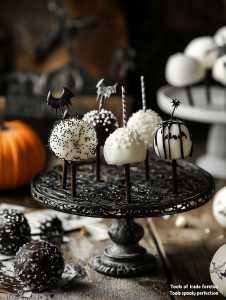
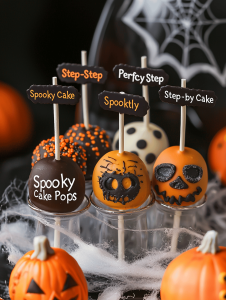
- Add sprinkles, edible glitter, or tiny candies onto the wet coating immediately after dipping for a festive and spooky look. Let the chocolate set completely at room temperature or in the fridge.
- Once the coating is firm and shiny, carefully remove the cake pops from the rack. Serve immediately or store in an airtight container until ready to enjoy.
Notes
Ensure chocolate is melted smoothly and not overheated. Chill the cake balls thoroughly before dipping to prevent cracking. Add decorations while the coating is still wet for best adhesion.