Spooky Goodness: Halloween Lasagna with a Ghoulish Twist
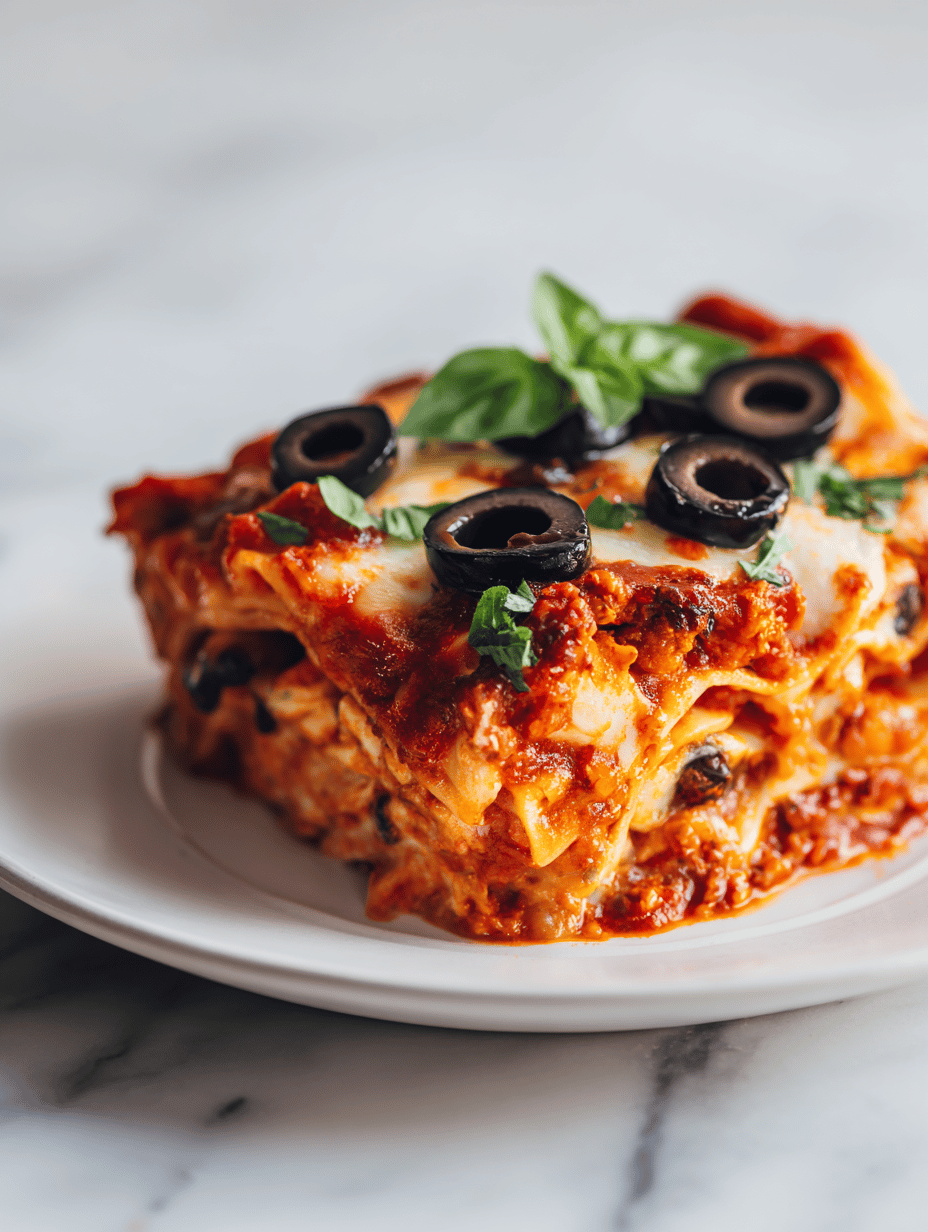
Halloween is a perfect excuse to play with food and turn dinner into a little celebration. I love the thrill of creating something that looks spooky but tastes familiar, like a lasagna with a twist. It’s a chance to get a little messy, have fun with flavors, and make something memorable for the table. Why … Read more