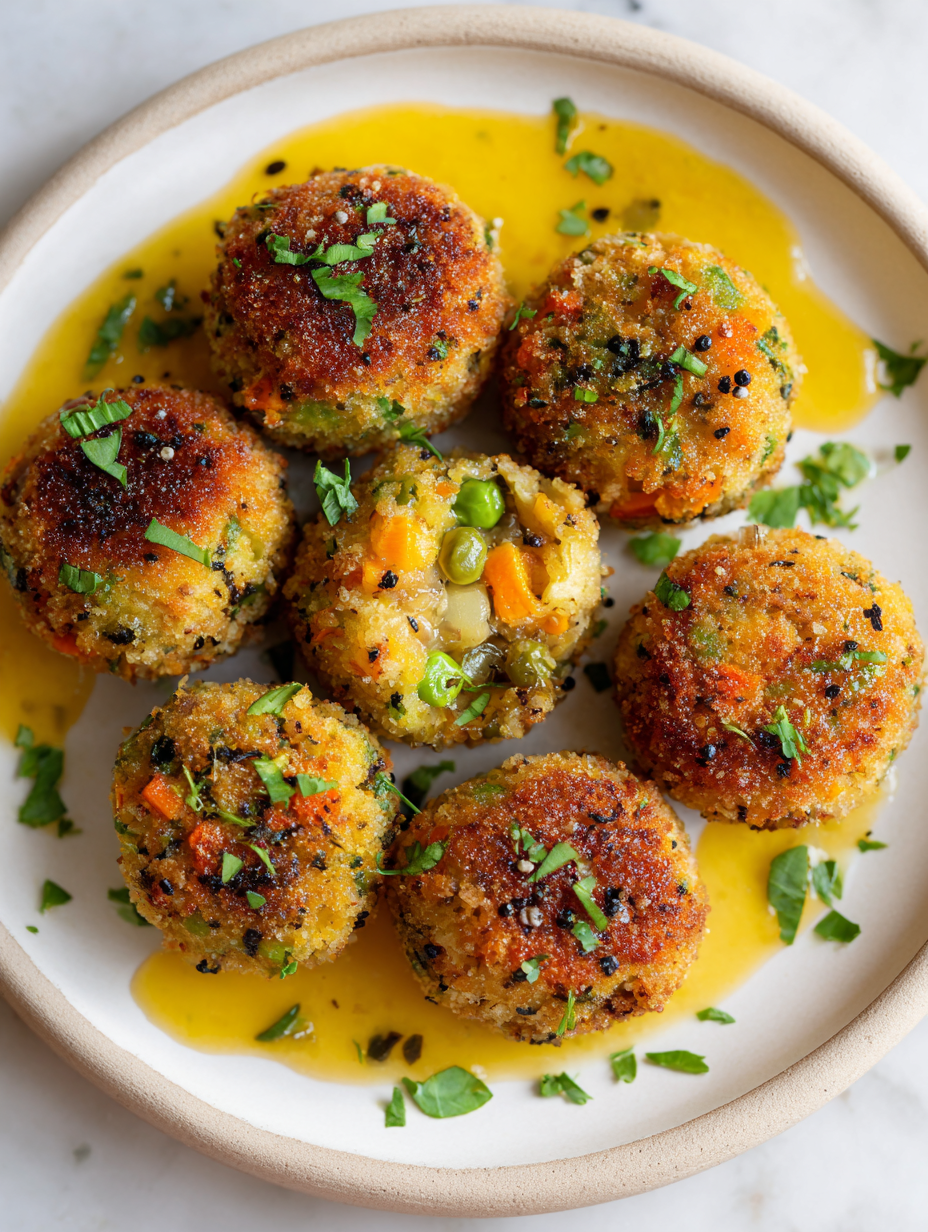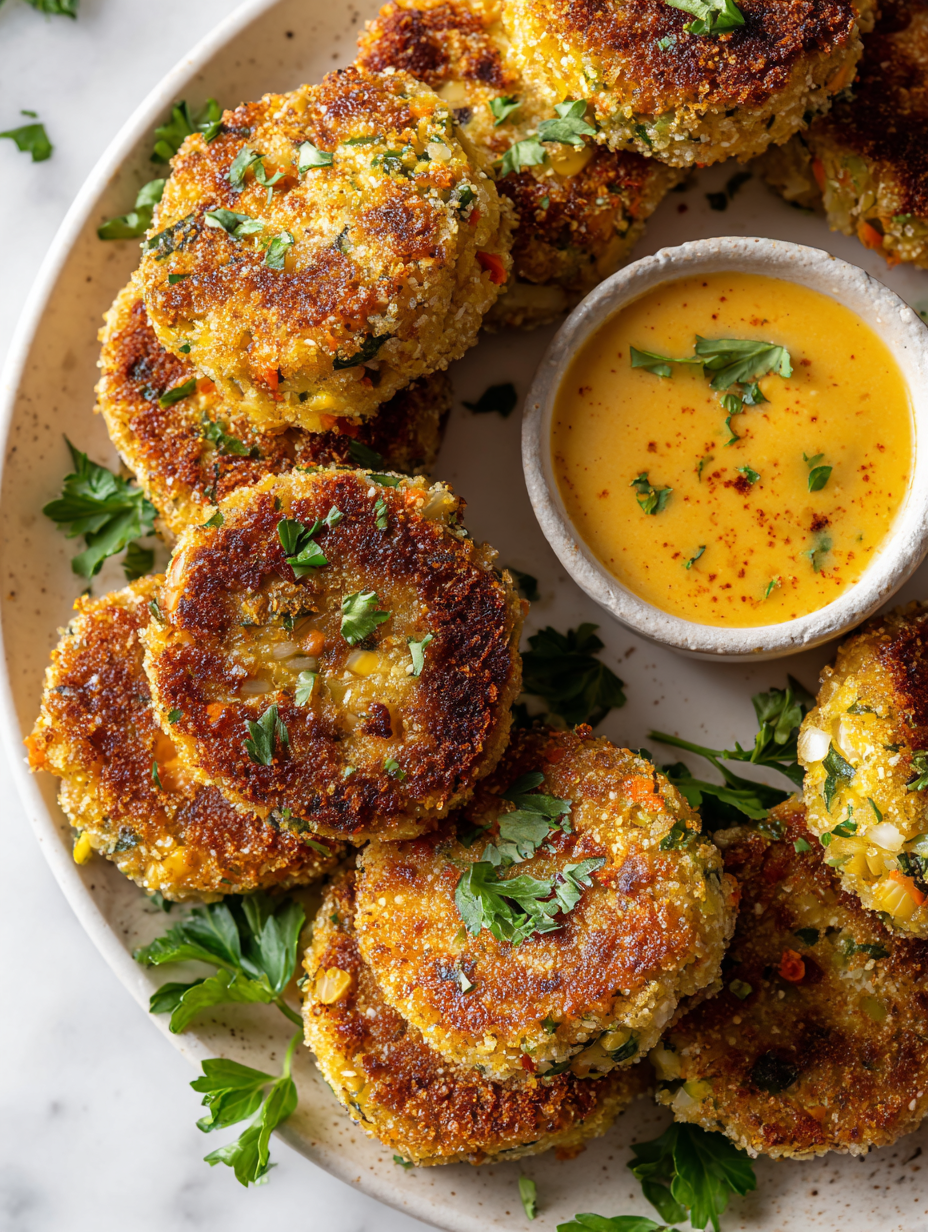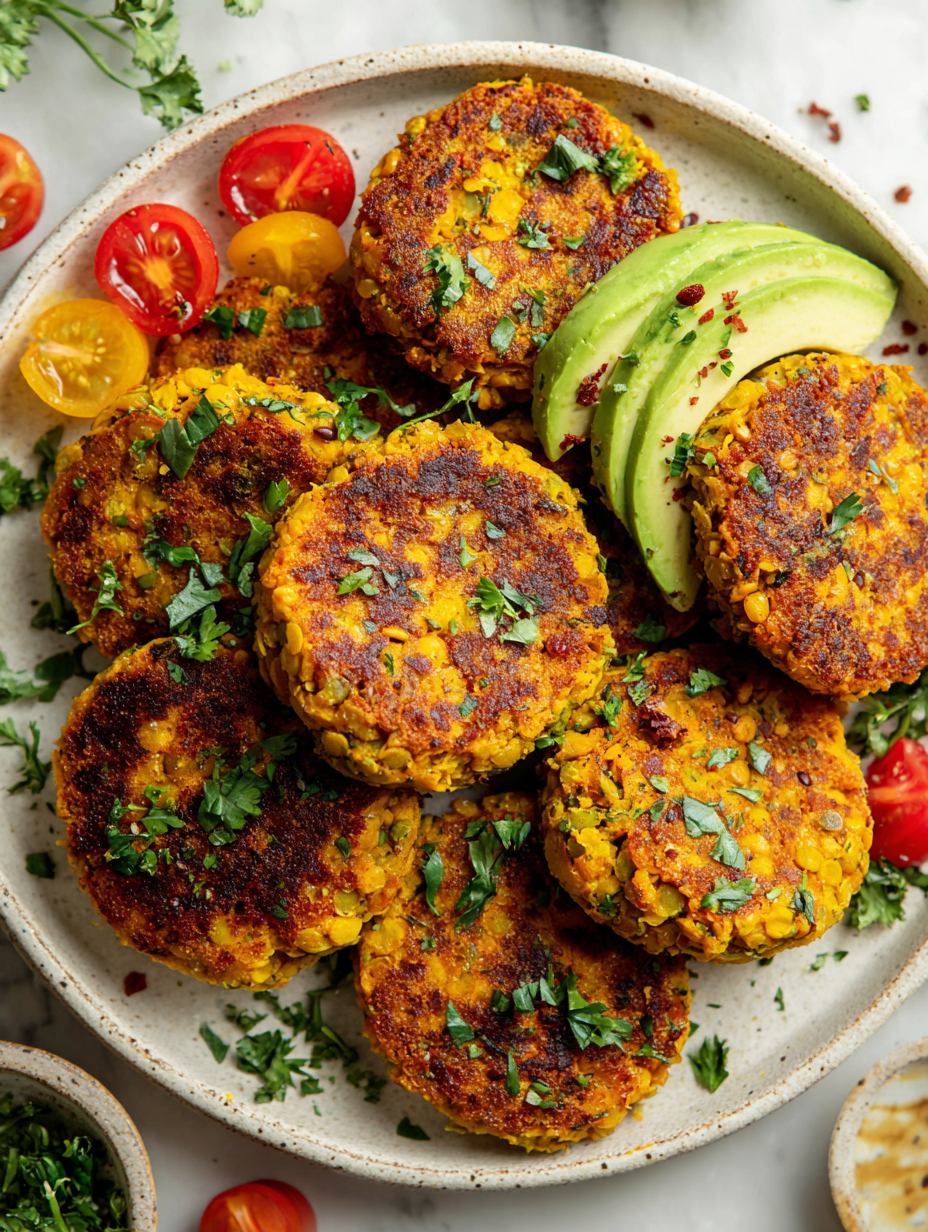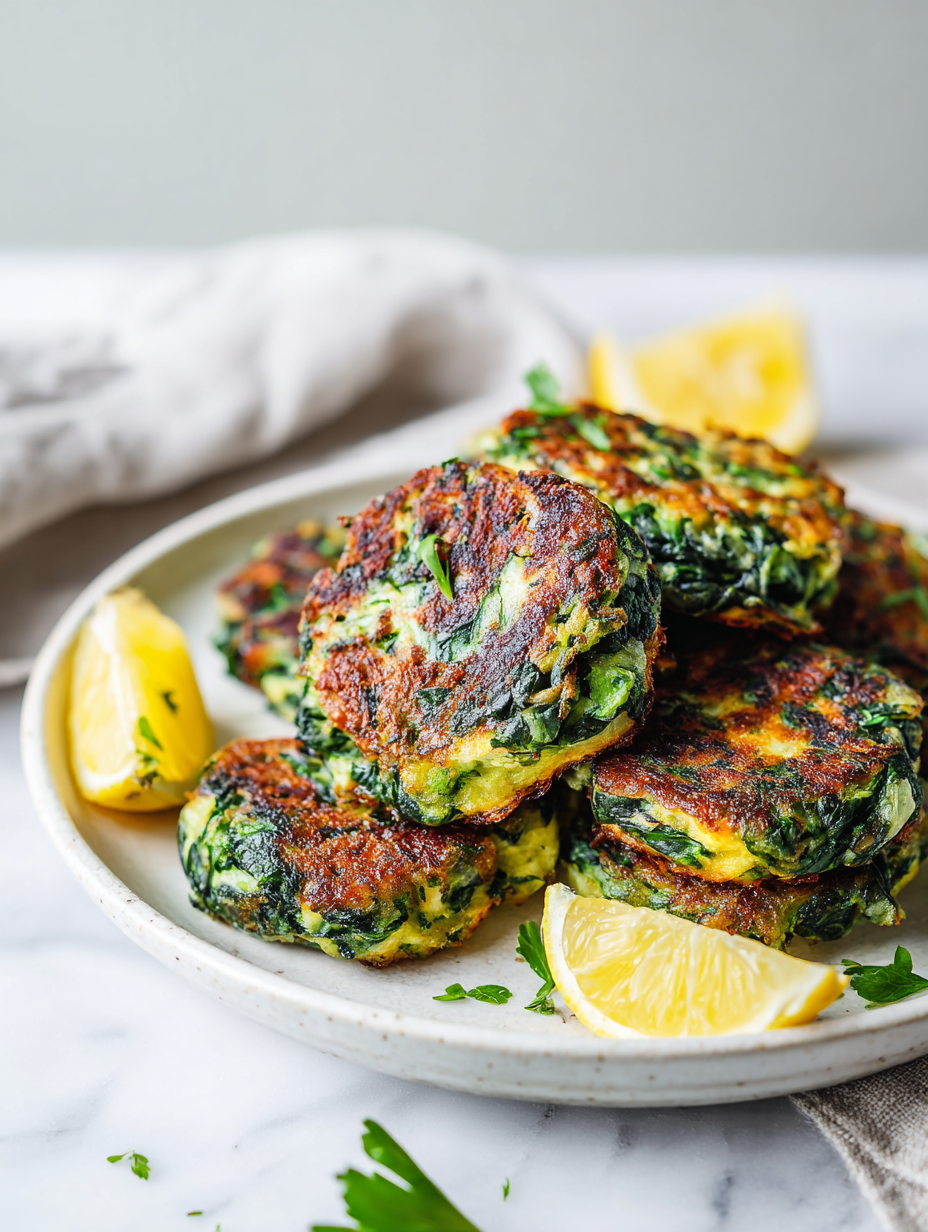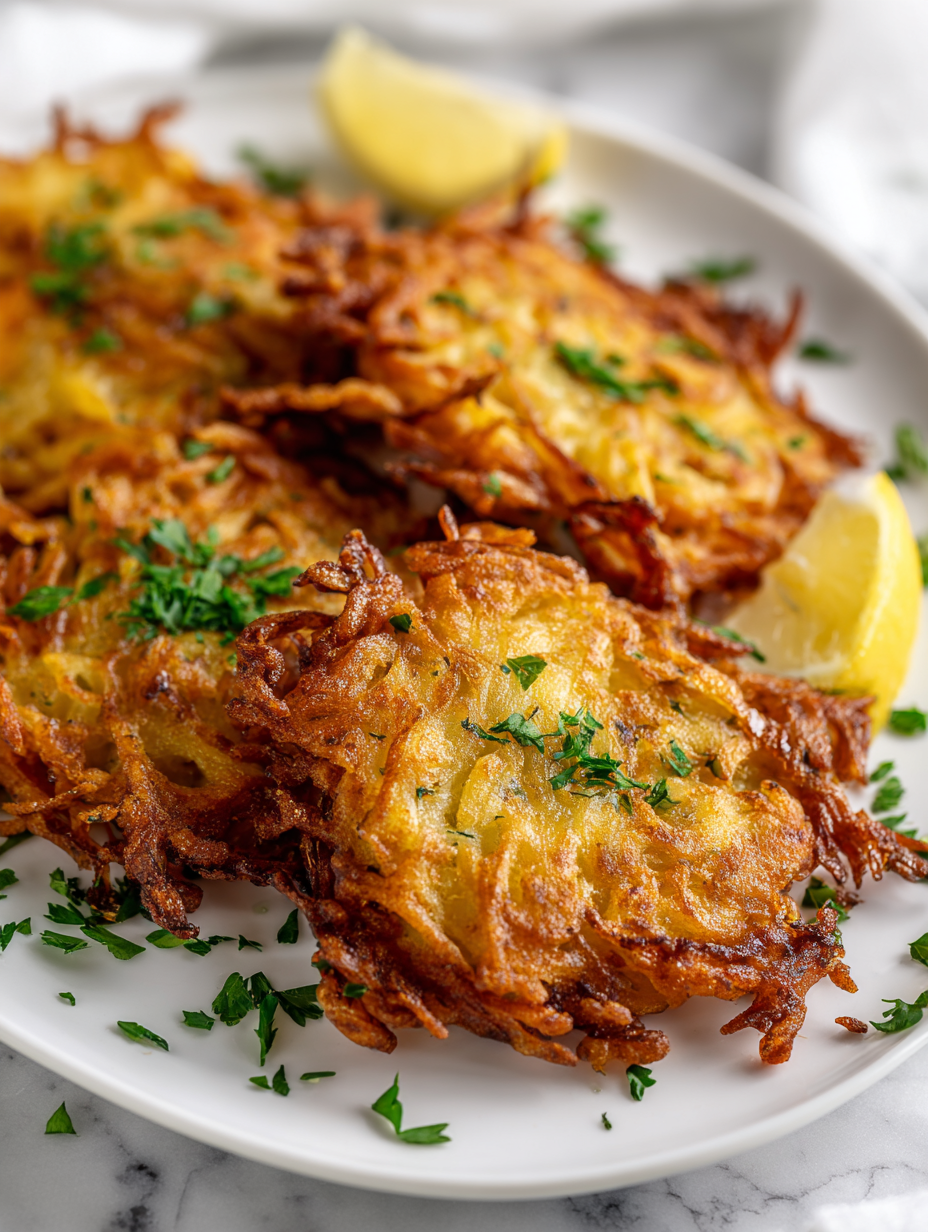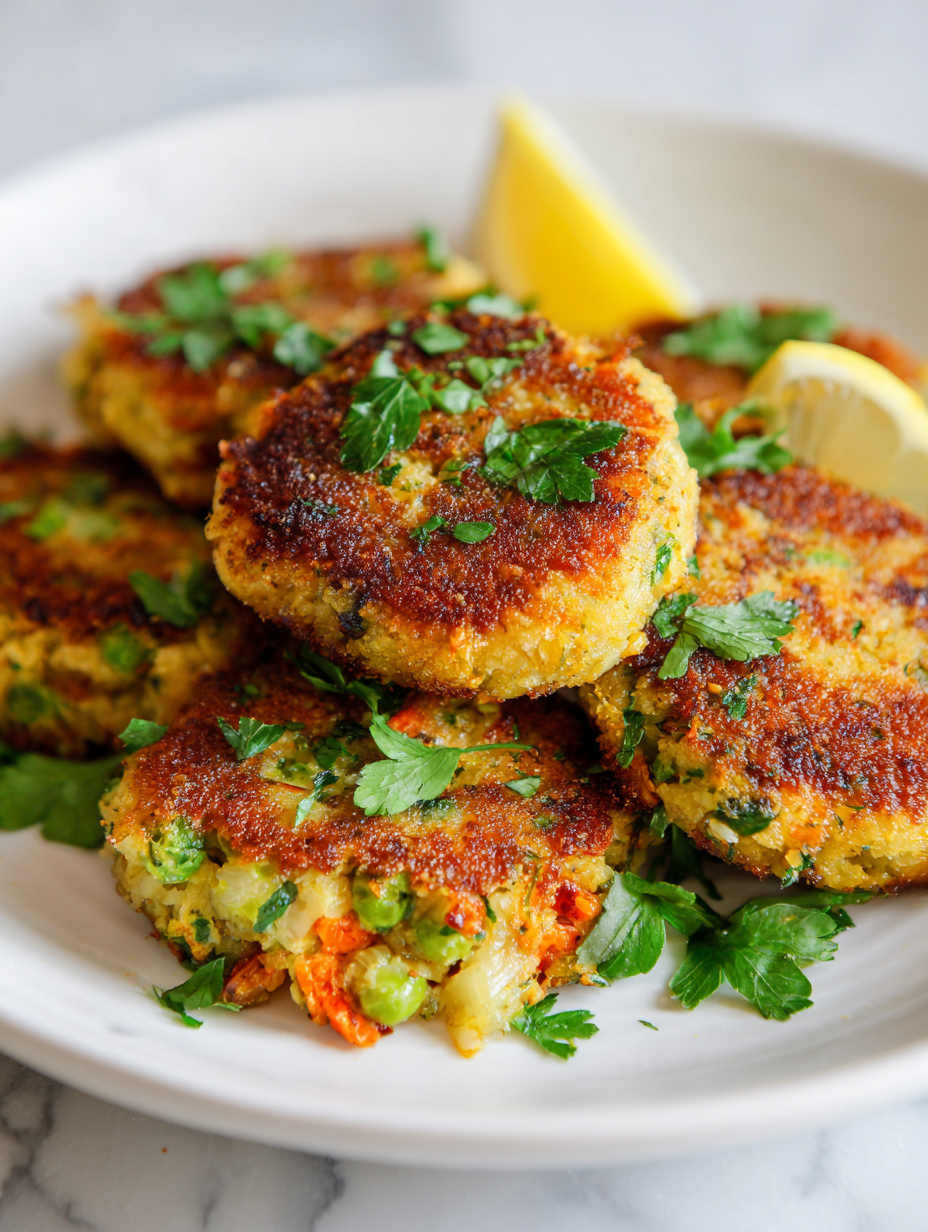
Sweet Potato Fritters Recipe
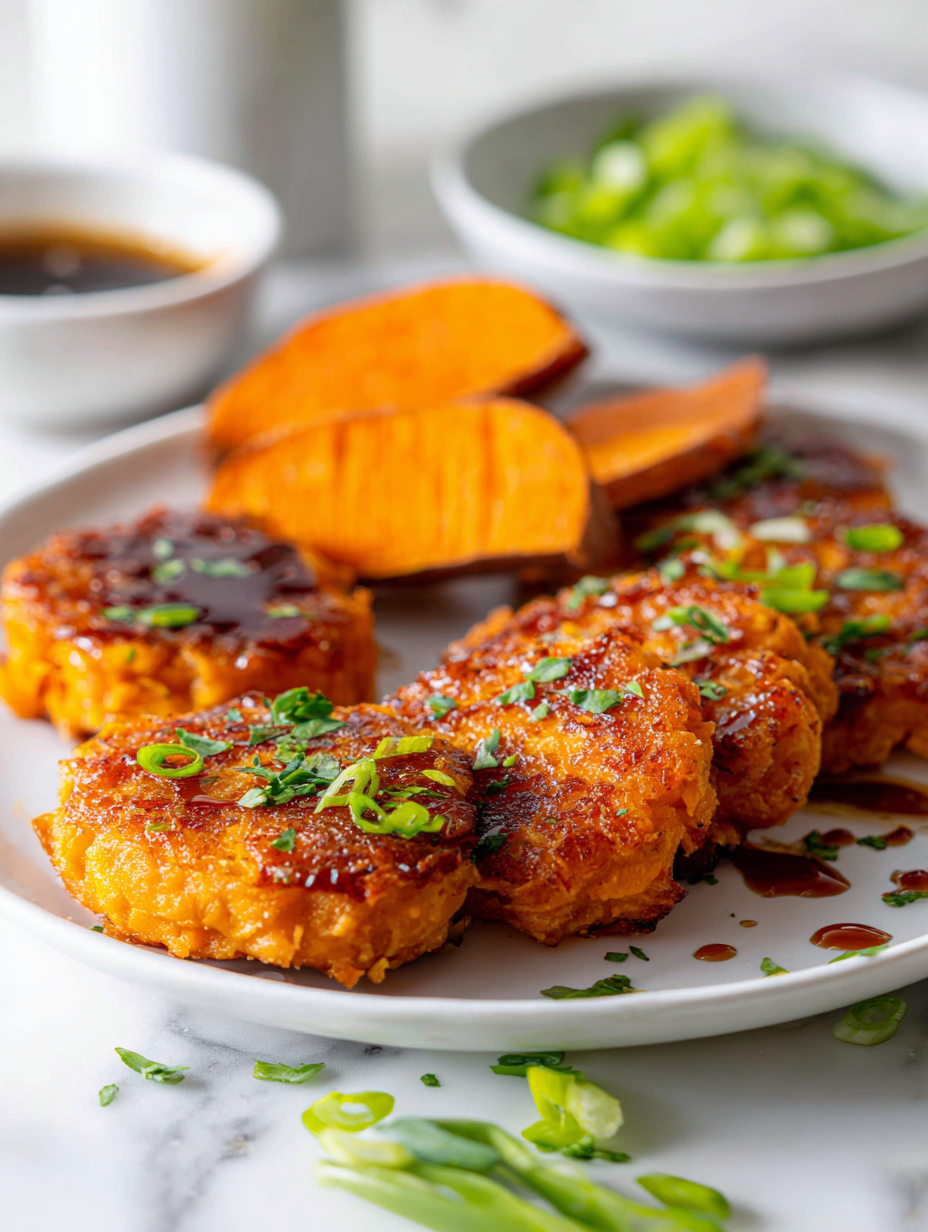
Sweet potato fritters might seem like a simple snack, but for me, they carry a whiff of childhood Sunday mornings. My grandma would fry these up in the cast-iron, the smell of sweet potato mingling with a hint of cinnamon and fried edges crackling. It’s comfort food that’s rooted in nostalgia, but I love giving … Read more