Black Velvet Cupcakes: A Deep, Dark Dream in Every Bite
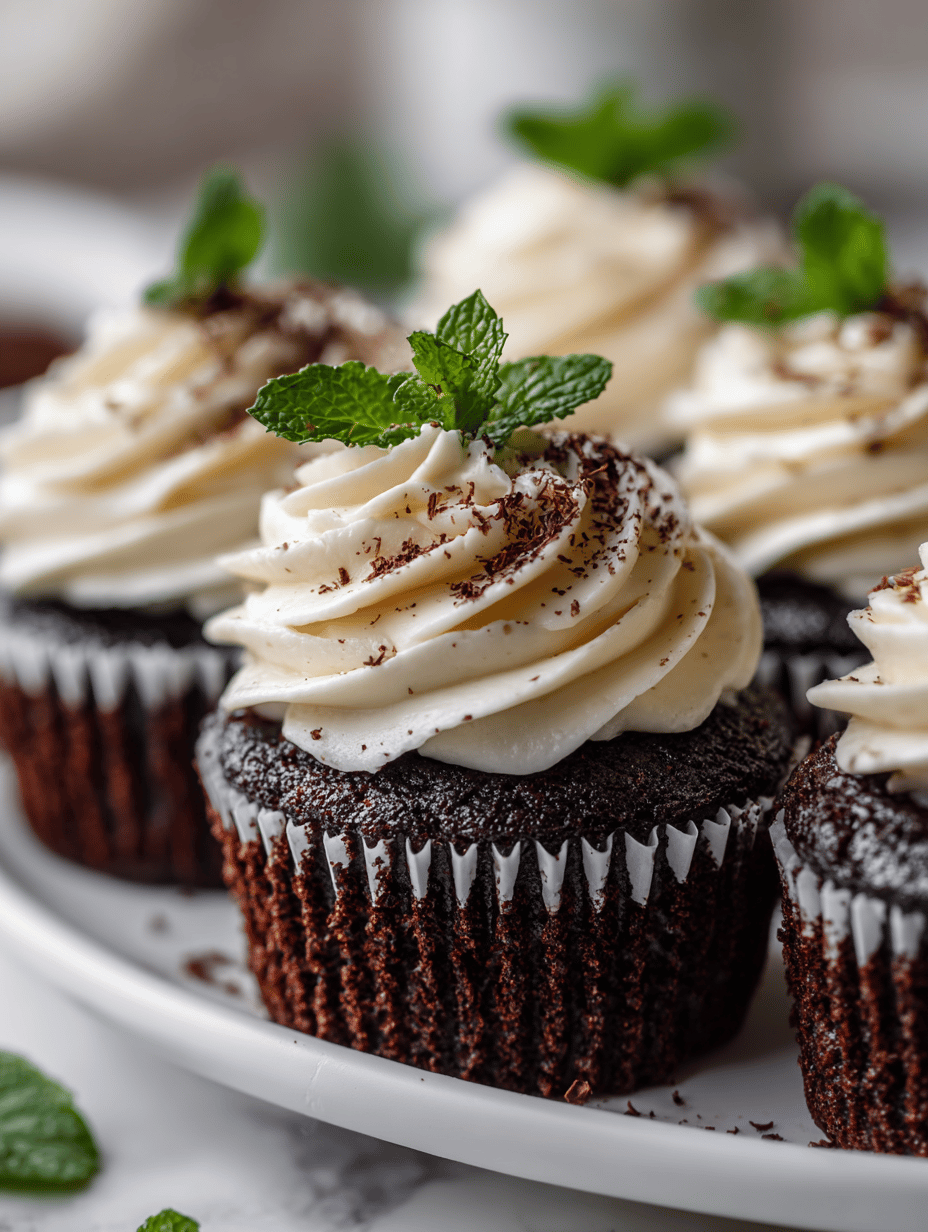
Black velvet cupcakes are the dark horse of the baking world. They’re not just about the color, but that deep cocoa flavor mingled with a subtle tang from buttermilk. It’s a recipe that feels slightly decadent, yet surprisingly simple. These cupcakes remind me of cozy evenings and quiet indulgence, perfect for when you want something … Read more