Jack O’ Lantern Burgers: A Playful Fall Feast with a Twist
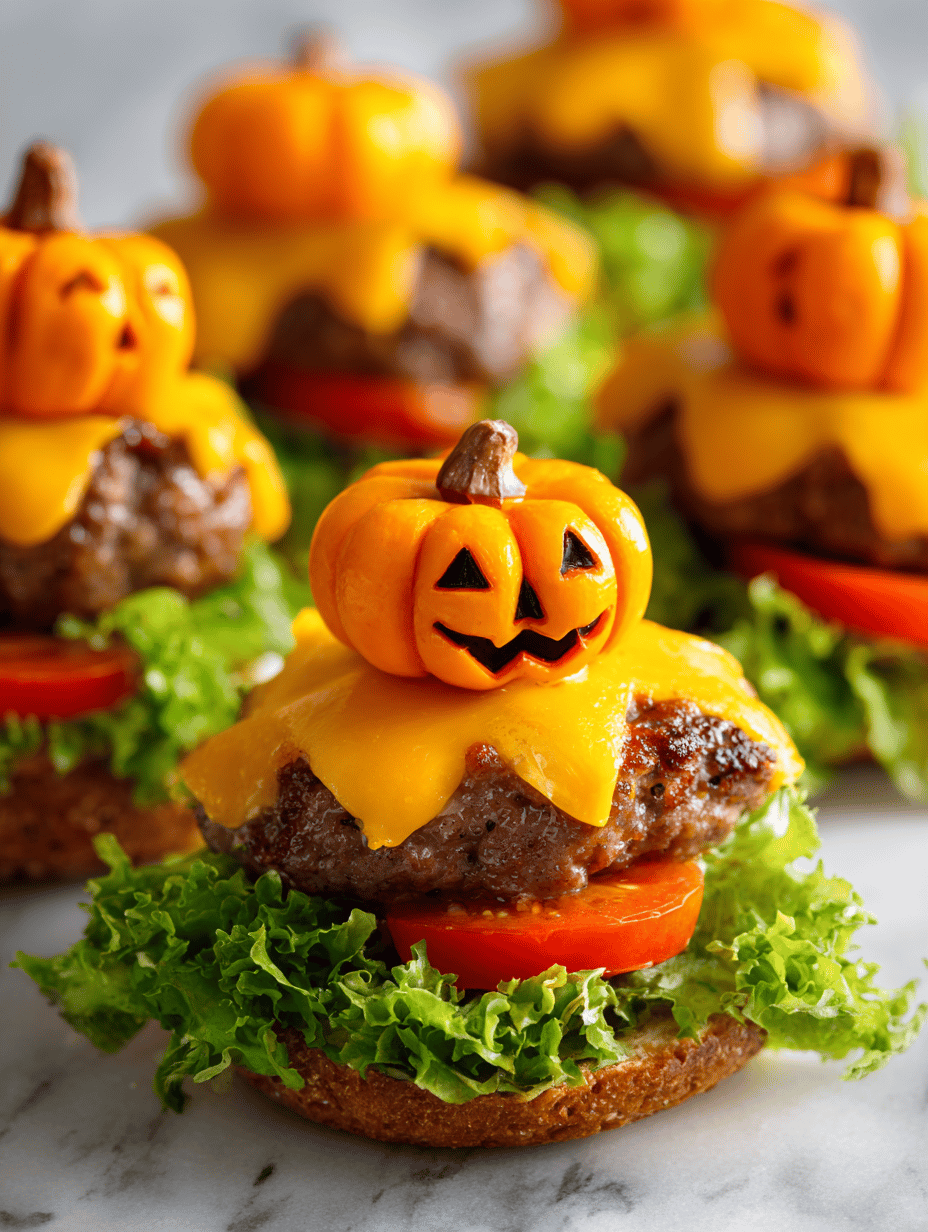
Fall is filled with cozy, nostalgic flavors, and I love twisting classic dishes into festive treats. Jack o’ Lantern Burgers bring a playful edge to the table, perfect for Halloween or a simple fall dinner. The secret is roasting seasonal veggies right into the burger for smoky sweetness and a bit of fun. Why I … Read more