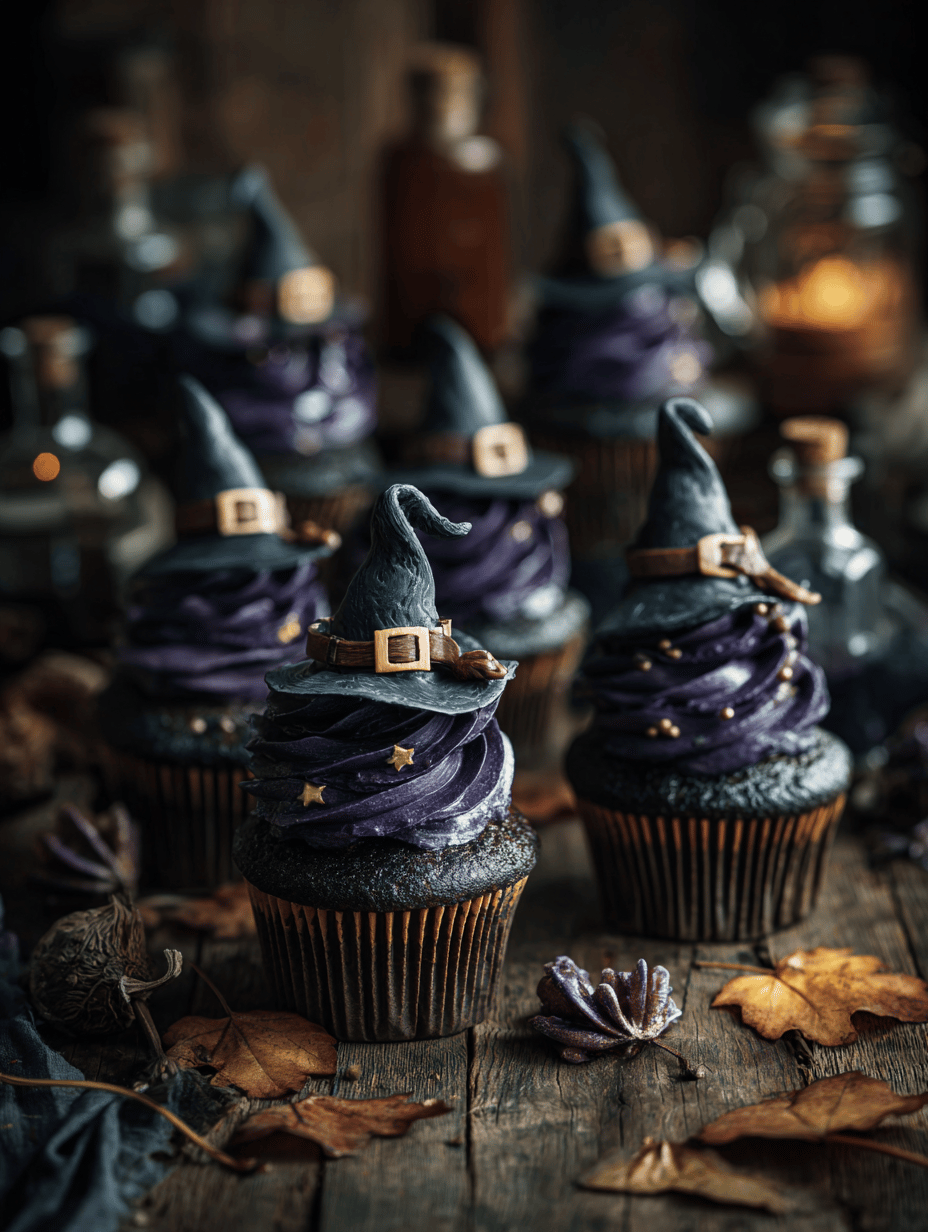
Mummy Brownies: Nostalgia Baked into Every Bite
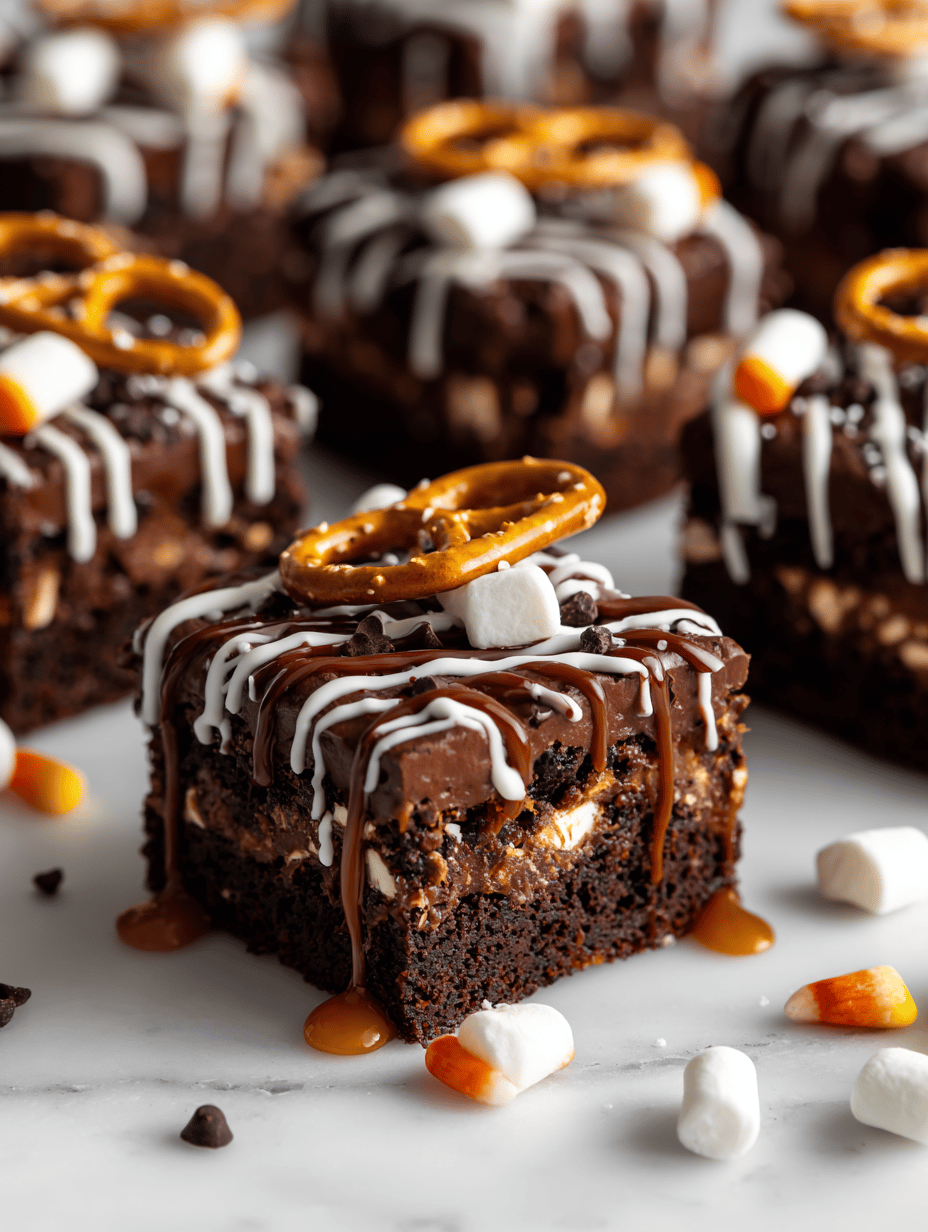
I’ve always loved the idea of turning simple ingredients into a moment of warmth and memory. Mummy Brownies are my way of reconnecting with childhood—those afternoons when the house smelled of chocolate and chaos. There’s a kind of honest comfort in a fudgy, crackly topped square, no fuss, no pretenses. Why I Keep Coming Back … Read more