Making a Halloween trifle is about embracing chaos and fun in the kitchen. It’s a nostalgic nod to childhood parties, but with a grown-up twist of dark chocolate and caramel. I love how it combines the comfort of dessert with the thrill of spooky decorations. It’s imperfect, playful, and always a hit.
Why This Trick Will Keep You Coming Back
Each time I make this, I find new ways to tweak the layers—more crunch, richer cream, or extra spooky decorations. It’s a no-fail way to bring a bit of mischief and joy to the table. Plus, it’s a perfect way to use up leftover candies and fruits, turning them into something memorable.
Dark, Delicious, and Spooky: Ingredient Breakdown
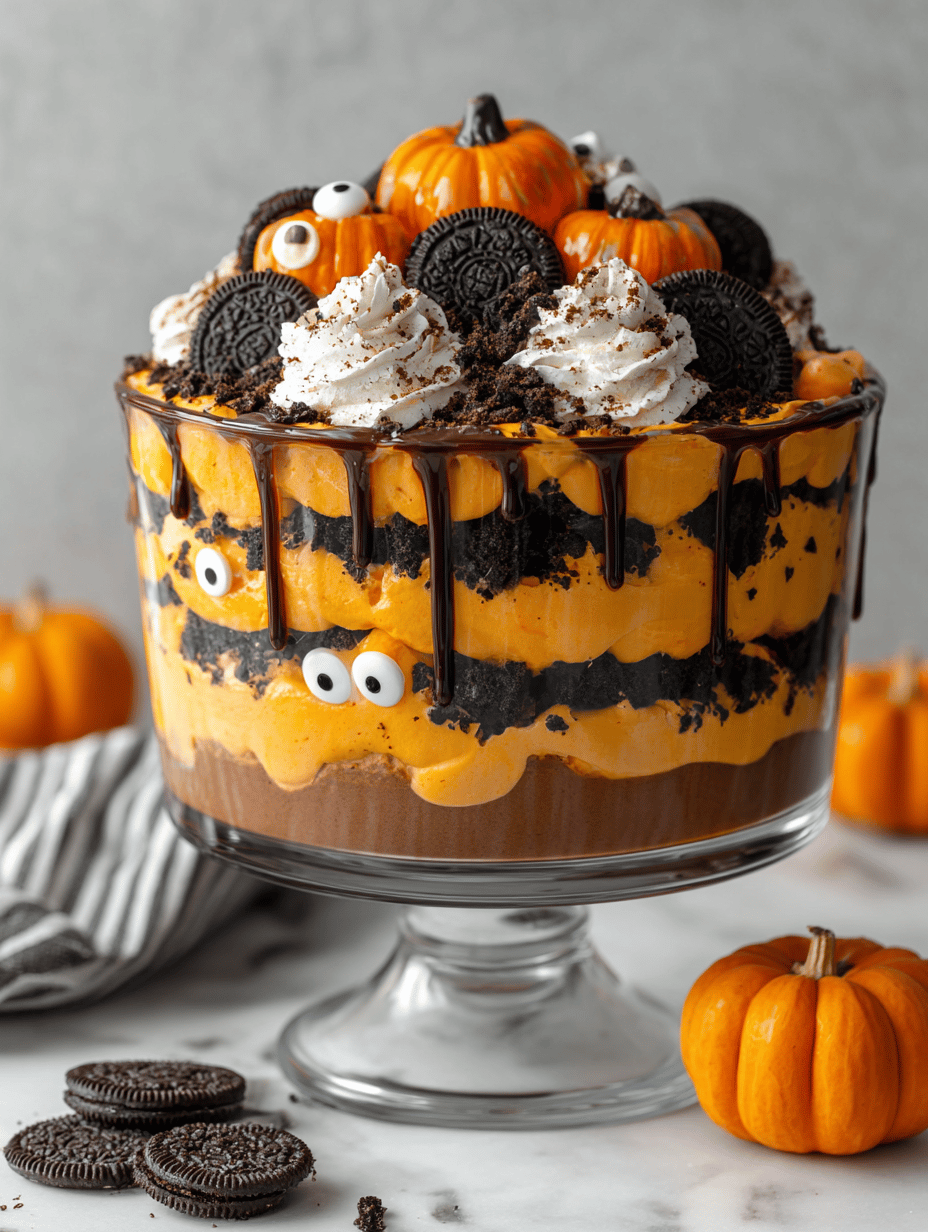
- Chocolate cake or cookies: Crumbly base, adds richness and texture, like a crunchy graveyard.
- Pumpkin or sweet potato puree: Vivid orange, earthy flavor, gives that seasonal glow.
- Whipped cream or mascarpone: Light, airy, balances the dense layers—think ghostly clouds.
- Candy eyeballs or gummy worms: Fun, creepy surprises, add crunch and whimsy.
- Caramel or toffee sauce: Sticky, smoky sweetness, drizzled for that haunting shimmer.
- Fruits like blackberries or cherries: Juicy bursts, add a splash of dark color and freshness.
Tools of the Halloween Trade
- Large glass trifle dish: Showcase layers and add a spooky transparency.
- Mixing bowls: Combine ingredients smoothly.
- Whisk: Incorporate air into creams and batters.
- Spatula: Layer ingredients evenly.
- Knife: Cut fruits or candies for decoration.
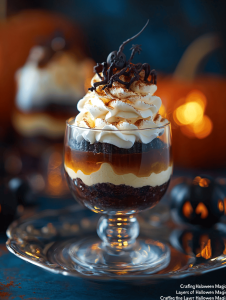
Crafting the Layers of Halloween Magic
Step 1: Gather all ingredients and equipment before starting.
Step 2: Prepare the spooky layers one at a time, allowing each to set.
Step 3: Assemble the trifle in a clear glass dish to showcase the layers.
Step 4: Chill the assembled trifle for at least 2 hours before serving.
Key Moments to Watch During Your Spooky Creation
- Ensure each layer is evenly spread and set before adding the next.
- Check the color contrast to make the layers pop visually.
- Test the firmness of the top layer to avoid a runny finish.
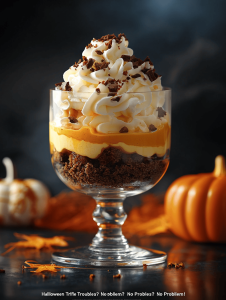
Halloween Trifle Troubles? No Problem!
- Too much liquid in the fruit or custard.? OVERLY RUNNY LAYER?
- Uneven layers or not enough chilling.? LAYER SLIDING AROUND?
- Adding candies too early.? CANDY CLUMPING?
- Not enough ingredients or too much whipped cream.? LAYER TOO THIN?
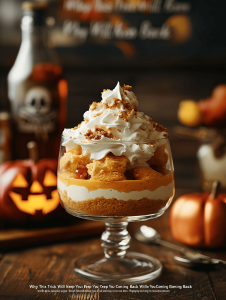
Halloween Spooky Trifle
Ingredients
Equipment
Method
- Gather all ingredients and equipment, setting everything within reach for smooth layering.
- Using a whisk, beat the heavy cream with sugar and vanilla until soft peaks form, creating a light, airy whipped cream that smells sweet and looks fluffy.
- Gently fold in the pumpkin puree into the whipped cream, mixing just until combined for a smooth, vibrant orange cream.
- Start assembling the trifle by spreading a layer of crumbled cookies at the bottom of the glass dish, creating a crunchy base that crunches as you layer.
- Spread a generous layer of pumpkin whipped cream over the cookie crumbs, smoothing it out with a spatula for an even surface.

- Drizzle caramel sauce over the cream to add a smoky sweetness and visual shimmer, then add a handful of blackberries for a dark pop of color.
- Add another layer of crumbled cookies, followed by more pumpkin whipped cream, repeating the layering process to build depth and contrast.
- Decorate the top with creepy candies like candy eyeballs, gummy worms, and fruit slices to make the trifle spooky and fun.
- Finish with a final drizzle of caramel sauce and a few extra berries for color and shine, creating a spooky, layered look.
- Refrigerate the assembled trifle for at least 2 hours to let the layers set and flavors meld, making it ready for serving.
- Serve chilled, revealing the colorful, spooky layers that will delight guests and add a festive touch to your Halloween celebration.

Welcome to Exploreing New Tastes. I’m really glad you found your way here. I’m a food blogger driven by curiosity more than perfection. I think about flavors constantly, how they change across cultures, how a small tweak can completely shift a dish, and how food tells stories long before anyone sits down to eat. This blog is where I document that curiosity, one recipe and one experience at a time.