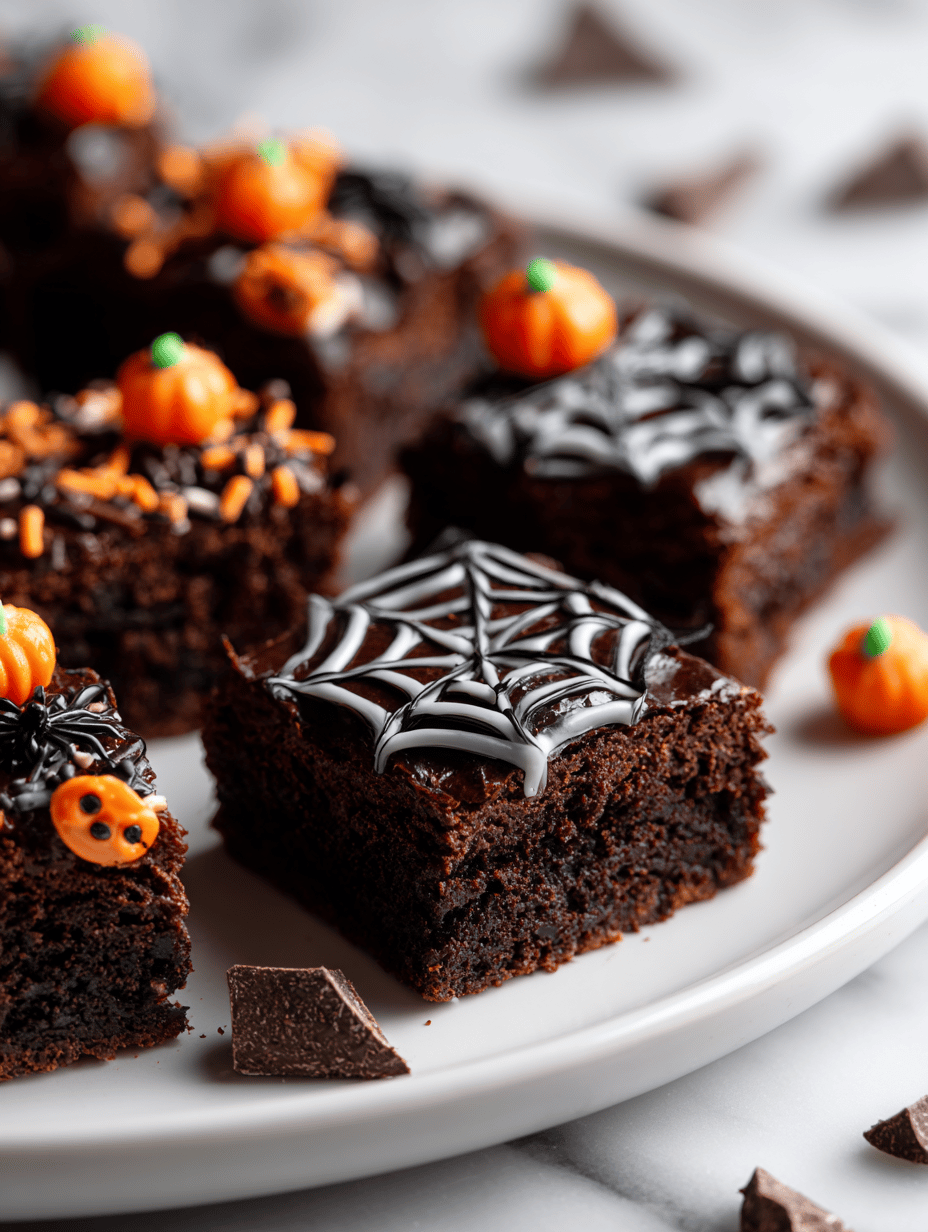
Halloween is the perfect excuse to mess around with flavors and looks. These brownies started as a simple chocolate fix, but I can’t help turning them into something a bit more eerie every October. They’re my way of mixing nostalgia with a splash of chaos—because baking should be fun, right? And nothing says fun like a batch of fudgy, spooky brownies.
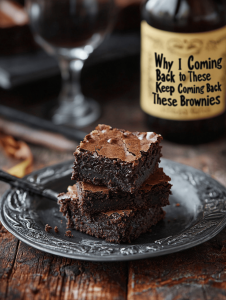
Why I Keep Coming Back to These Brownies
They’re a familiar canvas that I can endlessly customize for each Halloween. The scent of melting chocolate, the crackle as they bake, it’s a simple joy. Plus, they’re forgiving enough to play with and still turn out fudgy and dark every time.
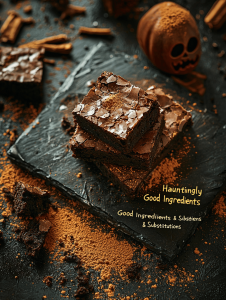
Hauntingly Good Ingredients & Substitutions
- Dark chocolate: Gives that rich, deep flavor, with a slight bitterness. Swap for milk chocolate if you want sweeter brownies.
- Butter: Adds richness and moisture. Can substitute with coconut oil for a dairy-free version.
- Eggs: Bind everything together and give structure. Use flax eggs for vegan baking.
- Sugar: Sweetens and helps create that fudgy texture. Honey or maple syrup can be used, but reduce liquids slightly.
- All-purpose flour: Provides structure. Swap for almond flour for a nuttier taste, but reduce the flour a bit.
- Salt: Enhances chocolate flavor; a pinch is enough.
- Food coloring or edible decorations (optional): Add for spooky effects—think green, purple, or black sprays.
Tools of the Spooky Trade
- 8-inch square baking pan: To hold and shape the brownies evenly.
- Parchment paper: Prevents sticking and makes removal easier.
- Heatproof bowl: For melting chocolate and butter.
- Whisk: To beat eggs and mix ingredients smoothly.
- Rubber spatula: Folds ingredients gently without knocking out air.
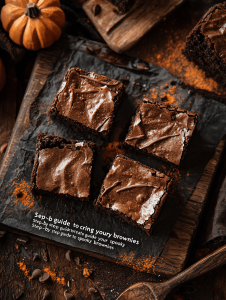
Step-by-step guide to creating your spooky brownies
Step 1: Preheat your oven to 175°C (350°F).
Step 2: Line a 20x20cm (8×8 inch) baking pan with parchment paper.
Step 3: Melt 200g (7 oz) of dark chocolate and 115g (1/2 cup) butter together. Stir until smooth.
Step 4: In a separate bowl, whisk 2 eggs with 150g (3/4 cup) sugar until fluffy.
Step 5: Fold the melted chocolate mixture into the eggs and sugar, then add 125g (1 cup) of all-purpose flour and a pinch of salt.
Step 6: Pour the batter into the prepared pan, smoothing the top.
Step 7: Bake for 25-30 minutes, until a toothpick inserted in the center comes out with moist crumbs.
Step 8: Let the brownies cool in the pan for 15 minutes, then transfer to a wire rack to cool completely.
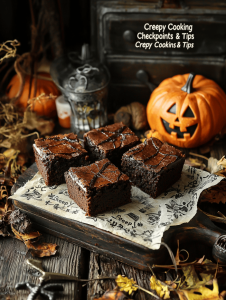
Creepy Cooking Checkpoints & Tips
- The chocolate should be glossy and smooth after melting.
- Brownie batter is thick but foldable; don’t overmix to keep them fudgy.
- The top should crack slightly when baked, signaling readiness.
- Brownies should be moist inside but not undercooked; test with a toothpick.
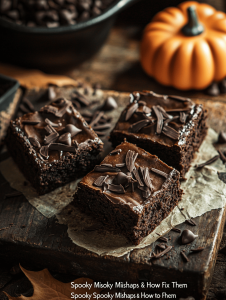
Spooky Mishaps & How to Fix Them
- Overmixing the batter.? MIXED TOO MUCH: Batter became tough. → Fold ingredients just until combined.
- Overbaking.? BARELY BAKED: Brownies are dry. → Check with a toothpick at 25 min.
- Adding flour directly without sifting.? FLOURY TASTE: Batter had a raw flour flavor. → Sift flour before adding.
- Using excess butter or no draining.? SOGGY BOTTOM: Brownies are greasy. → Drain melted chocolate well.
Spooky Halloween Brownies
Ingredients
Equipment
Method
- Preheat your oven to 175°C (350°F) and line your 8-inch square pan with parchment paper, leaving some overhang for easy removal.
- Chop the dark chocolate into small pieces and melt it together with the butter in a heatproof bowl over a double boiler or in short bursts in the microwave, stirring until smooth and glossy.
- In a separate bowl, whisk the eggs and sugar together until the mixture becomes fluffy and slightly pale, and you can see a gentle ribbon when drizzled from the whisk.
- Pour the melted chocolate mixture into the egg and sugar blend, folding gently with a spatula until fully combined and smooth.
- Sift the all-purpose flour and salt together, then gently fold them into the chocolate batter, being careful not to overmix; stop once the flour disappears.
- Pour the thick batter into your prepared pan, spreading it evenly with a spatula to fill all corners and create a smooth top.
- Bake the brownies in the preheated oven for 25-30 minutes, or until a toothpick inserted into the center comes out with moist crumbs and the top has cracked slightly.
- Remove the pan from the oven and let the brownies cool in the pan for about 15 minutes, then transfer them to a wire rack to cool completely, which helps develop their fudgy texture.
- Once cooled, cut the brownies into squares and decorate as desired with spooky edible decorations or food coloring for a Halloween touch.
Notes

Welcome to Exploreing New Tastes. I’m really glad you found your way here. I’m a food blogger driven by curiosity more than perfection. I think about flavors constantly, how they change across cultures, how a small tweak can completely shift a dish, and how food tells stories long before anyone sits down to eat. This blog is where I document that curiosity, one recipe and one experience at a time.