Skip to content
Exploreing new tastes
Main Course
Desserts
Appetizers
Beverages
Side Dishes
Soups
Salads
Pinterest
Search
Toggle Menu
Main Course
Main Course
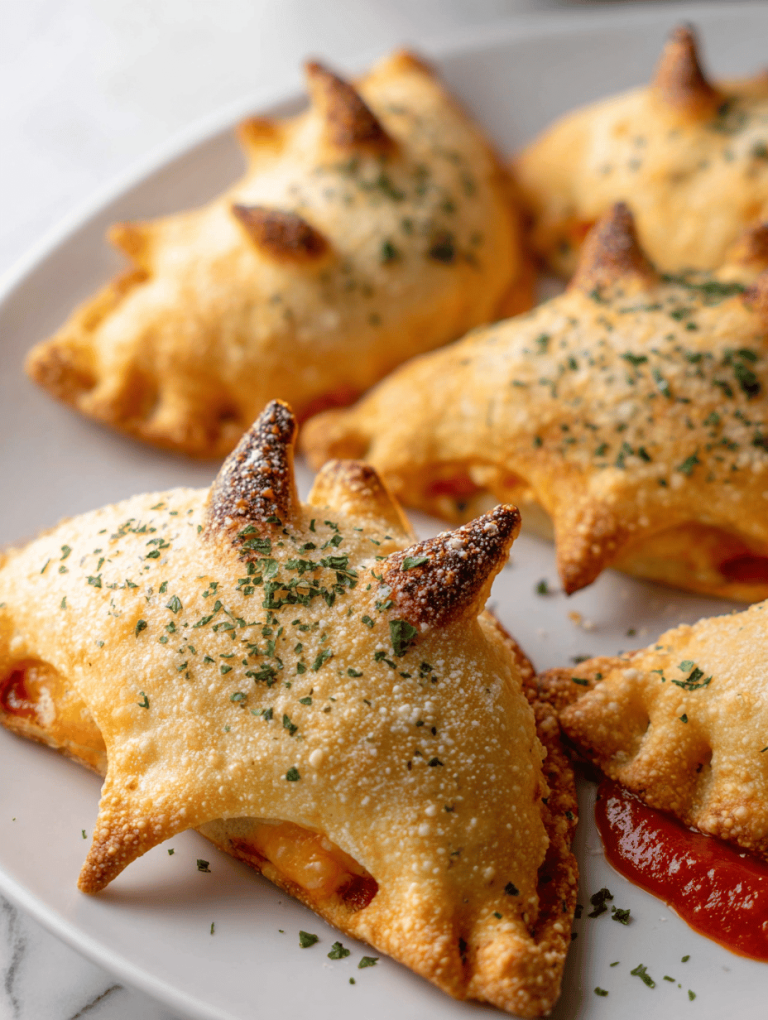
Bat-Shaped Calzones: A Playful Twist for Spooky Nights
Main Course
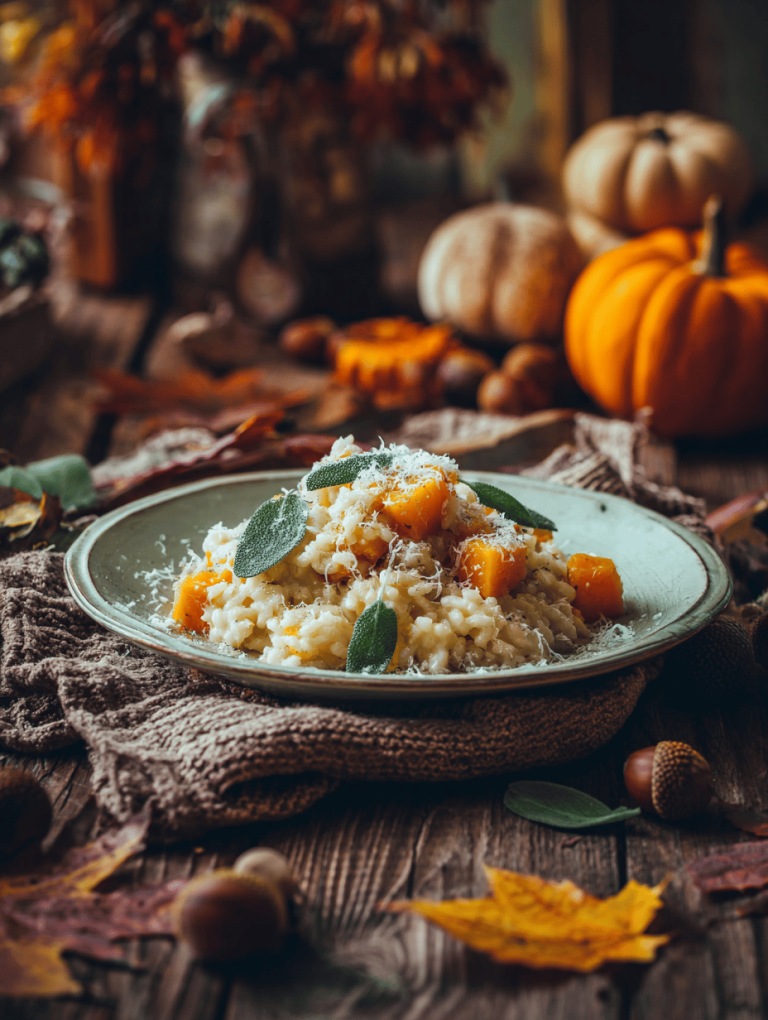
Pumpkin Risotto: A Cozy Fall Classic with a Twist
Main Course
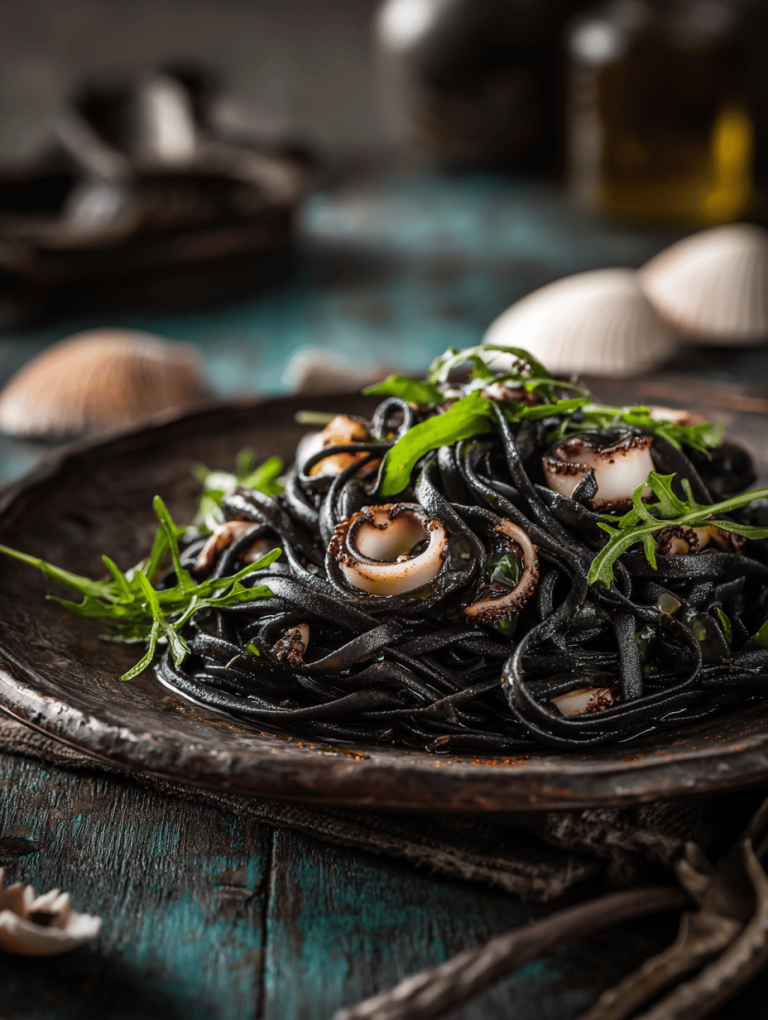
Black Pasta with Squid Ink: A Deep Dive into the Ocean’s Secret
Main Course
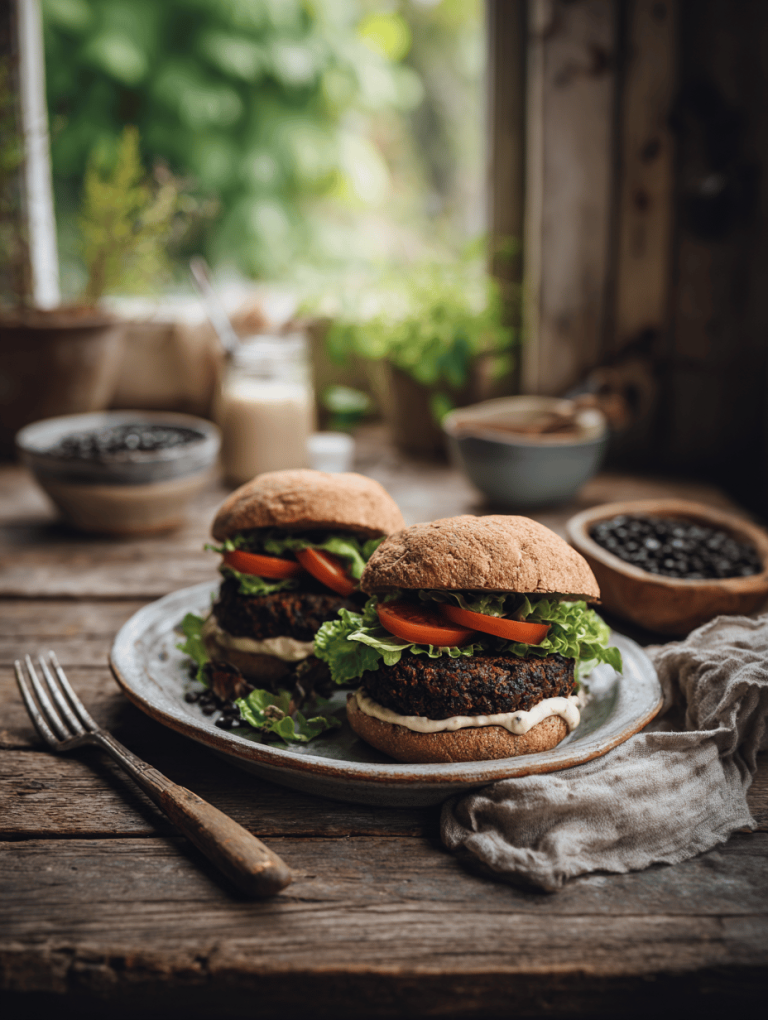
Black Bean Burgers: A Rustic, No-Fuss Approach to Meatless Comfort
Main Course
Halloween Pizza: A Spooky Twist on Comfort Food
Main Course
Halloween Quesadillas: A Playful Spin on Classic Comforts
Main Course
Halloween Quesadillas: A Playful Spin on Classic Comforts
Main Course
Halloween Quesadillas: A Playful Spin on Classic Comforts
Main Course
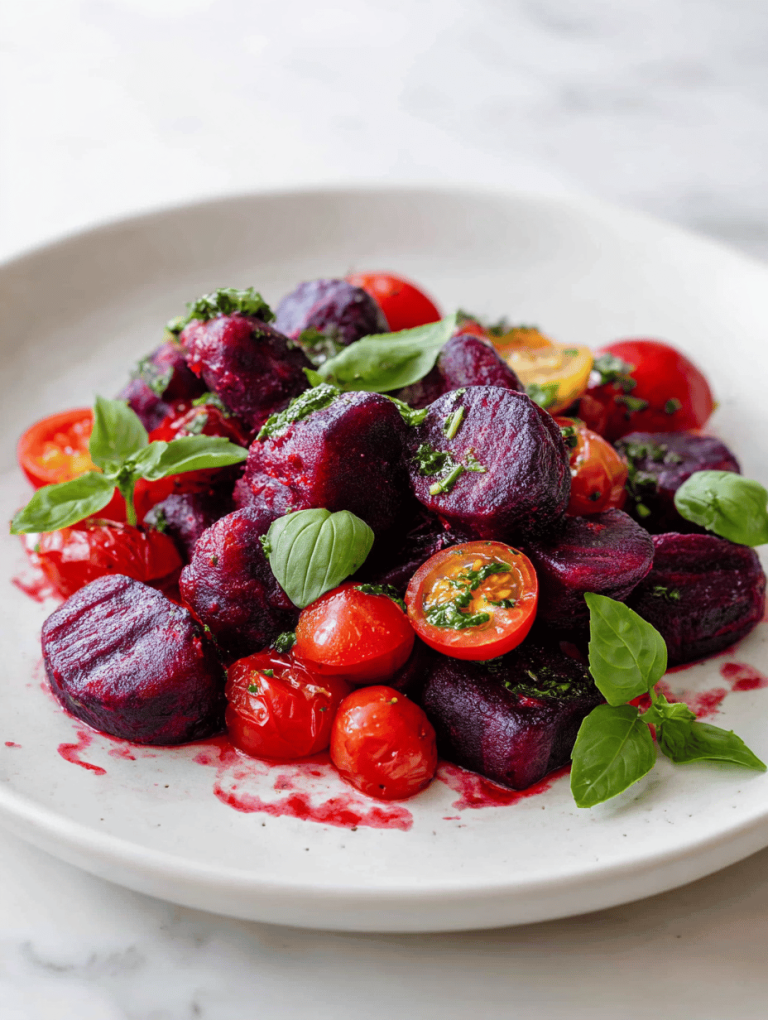
Bloody Beet Gnocchi: An Earthy Spin on Classic Comfort
Main Course
Bloody Beet Gnocchi: An Earthy Spin on Classic Comfort
Page navigation
Previous Page
Previous
1
2
3
4
5
6
…
9
Next Page
Next
Scroll to top
Scroll to top
Main Course
Desserts
Appetizers
Beverages
Side Dishes
Soups
Salads
Toggle Menu Close
Search for:
Search