Skip to content
Exploreing new tastes
Main Course
Desserts
Appetizers
Beverages
Side Dishes
Soups
Salads
Pinterest
Search
Toggle Menu
Desserts
Desserts
Unconventional Halloween Cake Pops: A Spooky Twist with a Surprise Center
Desserts
Unconventional Halloween Cake Pops: A Spooky Twist with a Surprise Center
Desserts
Unconventional Halloween Cake Pops: A Spooky Twist with a Surprise Center
Desserts
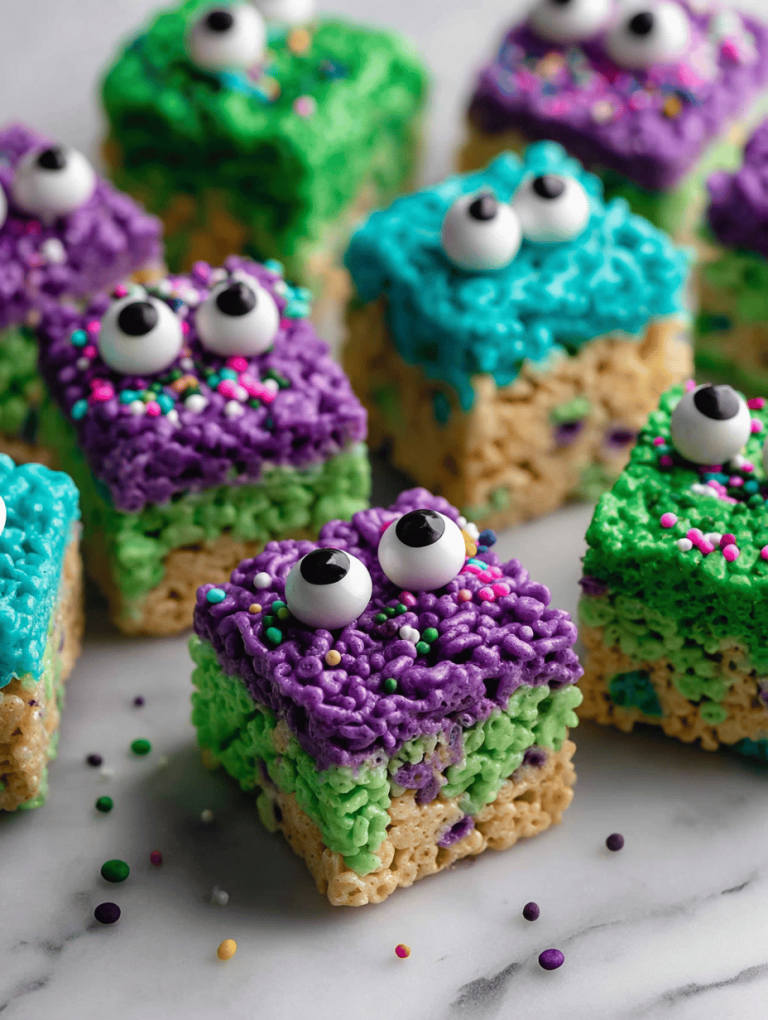
Monster Rice Krispie Treats: A Chaos of Chocolate and Marshmallow Magic
Desserts
Monster Rice Krispie Treats: A Chaos of Chocolate and Marshmallow Magic
Desserts
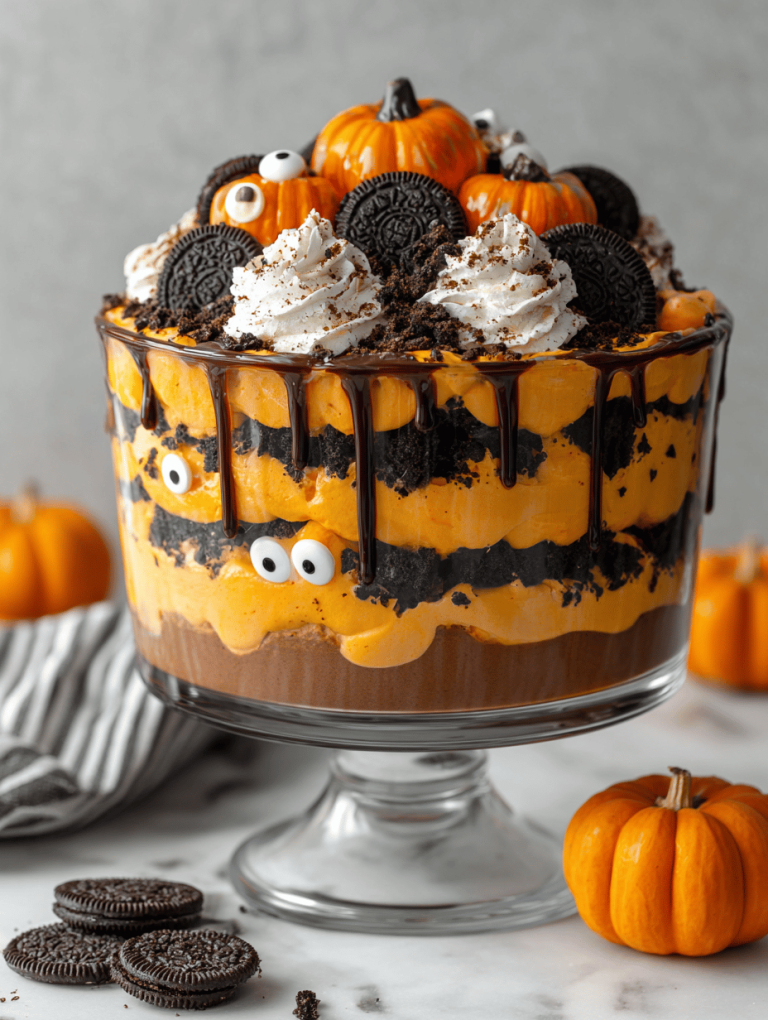
Halloween Trifle: A Spooky Twist on a Classic Dessert
Desserts
Halloween Trifle: A Spooky Twist on a Classic Dessert
Desserts
Halloween Trifle: A Spooky Twist on a Classic Dessert
Desserts
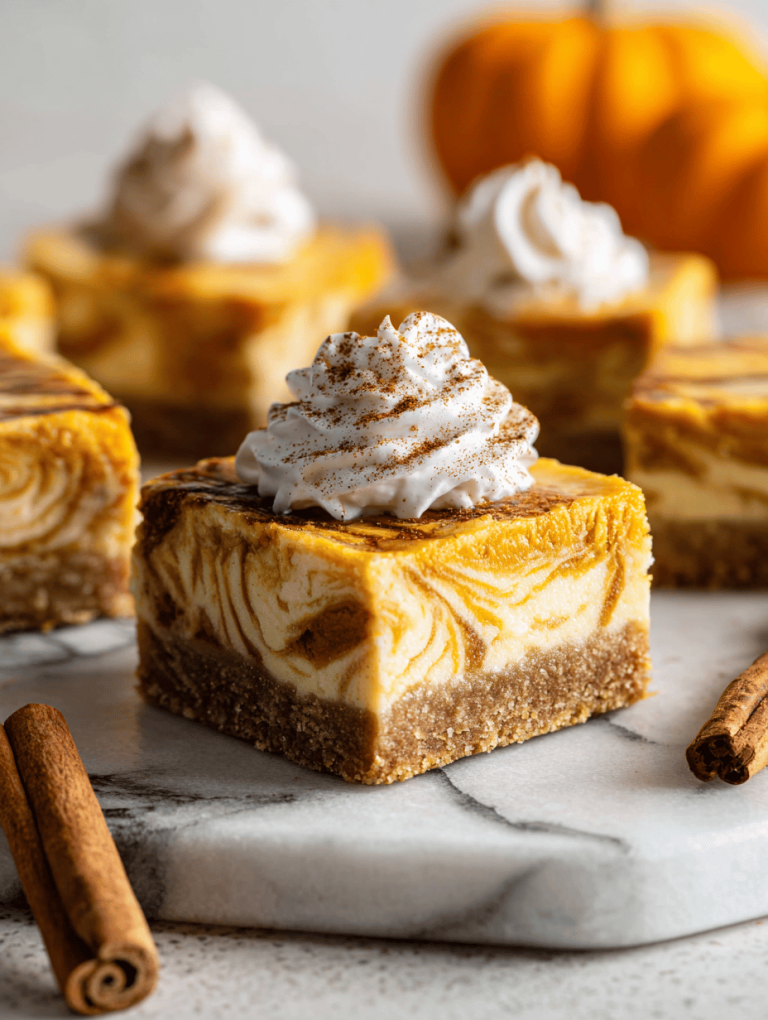
Pumpkin Cheesecake Bars: An Unexpected Fall Treasure
Desserts
Pumpkin Cheesecake Bars: An Unexpected Fall Treasure
Page navigation
Previous Page
Previous
1
…
4
5
6
7
8
…
11
Next Page
Next
Scroll to top
Scroll to top
Main Course
Desserts
Appetizers
Beverages
Side Dishes
Soups
Salads
Toggle Menu Close
Search for:
Search