Skip to content
Exploreing new tastes
Main Course
Desserts
Appetizers
Beverages
Side Dishes
Soups
Salads
Pinterest
Search
Toggle Menu
Desserts
Desserts
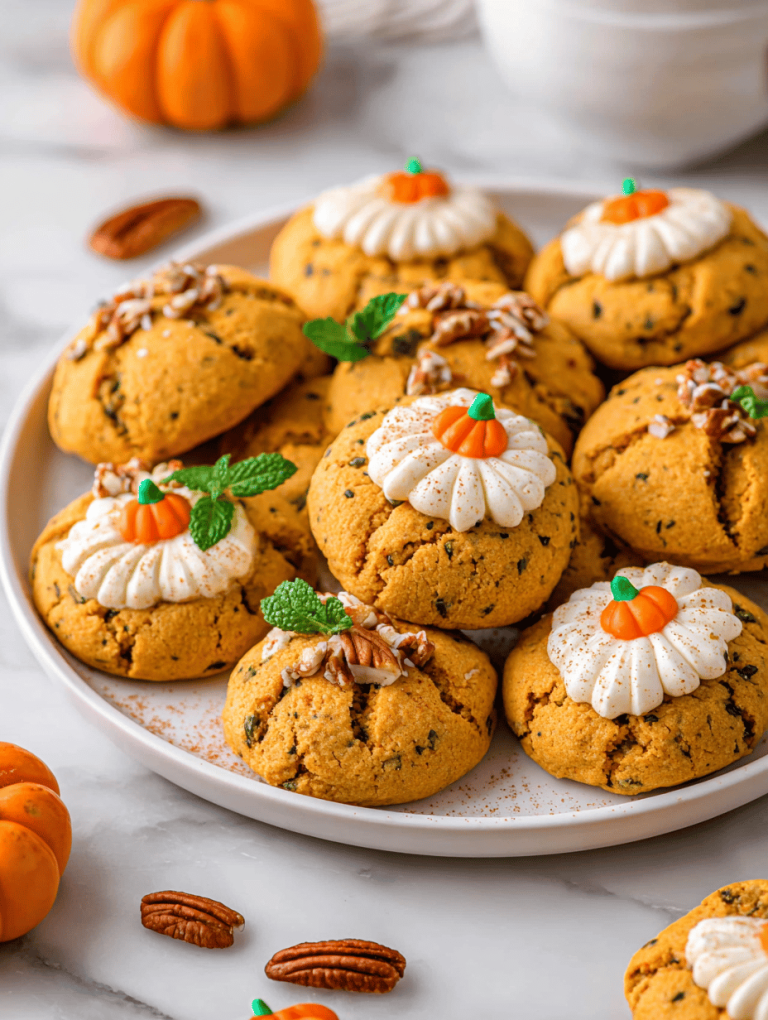
Pumpkin Spice Cookies: A Cozy Fall Favorite with a Twist
Desserts
Spooky Cupcakes: A Ghastly Good Time in the Kitchen
Desserts
Spooky Cupcakes: A Ghastly Good Time in the Kitchen
Desserts
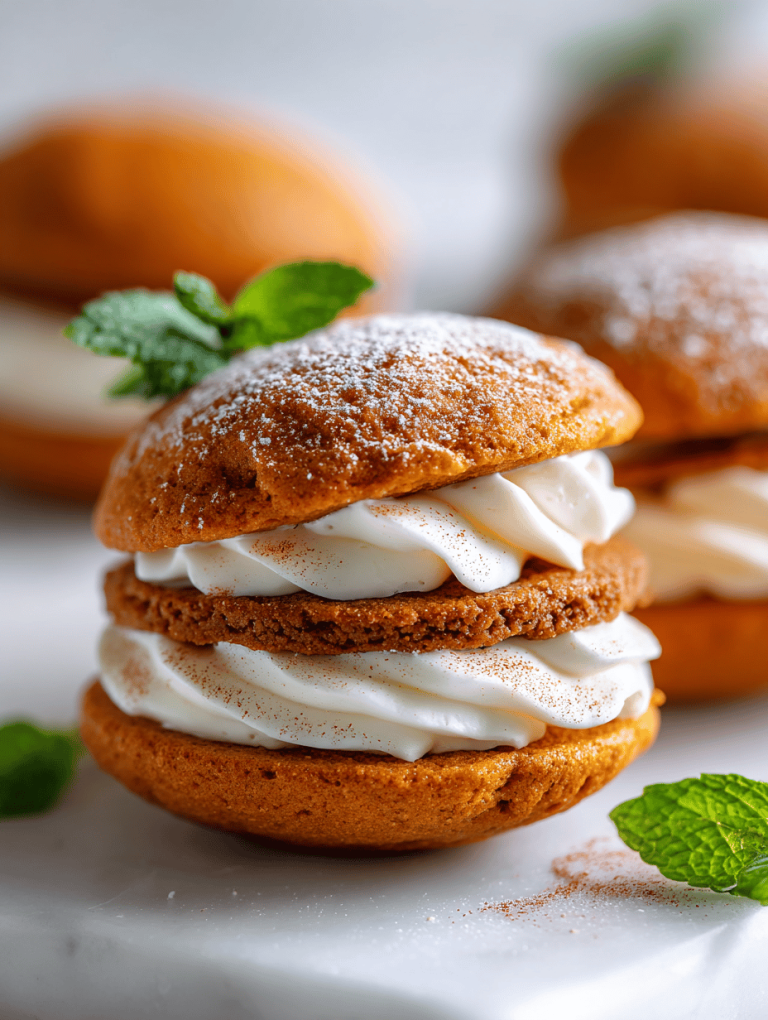
Pumpkin Whoopie Pies: A Cozy Fall Classic with a Twist
Desserts
Pumpkin Whoopie Pies: A Cozy Fall Classic with a Twist
Desserts
Pumpkin Whoopie Pies: A Cozy Fall Classic with a Twist
Desserts
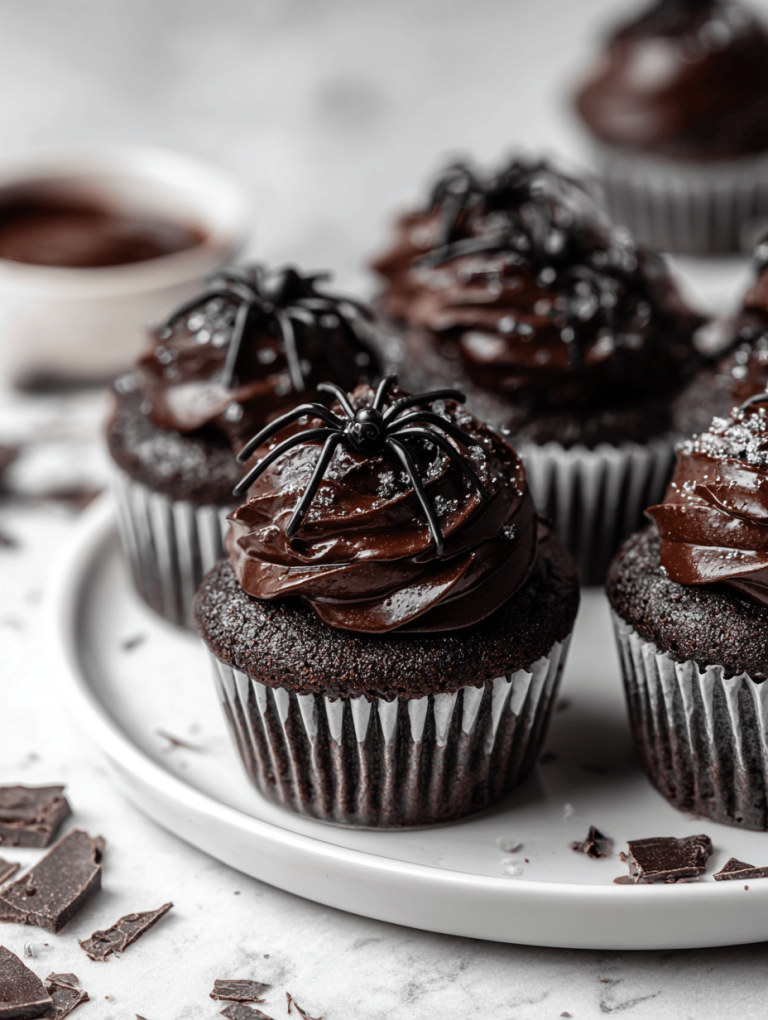
Black Velvet Cupcakes: A Deep, Dark Dream in Every Bite
Desserts
Black Velvet Cupcakes: A Deep, Dark Dream in Every Bite
Desserts
Black Velvet Cupcakes: A Deep, Dark Dream in Every Bite
Desserts
Black Velvet Cupcakes: A Deep, Dark Dream in Every Bite
Page navigation
Previous Page
Previous
1
2
3
4
5
6
…
11
Next Page
Next
Scroll to top
Scroll to top
Main Course
Desserts
Appetizers
Beverages
Side Dishes
Soups
Salads
Toggle Menu Close
Search for:
Search