Skip to content
Exploreing new tastes
Main Course
Desserts
Appetizers
Beverages
Side Dishes
Soups
Salads
Pinterest
Search
Toggle Menu
Desserts
Desserts
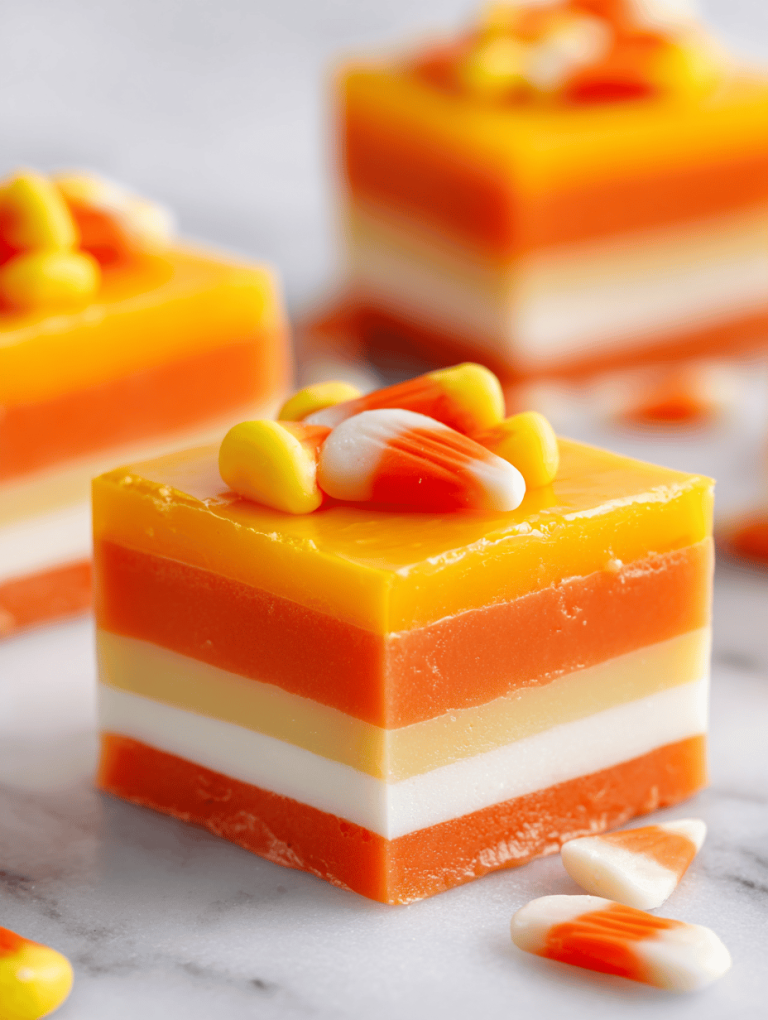
Candy Corn Fudge: A Nostalgic Twist on Fall Classics
Desserts
Candy Corn Fudge: A Nostalgic Twist on Fall Classics
Desserts
Candy Corn Fudge: A Nostalgic Twist on Fall Classics
Desserts
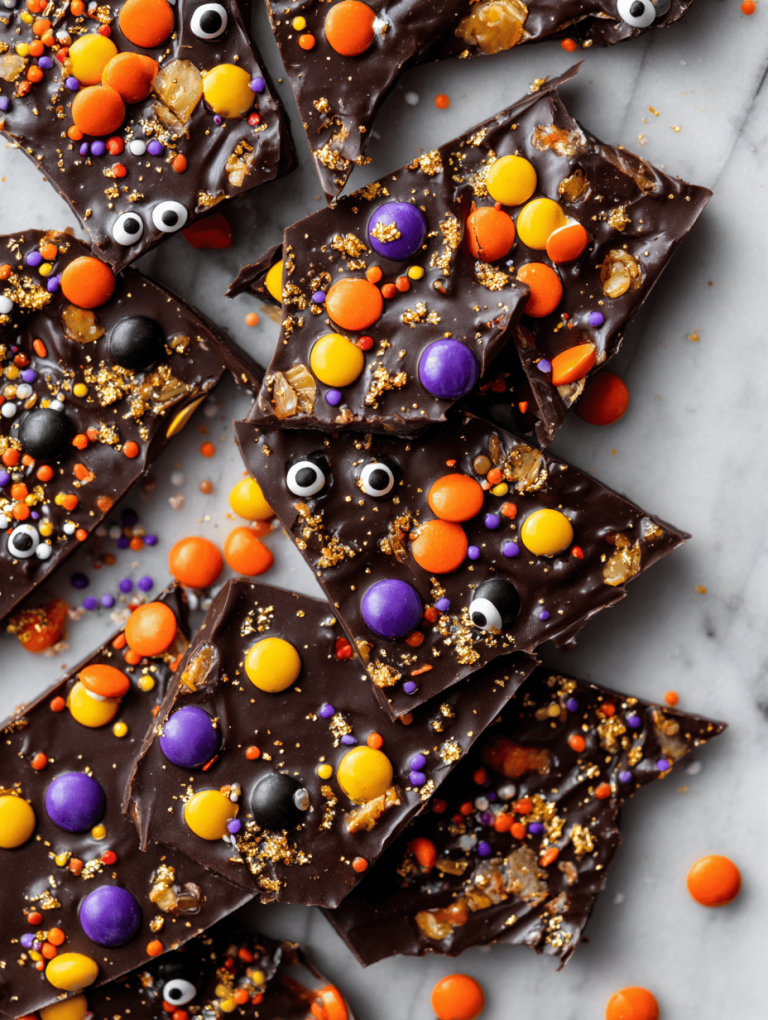
Spooky-Sweet Halloween Bark: A Crispy, Colorful Concoction
Desserts
Spooky-Sweet Halloween Bark: A Crispy, Colorful Concoction
Desserts
Spooky-Sweet Halloween Bark: A Crispy, Colorful Concoction
Desserts
Haunted House Cookies: A Spooky Treat with a Soulful Twist
Desserts
Haunted House Cookies: A Spooky Treat with a Soulful Twist
Desserts
Pumpkin Spice Cookies: A Cozy Fall Favorite with a Twist
Desserts
Pumpkin Spice Cookies: A Cozy Fall Favorite with a Twist
Page navigation
Previous Page
Previous
1
2
3
4
5
…
11
Next Page
Next
Scroll to top
Scroll to top
Main Course
Desserts
Appetizers
Beverages
Side Dishes
Soups
Salads
Toggle Menu Close
Search for:
Search