Category: Beverages

  • The Unexpected Charm of Strawberry Slushie: A Nostalgic Chill

    The Unexpected Charm of Strawberry Slushie: A Nostalgic Chill

    Imagine biting into a frozen strawberry, bursting with the sweet, tangy aroma of summer days gone by. This strawberry slushie isn’t just a cold treat; it’s a portal to childhood memories and lazy afternoons. Crafted with a twist of lime and a hint of mint, it’s perfect for those moments when you need a little refreshment that feels both familiar and exciting.

    This recipe takes ordinary strawberries and elevates them into a frosty delight that’s surprisingly versatile. Whether you’re savoring it on a scorching afternoon or turning it into a vibrant part of your brunch table, this slushie hits the spot with fresh, lively flavors. The best part? It’s effortless to make and naturally sweet, so it’s a guilt-free indulgence you’ll crave often.

    Strawberry Lime Mint Slushie

    This strawberry slushie combines fresh strawberries blended with a splash of lime juice and a hint of mint to create a frosty, vibrant beverage. The mixture achieves a smooth, icy texture that is both refreshing and visually appealing, perfect for hot days or casual gatherings.
    Prep Time 10 minutes
    Total Time 10 minutes
    Servings: 2
    Course: Main Course
    Cuisine: Global
    Calories: 90

    Ingredients
      

    • 2 cups fresh strawberries hulled and halved
    • 1 lime lime juice freshly squeezed
    • 1 tablespoon honey optional, for added sweetness
    • 1 cup fresh mint leaves roughly chopped
    • 1 cup crushed ice or more as needed

    Equipment

    • Blender
    • Measuring cups and spoons

    Method
     

    1. Place the hulled and halved strawberries into the blender jar. Add a tablespoon of honey if you like a sweeter slushie.
    2. Squeeze in the freshly squeezed lime juice to bring a bright, tangy flavor and help soften the strawberries.
    3. Add the chopped mint leaves to infuse a refreshing, herbal note into the drink.
    4. Pour in the crushed ice, which will give the slushie its signature frozen texture.
    5. Blend everything on high speed until the mixture is smooth, thick, and icy, with no large berry chunks remaining. This should take about 30 seconds.
    6. Stop the blender and examine the texture; if it’s too thick, add a splash of water or more lime juice and blend briefly to loosen.
    7. Pour the slushie into chilled glasses, ensuring a generous amount of the vibrant, frosty mixture is visible.
    8. Garnish with additional mint leaves or a small lime wedge for a colorful, inviting presentation.
    9. Serve immediately with a straw or small spoon to enjoy the icy, refreshing treat.

    Notes

    For a dairy-free option, skip any added dairy. Adjust the sweetness with honey or agave syrup as desired. Use frozen strawberries if fresh are unavailable for an even more intensely chilled slushie.
    As the seasons shift and strawberries become more abundant, this slushie is a charming way to celebrate fleeting summer sweetness. Its bright color and refreshing flavor make every sip feel like a little victory against the heat.

    This simple recipe reminds us that sometimes, the best treats are the easiest to whip up and share. It’s perfect for spontaneous gatherings or quiet afternoons when a cold glass is all you need to lift your spirits. Cheers to more frozen moments of joy that keep you cool and smiling.

  • Frosty Lemonade Slushie: A Cool Escape from Heat

    Frosty Lemonade Slushie: A Cool Escape from Heat

    When summer hits its stride, my kitchen transforms into a test lab for cold, refreshing treats. This lemonade slushie isnt just a drink; its a nostalgic whirl of sour and sweet frozen into a chilly cascade. I remember making this with my grandmother, the air thick with the scent of lemon zest and sugar.

    But what makes this version stand out isnt just the traditional tang. Its a playful twist on a classic, with a hint of mint and a splash of sparkling water to add a lively sparkle. Its a celebration of simplicity and summer’s bounty captured in a glass, perfect for hot afternoons or unexpected guests.

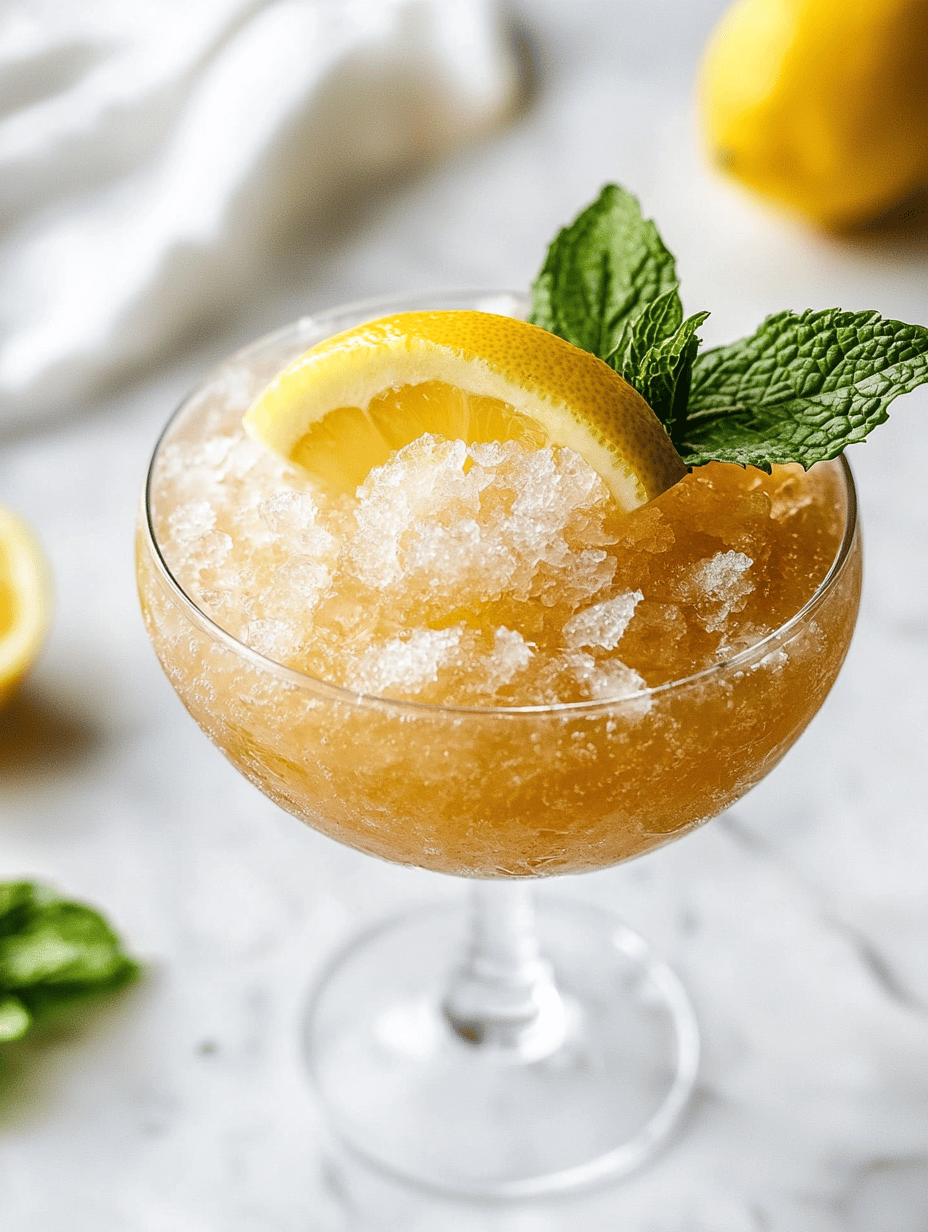
    Lemonade Mint Slushie

    This lemonade slushie combines fresh lemon juice, sugar, and mint leaves blended with ice to create a frozen, icy beverage. The final texture is a smooth, slushy mixture with a bright lemon flavor and a refreshing mint finish, topped with sparkling water for a lively sparkle.
    Prep Time 10 minutes
    Total Time 10 minutes
    Servings: 4
    Course: Main Course
    Cuisine: American
    Calories: 120

    Ingredients
      

    • 1 cup fresh lemon juice preferably freshly squeezed
    • 0.75 cup granulated sugar adjust to taste
    • 1 cup fresh mint leaves about a handful
    • 4 cups ice cubes crushed or whole
    • 1 cup sparkling water chilled, for topping

    Equipment

    • Blender
    • Measuring cups and spoons
    • Citrus juicer
    • Muddler or spoon
    • Tall glasses

    Method
     

    1. Juice the lemons using a citrus juicer until you have about one cup of fresh lemon juice. Set aside.
    2. Add sugar to a small bowl and whisk until it begins to dissolve, or set aside for later addition.
    3. Muddle the mint leaves gently in a glass or mortar to release their aromatic oils.
    4. Combine the lemon juice, muddled mint, and sugar in a blender. Blend briefly until the mint is finely chopped and the sugar begins to dissolve.
    5. Add the ice cubes to the blender and blend on high until the mixture is smooth and slushy, with a frosty, icy texture.
    6. Pour the frozen mixture into tall glasses, filling them about three-quarters full.
    7. Top each glass with chilled sparkling water to add a lively fizz and refresh the flavors.
    8. Garnish with a sprig of fresh mint and a lemon wedge if desired. Serve immediately and enjoy the icy, citrusy coolness.

    Notes

    Adjust the sweetness by adding more or less sugar. For a less sweet version, reduce the sugar or use honey or agave syrup. The mint can be replaced or supplemented with basil for a different herbal note.

    This lemonade slushie isnt just a recipe; its a moment of refreshment nestled in a glass. It captures the essence of summer in every icy sip, embodying the joy of simplicity with a twist. The best part? It comes together in minutes, making it your go-to chilly treat whenever the heat rises too high.

    As the days grow longer and the air turns sticky, having this frozen lemonade ready is a relief. Its a reminder that some of the best pleasures are the simplest—bright, zesty, and perfectly chilled. Just the thing to keep cool and carry on with summers quiet magic.

  • Chill Out with a Whiskey Slushie: The Unexpected Summer Cheers

    Chill Out with a Whiskey Slushie: The Unexpected Summer Cheers

    Imagine a warm summer evening, the sun setting and a sudden craving for something icy and spirited. A whiskey slushie is just the twist your backyard gatherings need, blending smooth spirits with icy sweetness. Creating a slushie from whiskey might sound unconventional, but it’s surprisingly simple and endlessly customizable.

    What makes this recipe stand out is its nostalgic nod to childhood snow cones but with a grown-up kick. The cold, slightly melting texture of the slushie coupled with the warm aroma of whiskey offers a delightful sensory mix. This drink isn’t just refreshing—it evokes memories of carefree summer nights.

    Whiskey Slushie

    A whiskey slushie is a frozen blended drink combining smooth whiskey with sweetened ice, creating a icy, semi-liquid dessert with a vibrant, frosty appearance. The mixture is blended until smooth and served with a slushy texture, offering a refreshing and spirited summer treat.
    Prep Time 10 minutes
    Total Time 10 minutes
    Servings: 2
    Course: Main Course
    Cuisine: American
    Calories: 150

    Ingredients
      

    • 1 cup whiskey choose your preferred type
    • 2 cups ice cubes preferably crushed or small pieces
    • 2 tablespoons simple syrup adjust sweetness as desired

    Equipment

    • Blender
    • Measuring cups and spoons
    • Wine glass or cocktail cup

    Method
     

    1. Measure and pour the whiskey into the blender, filling about a quarter of the container.
    2. Add the ice cubes into the blender, spreading them evenly over the whiskey.
    3. Pour in the simple syrup, which will balance the drink’s flavors and add sweetness.
    4. Secure the lid on the blender and blend on high speed for about 30-45 seconds, until the mixture is slushy and smooth, with a slightly icy yet liquefied consistency.
    5. Stop the blender and check the texture; it should be evenly frozen with a frosty appearance, like a thick snow cone.
    6. Pour the blended whiskey slushie into chilled glasses or cocktail cups, capturing the icy, frosty look.
    7. Optionally, garnish with a twist of lemon or a cherry for visual flair.
    8. Serve immediately with a straw or small spoon to enjoy the cold, spirited sip.

    Notes

    For a sweeter drink, add more simple syrup; for a stronger flavor, increase the whiskey. Be sure to serve immediately to enjoy the optimal icy texture.

    Serving this whiskey slushie is like throwing a mini party in each glass. It’s perfect for relaxing after a long day or impressing friends with your quirky cocktail skills. As the ice melts slightly, the flavors deepen, making each sip a new experience.

    In a season full of cool beverages, this one stands out for its unexpected sophistication. Sometimes, the simplest ideas—like frozen whiskey—bring the most joy. Cheers to spontaneous summer treats that turn ordinary moments into celebrations.

  • Chill Out with a Blue Raspberry Slushie: Beyond the Basic Blend

    Chill Out with a Blue Raspberry Slushie: Beyond the Basic Blend

    Nothing beats the chaos of blending a neon blue drink on a hot afternoon, especially when it tastes like pure childhood nostalgia. The electric hue of this blue raspberry slushie makes it stand out from regular fruit drinks, acting as a vibrant splash of color and flavor. It’s not just a refresher — it’s an experience that sparks joyful chaos during your summer hangouts.

    What makes this recipe special isn’t just the flavor but the playful unpredictability, from the frosty texture to the burst of sweet-tart raspberry. It’s perfect for parties, a quick cool-down, or simply a treat to beat the heat with a splash of color and a blast of berry. Plus, it’s insanely easy to whip up, even when the freezer feels uninspired.

    Blue Raspberry Slushie

    A vibrant, icy beverage made with raspberry syrup and crushed ice, blended to a frosty, smooth consistency. The final drink features a bright blue hue with a tart-sweet flavor profile and a slushy texture that melts in your mouth.
    Prep Time 5 minutes
    Total Time 5 minutes
    Servings: 2
    Course: Main Course
    Cuisine: Global
    Calories: 150

    Ingredients
      

    • 1 cup frozen raspberries fresh or frozen
    • 1/2 cup blue raspberry syrup adjust to taste
    • 1 cup crushed ice

    Equipment

    • Blender
    • Measuring cups
    • Ice Crusher or Blender with ice crushing function

    Method
     

    1. Add the frozen raspberries, blue raspberry syrup, and crushed ice into the blender.
      1 cup frozen raspberries, 1/2 cup blue raspberry syrup, 1 cup crushed ice
    2. Blend on high speed until the mixture is uniformly slushy and smooth, with a frosty texture and no large ice chunks.
    3. Stop the blender and check the consistency; if it’s too thick, add a splash of water and blend briefly to loosen it up.
    4. Pour the icy blue raspberry mixture into tall glasses, filling them just to the rim.
    5. Garnish with fresh raspberries or a sprig of mint for a colorful finishing touch.
    6. Serve immediately with a straw, and enjoy the bright, icy burst of berry flavor.
    This blue raspberry slushie is more than just a frozen drink. It taps into the nostalgic joy of childhood treats, powered up with a splash of vibrant color and flavor. Perfect for sunny days, social gatherings, or when you just need a fun way to cool off, it’s one recipe you’ll want to keep on hand.

    Whether you’re adding a splash of sparkle or swapping ingredients, this treat adapts to whatever you have in the pantry. It’s a playful, crowd-pleasing refreshment that makes every sip a tiny celebration of chaos and color.

  • The Cherry Trick: Frozen Summer Bliss with a Twist

    The Cherry Trick: Frozen Summer Bliss with a Twist

    When summer hits its peak, I love diving into unexpected ways to cool down. This cherry slushie isn’t just a drink; it’s a little rebellion against the usual iced coffees and lemonades. Its vibrant red hue and burst of frozen cherry flavor make it feel like a secret scoop of summer in each sip.

    What makes this cherry slushie stand out is the way a simple fruit transforms into a chilled adventure. I often find myself craving this at sunset, when the air is warm but not oppressive. It’s like capturing the essence of a cherry orchard but freeze-dried into a refreshing splash of cold joy.

    WHY I LOVE THIS RECIPE?

    • I adore how it turns humble cherries into a stunning icy treat.
    • The mix of sweet and tart is a nostalgic throwback to childhood joys.
    • It’s outrageously simple—just a handful of ingredients and a blender.
    • Every sip refreshes and sparks a little chaos on a scorching day.
    • The bright red color makes it feel like a playful art project for my glass.

    AVOID MY DISASTER (You’re Welcome)

    • FORGOT to freeze the cherries overnight, resulting in a thin slush. Freeze at least 4 hours.
    • DUMPED too much syrup, making it overly sweet. Keep the syrup measurement in check.
    • OVER-TORCHED the ice in the blender—causes splatters and a no-go. Use short pulses.
    • ACCIDENTALLY used hot water instead of cold, melting the ice fast. Always start with cold ingredients.

    QUICK FIXES THAT SAVE YOUR DAY

    • When the texture is too watery, add a handful of frozen bananas for creaminess.
    • Splash some lemon juice to balance overly sweet flavors.
    • Patch flavor with a dash of vanilla extract for complexity.
    • Shield your blender with towels if the ice causes loud noise and splatter.
    • When in doubt, re-freeze the mixture in a tall glass to thicken.

    As summer’s warmth continues to spread, having a batch of this cherry slushie ready feels like a small victory. Its bright flavor and icy crunch are perfect for spontaneous gatherings or just a moment of solo refreshment.

    It’s a simple reminder that sometimes the best ideas come from a handful of frozen fruit and a bit of chaos in the kitchen. With this recipe, I get to indulge in a fruity escape that’s quick, colorful, and utterly satisfying.

    Cherry Slushie

    A refreshing icy beverage made by blending frozen cherries with sweetener and ice, resulting in a vibrant red, semi-frozen treat with a smooth, slushy texture. The process involves freezing cherries, then blending until smooth and icy to create a cooling summer drink.
    Prep Time 10 minutes
    Cook Time 5 minutes
    Total Time 15 minutes
    Servings: 2
    Course: Main Course
    Cuisine: International
    Calories: 120

    Ingredients
      

    • 2 cups frozen cherries pitted and frozen overnight
    • 2 tablespoons sweetener (sugar syrup or honey) adjust to taste
    • 1 cup ice cubes crushed or whole
    • 1/4 cup cold water or cherry juice for blending

    Equipment

    • Freezer
    • Blender

    Method
     

    1. Measure out and place the frozen cherries into your blender, ensuring they were frozen overnight for the best icy texture.
    2. Add the sweetener and cold water (or cherry juice) to the blender, giving the cherries a little extra liquid to blend smoothly.
    3. Toss in the ice cubes, which will help create that signature slushy consistency and chill the mixture further.
    4. Secure the lid and start blending on low speed, gradually increasing to high, until the mixture is thick, icy, and smooth, with a vibrant red color.
    5. Stop the blender and check the texture; if it’s still too icy, blend for a few more seconds. If it’s too thick, add a splash more water or juice to loosen it up.
    6. Pour the cherry slushie into glasses, filling them to the brim, and garnish with fresh cherries or a sprig of mint if desired.

    Notes

    Ensure cherries are fully frozen before blending for the best slushie texture. Adjust sweetness based on the tartness of the cherries. Serve immediately for a truly icy experience.

    This cherry slushie isn’t just a treat; it’s a mini celebration of summer’s fleeting beauty. As the seasons shift, these cold, vibrant moments become all the more precious. It’s perfect for bringing a little joy to lazy afternoons or busy weekends alike.

    Whenever I sip this, I am transported to a place of simple pleasure—a reminder to enjoy the little things. Summer might be temporary, but the memory of a cool, sweet cherry slushie can stay fresh much longer.

  • Frozen Island Escape: The Unconventional Pia Colada Slushie

    Frozen Island Escape: The Unconventional Pia Colada Slushie

    Imagine capturing the tropics in a single sip without leaving your kitchen. This pia colada slushie isn just isn your typical frozen drink; it’s a nostalgic voyage back to childhood summers with a twist of adult indulgence. I discovered this recipe while experimenting with unexpected flavor combinations that evoke sunlit memories.

    The secret lies in the way frozen pineapple and coconut milk meld into a silky, frosty texture that feels like a vacation at first sip. Perfect for lazy weekends or unexpected guests, this slushie transforms simple ingredients into something refreshingly unique. It’s the kind of treat that makes you smile even before the first sip.

    WHY I LOVE THIS RECIPE?

    • It reminds me of carefree summer days by the beach, with the scent of salt and ripe pineapple in the air.
    • The texture is incredibly smooth, almost like biting into a frozen tropical sunset.
    • I love how flexible the recipe is—add a splash of rum or top with toasted coconut for extra flair.
    • This slushie is a cheerful chaos of flavors that dance on your tongue, yet feels perfectly balanced.
    • Making it is a joyful mess—blenders humming, ice cracking, and my kitchen smelling like a tropical paradise.

    AVOID MY DISASTER (You)
    • FORGOT to chill the coconut milk overnight. It froze into icy blocks. Freeze ahead!
    • DUMPED too much ice in the blender. Resulted in a watered-down mess. Adjust ice gradually.
    • OVER‑TORCHED the toasted coconut topping. Smashed it into burnt bits. Keep a close eye!
    • MISSED blending long enough. The pieces were chunky. Blend until silky smooth, about 30 seconds.

    QUICK FIXES THAT SAVE YOUR DAY

    • If the mixture is too thin, SPLASH in more frozen pineapple for thickness.
    • WHEN your blender stalls, SHIELD the base with a towel and blend in pulses.
    • DUMP extra coconut milk if your slushie feels too icy or runny.
    • Splash a bit of pineapple juice to enhance sweetness and aroma.
    • When in doubt, PANTRY swap: freeze store-bought pineapple chunks if fresh isn available.

    The playful, tropical burst of this pia colada slushie makes it a standout. It captures the essence of summer in every frosty sip, perfect for those days when you need a quick escape. As the seasons turn and gatherings unfold, this recipe offers a splash of sunshine and a dash of nostalgia.

    Whether you share it with friends or enjoy it alone on a quiet afternoon, it reminds us how simple ingredients can turn into something magical. Pour it into your favorite glass, garnish with a pineapple wedge, and let each sip transport you to island breezes and palm trees.

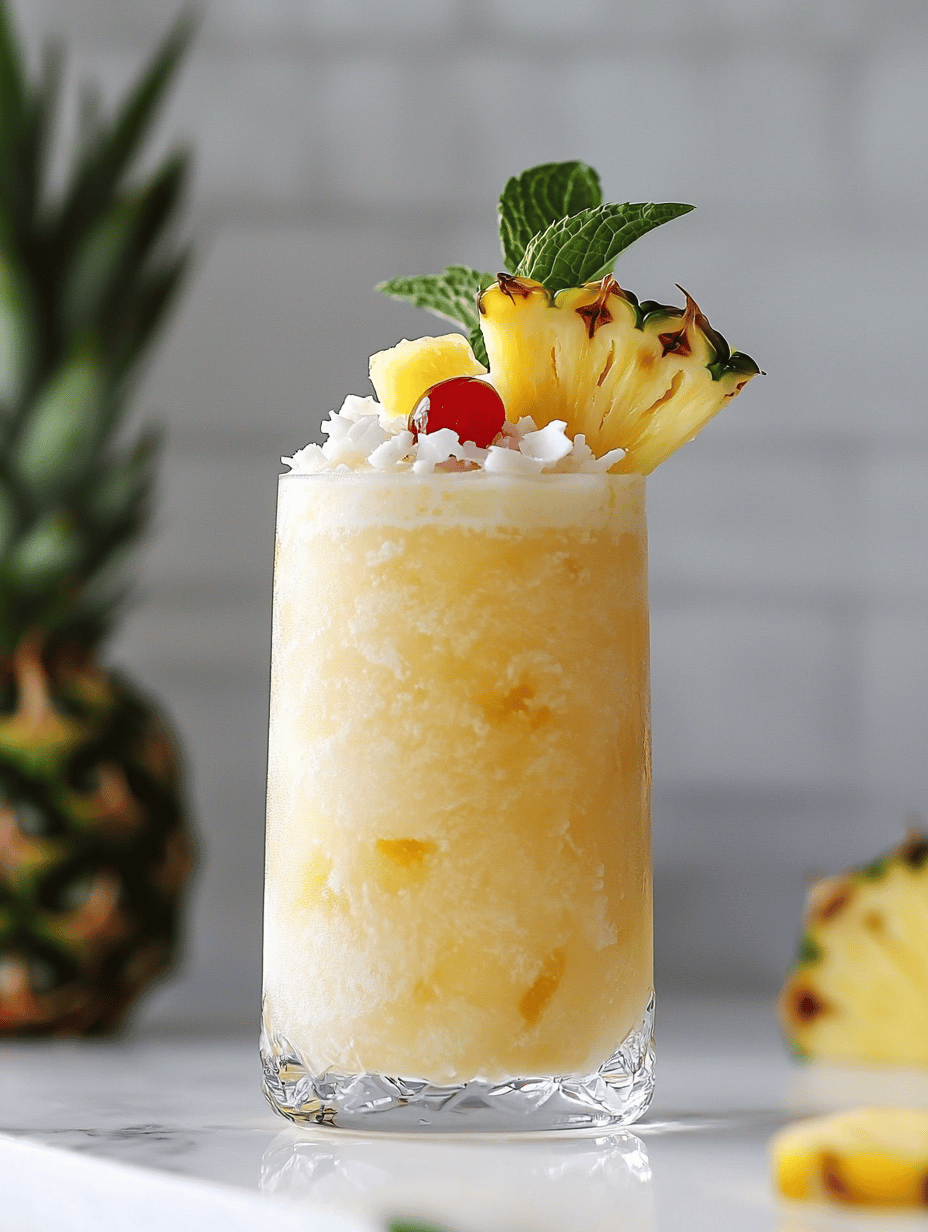
    Pina Colada Slushie

    This piña colada slushie combines frozen pineapple chunks and coconut milk blended into a creamy, frosty beverage that resembles a tropical sunset. The mixture has a smooth, icy texture with a vibrant, pale yellow appearance, perfect for sipping on a warm day or serving at gatherings.
    Prep Time 10 minutes
    Total Time 10 minutes
    Servings: 2
    Course: Main Course
    Cuisine: Tropical
    Calories: 180

    Ingredients
      

    • 2 cups frozen pineapple chunks preferably frozen ahead for best texture
    • 1 cup coconut milk chilled in the fridge overnight for optimal blending
    • 1 cup ice cubes to add frosty texture
    • 1 tablespoon simple syrup or honey optional, for added sweetness

    Equipment

    • Blender
    • Measuring cups

    Method
     

    1. Add the frozen pineapple chunks, chilled coconut milk, ice cubes, and sweetener (if using) to your blender.
    2. Secure the lid and blend on high for about 30 seconds, pulsing as needed, until the mixture becomes silky and frothy with a uniform pale yellow color.
    3. Stop the blender and check the texture; if it’s too thick, add a splash more coconut milk and blend again. If it’s too thin, add a handful of frozen pineapple chunks and blend briefly.
    4. Once the mixture is smooth, creamy, and well-blended, pour it into chilled glasses.
    5. Garnish with a pineapple wedge or a maraschino cherry for a festive touch, if desired.
    6. Enjoy your refreshing tropical piña colada slushie immediately for the best icy texture and flavor.

    Notes

    For an adult version, add a splash of rum before blending. For an extra tropical twist, sprinkle toasted coconut on top or rim the glass with shredded coconut. Remember to freeze the coconut milk overnight to prevent icy chunks and ensure smooth blending.
    Creating this pia colada slushie was a delightful reminder of how unexpected ingredients and a bit of fun can turn into a refreshing masterpiece. It perfect for hot days, lazy weekends, or whenever your spirit craves a vacation.

    I hope this recipe inspires you to experiment with your own tropical twists. Sometimes the best ideas come from playful chaos in the kitchen and a love for all things sunny and sweet. Cheers to cool escapes and sweet surprises in every glass.

  • Frozen Margarita Slushie: A Cool Twist on a Classic

    Frozen Margarita Slushie: A Cool Twist on a Classic

    As the summer heat peaks, I find myself craving a frozen treat that hits all the right notes—refreshing, tangy, with a hint of boozy chill. The frozen margarita slushie is my unexpected go-to when I want something simple yet indulgent, but with an unusual twist. It’s like a vacation in a glass, perfect for spontaneous backyard gatherings or solo afternoons soaking up the sun.

    This recipe transforms the classic cocktail into a icy, slushy delight that’s surprisingly easy to whip up with everyday ingredients. The secret lies in just blending good tequila with lime and a touch of sweetness till smooth and icy. No blender? No problem: this can be tweaked for a handheld alternative, still delivering that icy punch.

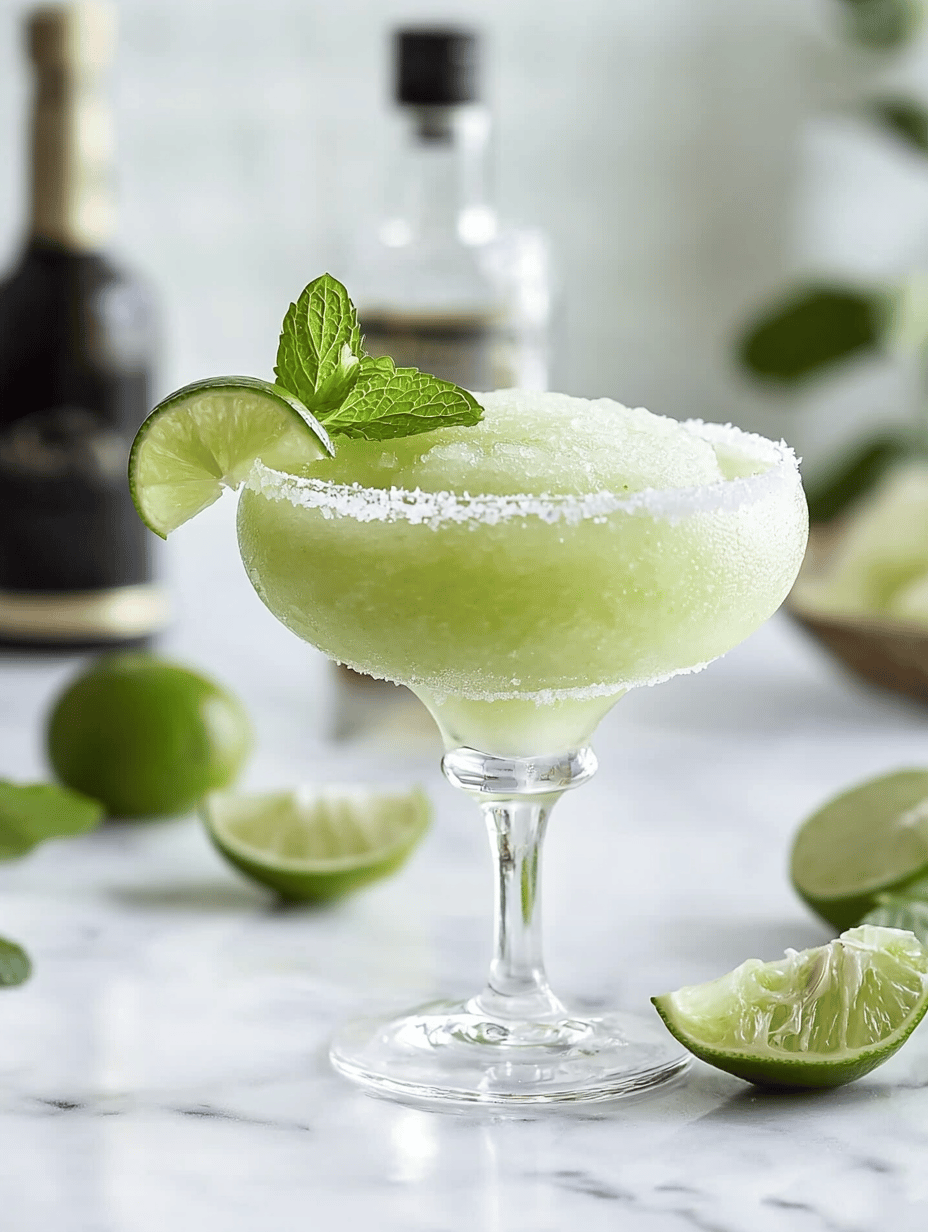
    Frozen Margarita Slushie

    The frozen margarita slushie is an icy, lightly boozy treat made by blending tequila, lime juice, and sweetener until smooth and frosty. It has a vibrant, slushy texture and a tangy flavor profile, resembling a frozen cocktail in a glass. Perfect for hot days or casual gatherings, it offers a refreshing and indulgent escape.
    Prep Time 10 minutes
    Total Time 10 minutes
    Servings: 2
    Course: Main Course
    Cuisine: cocktail
    Calories: 150

    Ingredients
      

    • 1 ½ oz tequila preferably blanco or silver
    • 1 oz lime juice freshly squeezed for best flavor
    • 0.5 oz simple syrup adjust to taste for sweetness
    • 1 cup ice cubes

    Equipment

    • Blender
    • Measuring cups and spoons

    Method
     

    1. Measure out the tequila, lime juice, and simple syrup, then add them into the blender.
    2. Add the ice cubes to the blender with the liquid ingredients.
    3. Secure the lid and blend everything on high until the mixture is completely smooth and icy, about 30-45 seconds. You should see a thick, frosty texture with no ice chunks remaining.
    4. Pause the blender and check the consistency; if it’s too thick, add a splash of lime juice or tequila and blend briefly to loosen.
    5. Once the mixture is smooth and scoopable, pour the slushie into chilled glasses.
    6. Garnish with lime wedges or slices if desired, and serve immediately for the perfect icy chill.

    What makes this frozen margarita slushie stand out is its adaptable nature—you can customize the sweetness or add a splash of fruit juice for extra depth. It’s perfect for cooling down hot days or simply adding a festive refreshment to any occasion. Plus, the minimal effort means less time in the kitchen and more time savoring the chill.

    Sticky with memories of lazy summer afternoons, this recipe feels like an instant vacation. It’s a reminder that sometimes, all you need is a quick, icy sip to reset and enjoy the moment. Whether as a treat or a crowd-pleaser, it’s ready to become your new favorite frozen escape.

  • Sun-Kissed Watermelon Slushie: A Cool Twist for Bright Days

    Sun-Kissed Watermelon Slushie: A Cool Twist for Bright Days

    Ever wondered how to turn a simple watermelon into a refreshing masterpiece that captures the essence of summer? This watermelon slushie is not just about hydration; it’s about experiencing the sweet, juicy burst of watermelon infused with a hint of mint that makes every sip feel like a breeze. The best part? It’s so straightforward that even the busiest days can turn into a mini celebration.

    Imagine standing in your kitchen, hearing the crunch of ice, smelling the sweet aroma of ripe watermelon, and then blending it all into a frosty dream. This recipe isn’t just a drink; it’s a mini escape, perfect for sunny afternoons or last-minute gatherings. It’s a cool, vibrant reminder that summer’s simple pleasures are often the most satisfying.

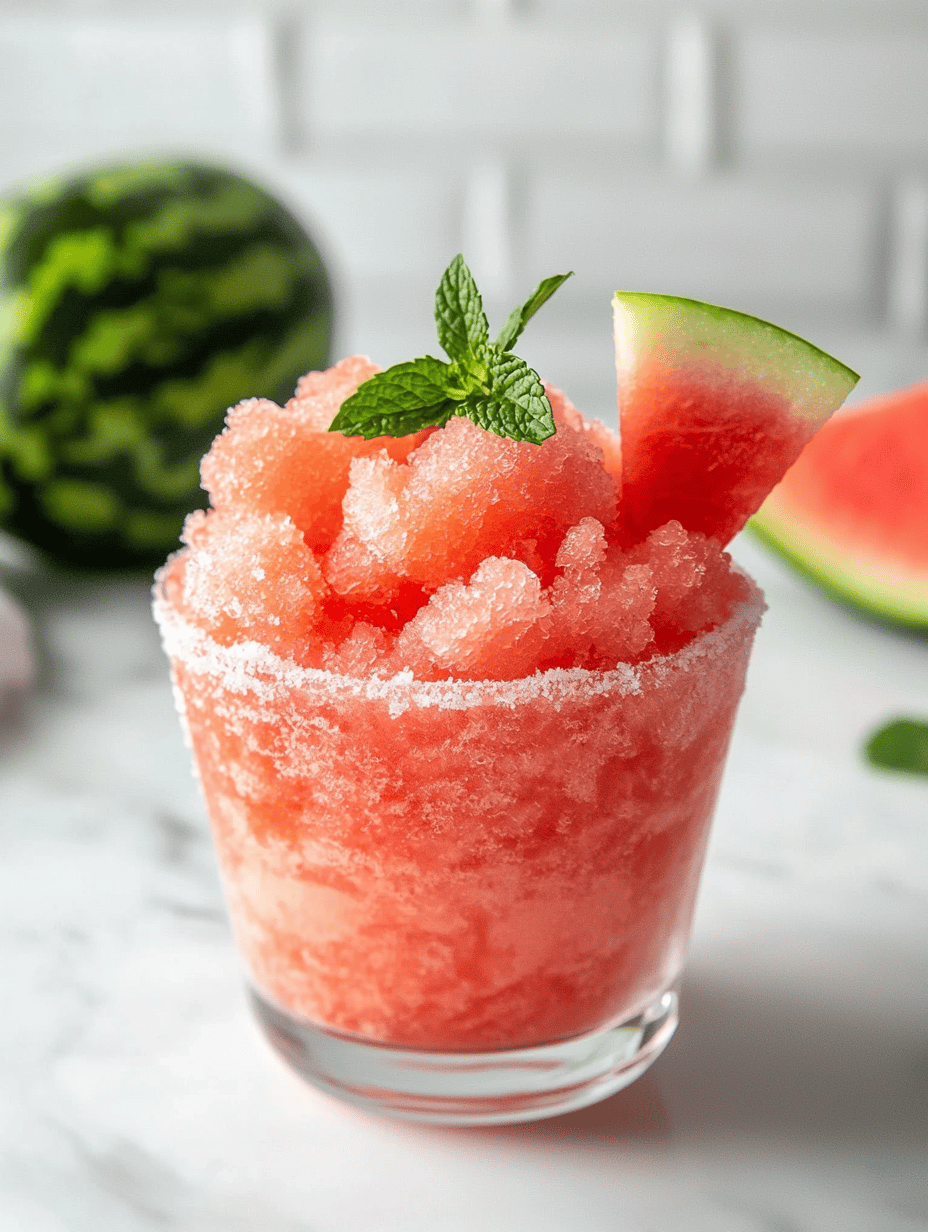
    Watermelon Mint Slushie

    This watermelon slushie combines pureed ripe watermelon with crushed ice and fresh mint leaves to create a chilled, refreshing beverage. The mixture results in a vibrant, icy drink with a smooth, slushy texture and bright, fruity flavor. It’s perfect for hot summer days and easy to prepare with simple blending techniques.
    Prep Time 10 minutes
    Total Time 10 minutes
    Servings: 2
    Course: Main Course
    Cuisine: Summer
    Calories: 80

    Ingredients
      

    • 4 cups ripe watermelon chunks seedless if possible
    • 1 cup crushed ice or more as needed
    • 8 fresh mint leaves mint leaves plus extra for garnish

    Equipment

    • Blender
    • Knife
    • Cutting board

    Method
     

    1. Cut the ripe watermelon into smaller chunks, removing any seeds if necessary, and place them into the blender.
    2. Add the fresh mint leaves to the blender with the watermelon.
    3. Pour in the crushed ice onto the watermelon and mint in the blender.
    4. Secure the lid on the blender and blend everything on high until the mixture is smooth and frosty, about 30-45 seconds.
    5. Pour the vibrant pink slushie into chilled glasses, watching it turn into a thick, icy beverage.
    6. Garnish each glass with a sprig of fresh mint for an aromatic and visual finishing touch.

    Notes

    For an extra burst of flavor, add a squeeze of lime before blending. Adjust the amount of crushed ice for desired thickness.
    As the watermelon slushie melts in your glass, it’s hard not to smile at how easy and fun summer treats can be. This recipe is a testament to that perfect combo of natural sweetness and icy refreshment, ideal for any warm day.

    Whether you’re lounging in a hammock or rushing through a hot afternoon, this slushie delivers a quick respite. Its vibrant color and fresh flavor make it impossible to resist. So next time you’re craving something cold, give this a whirl — your taste buds will thank you.

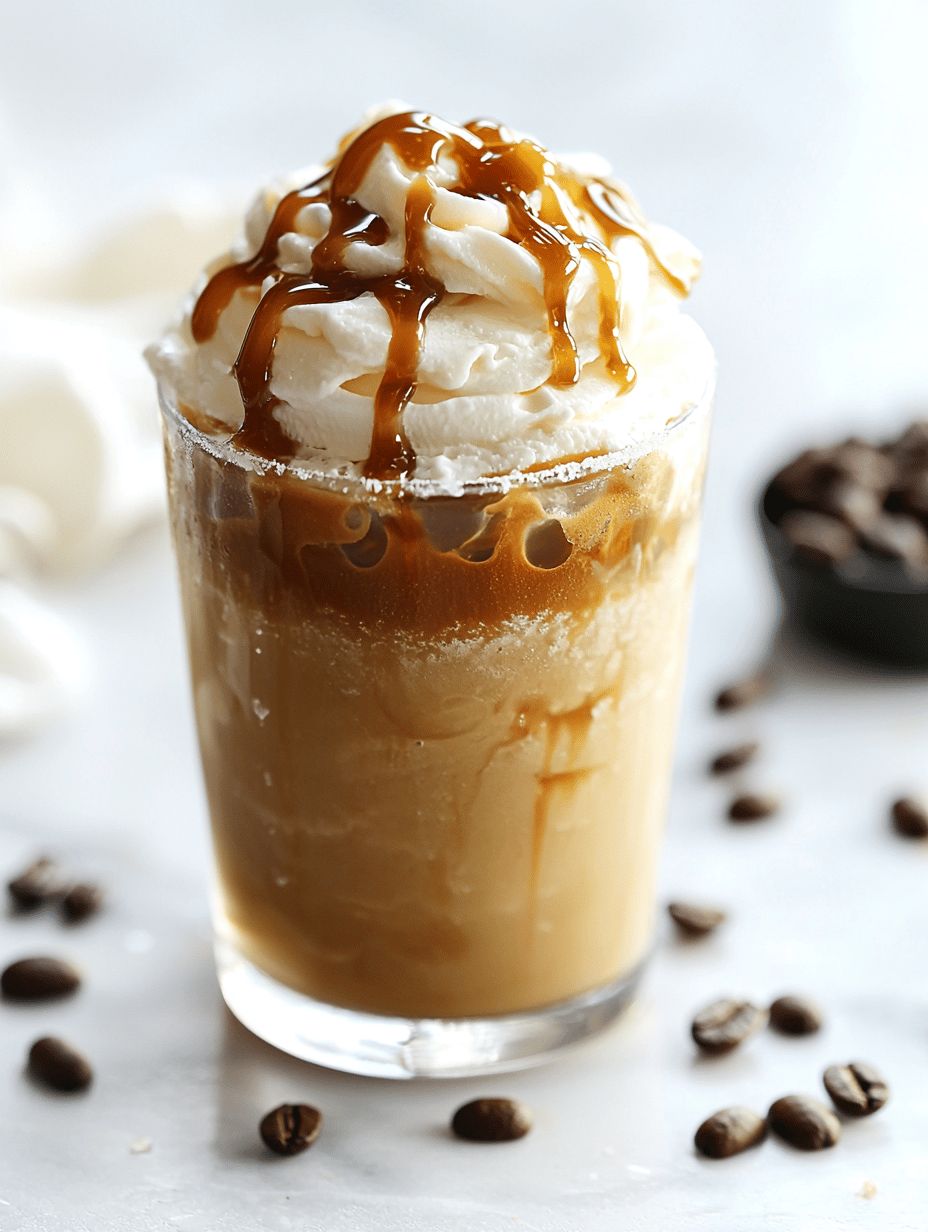
  • The Caramel Slushie Secret: Embrace the Sweet Cold Craze

    The Caramel Slushie Secret: Embrace the Sweet Cold Craze

    As the heat creeps up and summer days turn sticky, I stumble upon unusual ways to keep cool. This caramel slushie isn’t just a frozen treat; it’s a nostalgic whisper of childhood mixed with a daring twist of rich caramel flavor. I love how it transforms a simple icy drink into an indulgence that feels like a small celebration in every sip.

    There’s an art to balancing the cold and the caramel’s deep sweetness without turning the entire thing into sticky chaos. It’s surprisingly easy, but mastering that perfect velvety texture keeps me hooked. Plus, the aroma of caramel gently heating up as you blend adds an unexpected cozy touch to an otherwise chill creation.

    **WHY I LOVE THIS RECIPE?**

    • Joy of blending rich caramel with icy freshness in one glass.
    • Relief from the relentless summer heat with minimal effort.
    • Peek into my childhood days with a grown-up caramel twist.
    • I pride myself on creating DIY frozen treats that feel fancy.

    **AVOID MY DISASTER (You’re Welcome)**

    • FORGOT to chill the caramel syrup? It’s harder to blend smoothly—reheat and cool again.
    • DUMPED hot caramel into ice? It clumped into a sticky mess—wait till cooled slightly.
    • OVER‑TORCHED the sugar? It turned bitter—start fresh with a clean pan.
    • MISSED the ice-to-liquid ratio? Your slushie will be soupy—add more ice and blend again.

    **QUICK FIXES THAT SAVE YOUR DAY**

    • When texture is off, SPLASH in a bit of cold milk for creaminess.
    • Patch up sweetness with a pinch of sea salt—brings out caramel’s richness.
    • Shield your blender from overheating—pause every 30 seconds.
    • When in doubt, add one more handful of ice—crackles as it crushes.
    • For a quick fix, microwave slightly melted caramel—shimmering and smoothens instantly.

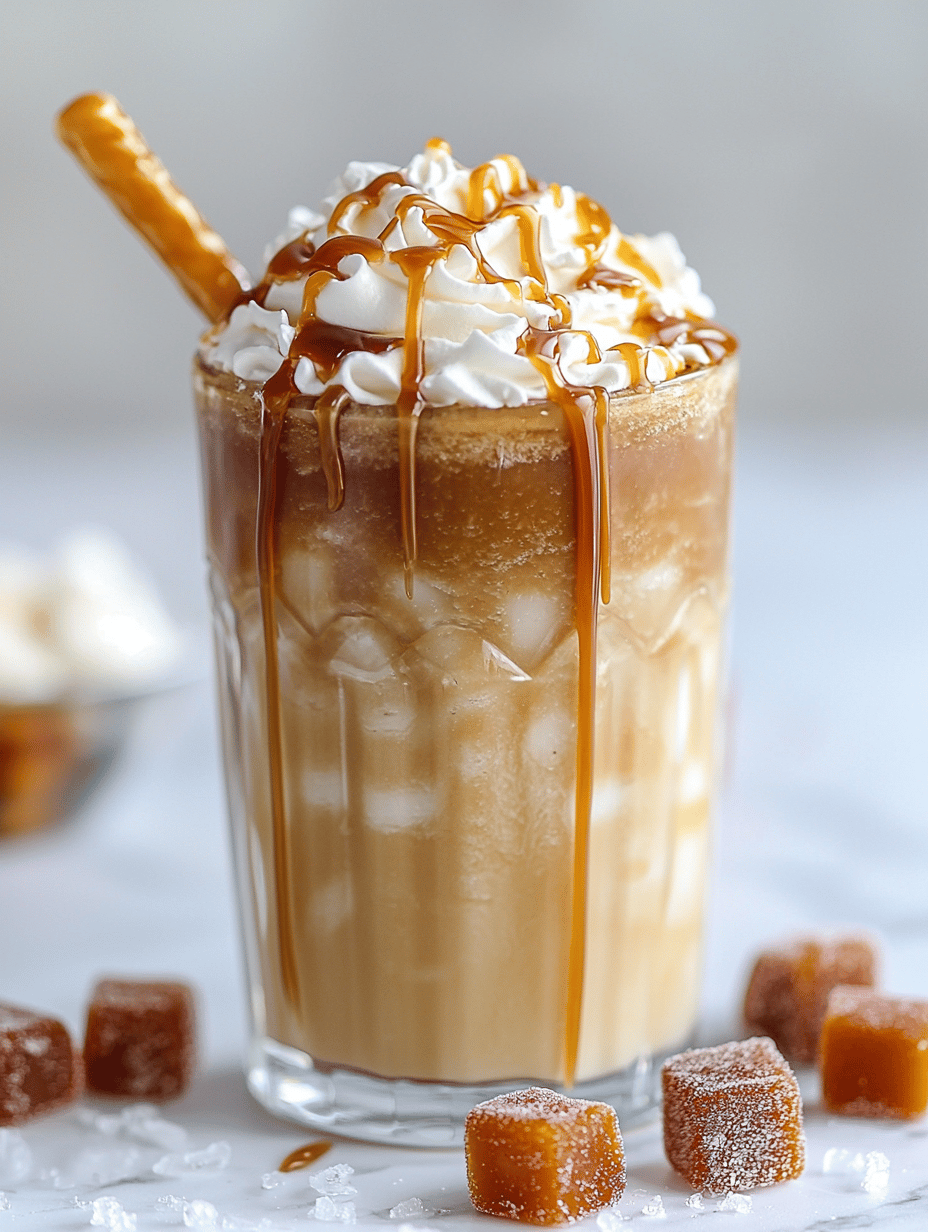
    Caramel Slushie

    This caramel slushie combines rich caramel syrup with crushed ice to create a frozen treat with a smooth, velvety texture. The mixture results in a creamy, icy beverage that showcases a deep caramel flavor, with a glossy appearance and a soft, slushy consistency.
    Prep Time 5 minutes
    Total Time 5 minutes
    Servings: 2
    Course: Main Course
    Cuisine: American
    Calories: 150

    Ingredients
      

    • 1/4 cup caramel syrup preferably smooth and cooled slightly
    • 2 cups ice cubes crushed or whole, enough to blend into slush
    • 1/4 cup milk add for creaminess if needed

    Equipment

    • Blender
    • Measuring Spoons

    Method
     

    1. Pour the caramel syrup into the blender, making sure it’s smooth and slightly cooled to avoid clumping.
    2. Add the ice cubes to the blender, filling it about three-quarters full to create a thick, icy base for the slushie.
    3. Pour in the milk to help blend the ice smoothly, adding a little more if the mixture seems too thick or starting to clump.
    4. Secure the lid on the blender and blend everything on high speed for about 30-45 seconds, until the mixture is thick, smooth, and velvety, with a glossy appearance.
    5. Stop the blender and check the texture — it should be creamy yet scoopable; if it’s too slushy, add a few more ice cubes and blend briefly.
    6. Pour the caramel slushie into chilled glasses, and garnish if desired with a drizzle of caramel or a light sprinkle of sea salt for extra flavor.
    7. Savor immediately with a straw or spoon, enjoying the cool, rich caramel flavor and the satisfying slushy texture.
    This caramel slushie is a fun diversion from the usual summer drinks, and it’s so easy to customize. Whether you add a splash of sea salt or a hint of vanilla, it’s your own frozen caramel canvas. As the season heats up, I find comfort in these little iced moments of joy, each sip cooling and sweet.

  • Blood-red Spirits: The Haunted Charm of the Halloween Bloody Mary

    Blood-red Spirits: The Haunted Charm of the Halloween Bloody Mary

    Unlike your typical brunch cocktail, this Halloween Bloody Mary transforms the classic into a spooky spectacle that dares to delight. The deep crimson hue, achieved with a splash of beet juice or a dash of paprika, evokes a sense of mystery and chaos. It’s not just a drink; it’s a conversation starter that gets everyone in the haunted season mood.

    Halloween Bloody Mary

    This Bloody Mary features a vibrant red hue enhanced with beet juice or paprika, presenting a rich and slightly smoky flavor. The drink is assembled by mixing tomato juice with flavorful seasonings and garnished with spooky accents, resulting in a smooth, visually striking beverage perfect for Halloween celebrations.
    Prep Time 10 minutes
    Total Time 10 minutes
    Servings: 1
    Course: Main Course
    Cuisine: American
    Calories: 120

    Ingredients
      

    • 3 oz tomato juice preferably chilled
    • 0.5 oz vodka optional for boozy version
    • 0.25 oz beet juice or paprika for color and slight earthiness
    • 1 tsp Worcestershire sauce
    • 0.5 tsp hot sauce optional for spice
    • 0.25 tsp celery salt
    • 1 pinch black pepper
    • Ice cubes for serving
    • lemon wedge for garnish
    • celery stalk or spooky garnish for garnish

    Equipment

    • Cocktail shaker or mixing glass
    • Stirring spoon
    • Strainer
    • Tall glass

    Method
     

    1. Start by pouring tomato juice into a cocktail shaker or mixing glass, then add a splash of beet juice or a dash of paprika to achieve a deep crimson color.
    2. Next, add Worcestershire sauce, hot sauce if you like some heat, celery salt, black pepper, and vodka if using. The seasoned tomato mixture will develop a rich aroma as you stir.
    3. Fill the shaker or mixing glass with ice cubes, then cover and shake vigorously for about 15 seconds until the mixture is cold and well combined.
    4. Strain the mixture into a tall glass filled with fresh ice, allowing the vibrant red color to settle in the glass’s shape.
    5. Garnish the Bloody Mary with a lemon wedge and a celery stalk, or add spooky decorations like olives or small plastic spiders for a Halloween touch.
    6. Serve immediately and enjoy the spooky, vividly-colored cocktail with its savory and slightly smoky flavor profile.

    This cocktail is more than just a beverage; it’s an experience. The eerie aroma of spices blending with the tangy tomato and the visual shock of a smoky rim makes it perfect for any Halloween gathering.

    Whether you’re daring to drink or simply want a show-stopping centerpiece, this Bloody Mary’s charm lies in its playful, sinister twist on tradition. It captures the spirit of unpredictability that makes October so uniquely thrilling.