Skip to content
Exploreing new tastes
Main Course
Desserts
Appetizers
Beverages
Side Dishes
Soups
Salads
Pinterest
Search
Toggle Menu
Beverages
Beverages
Peanut Butter Smoothies Recipe
Beverages
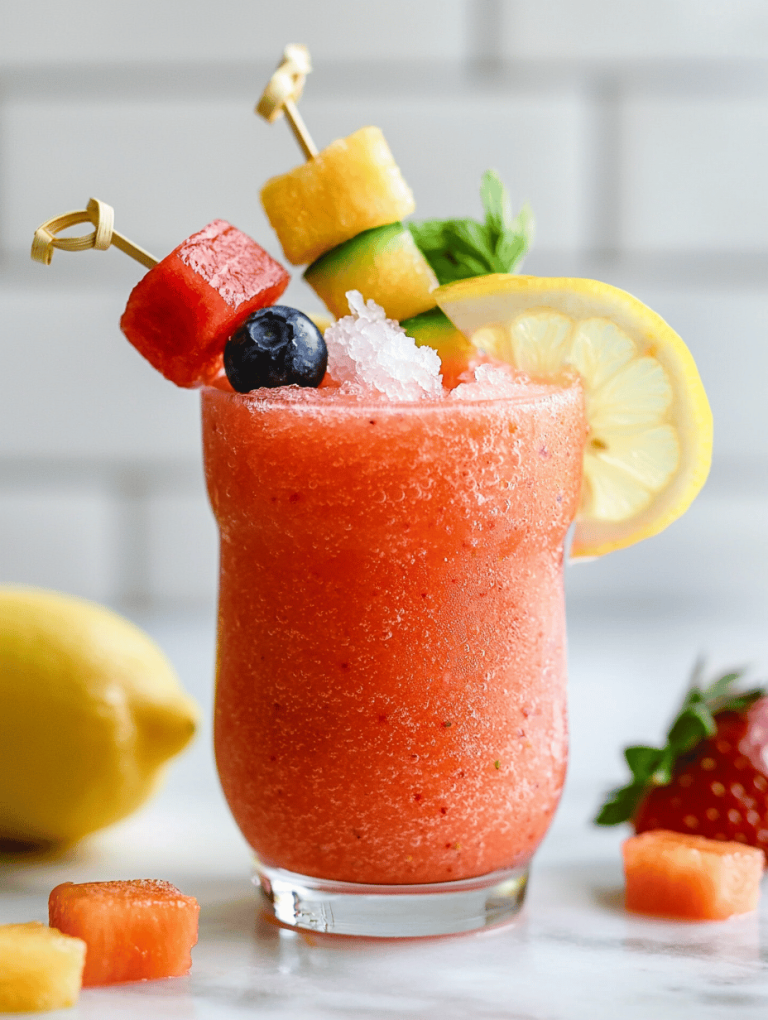
The Secret Nostalgic Chill: Kool Aid Slushie Revival
Beverages
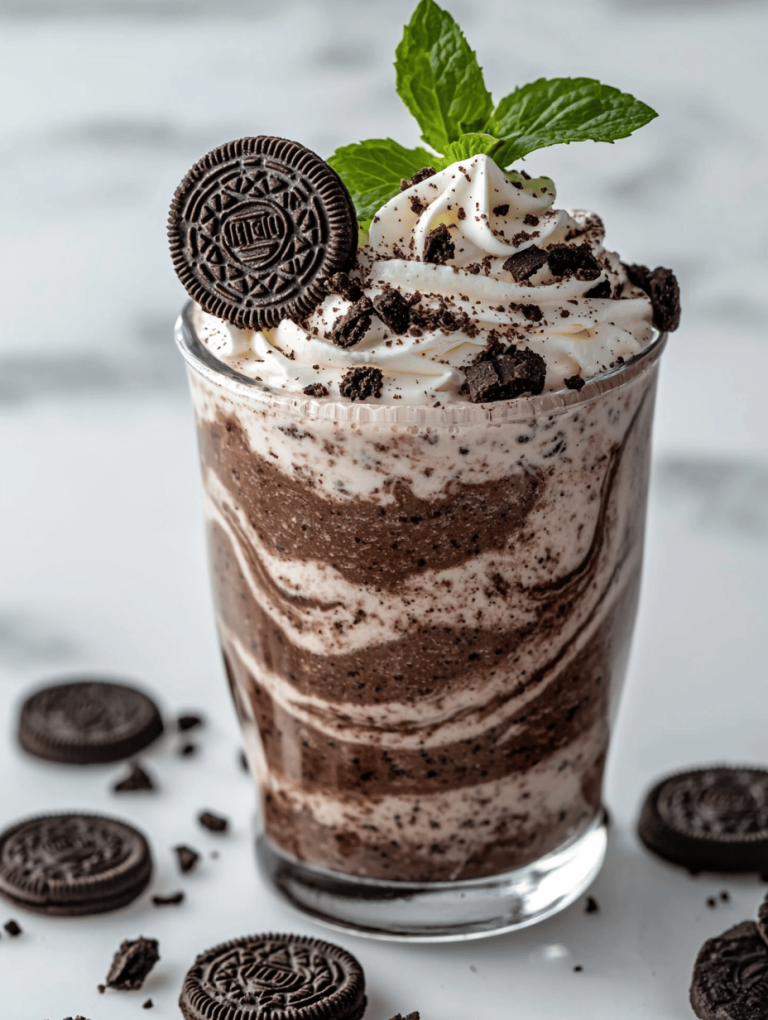
The Magic of Oreo Slushie: Nostalgia in a Glass
Beverages
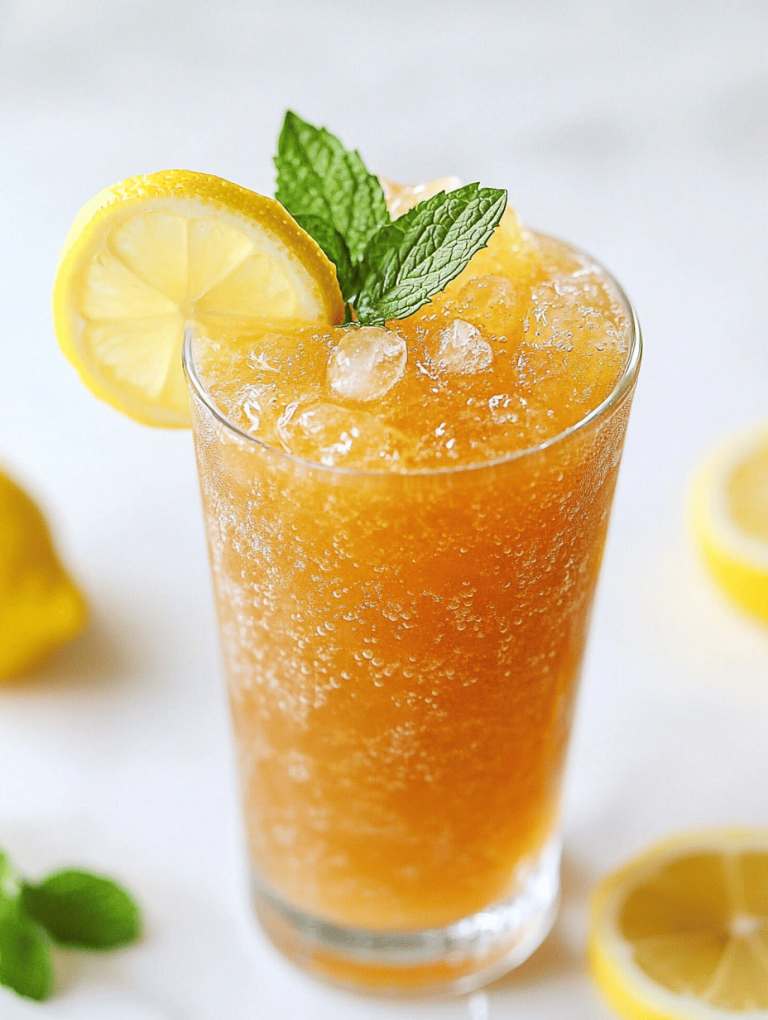
Chill Out with an Ice-Covered Tea Slushie: The Unexpected Twist
Beverages
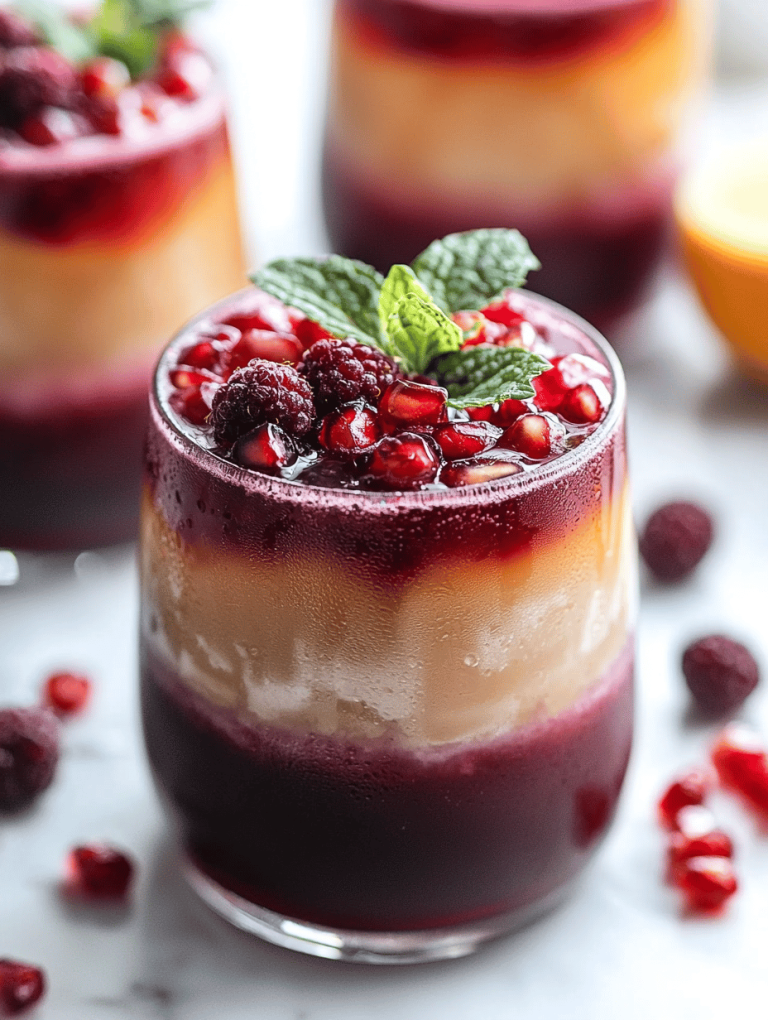
Spooktacular Sips: The Ultimate Halloween Monster Mash Punch
Beverages
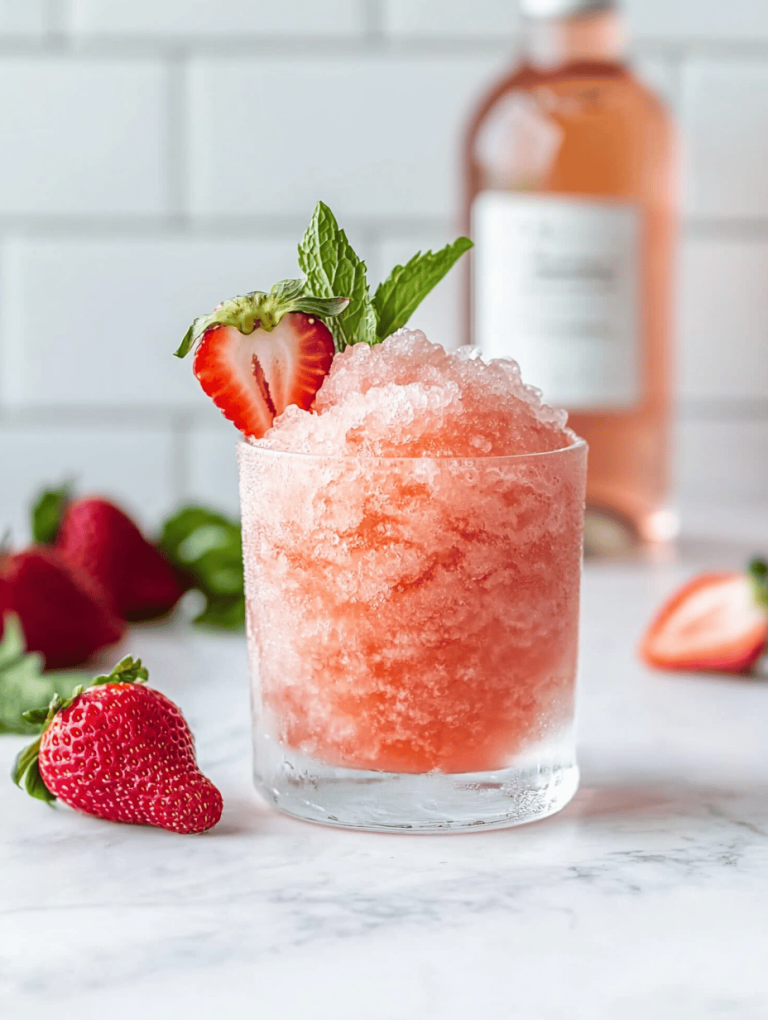
Chill Out with a DIY Rosé Slushie: The Unexpected Joy of Frozen Wine
Beverages
Spooky Splash: Crafting the Perfect Halloween Vampire Punch
Beverages
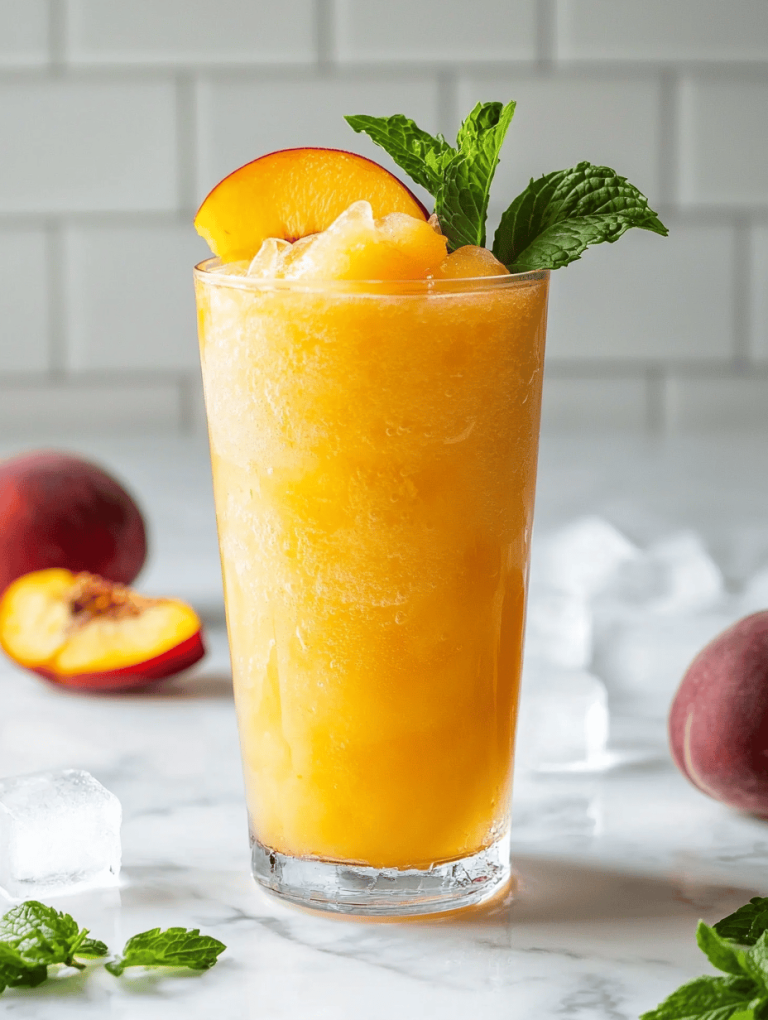
Peach Slushie Secrets: A Cool Twist for Spicy Days
Beverages
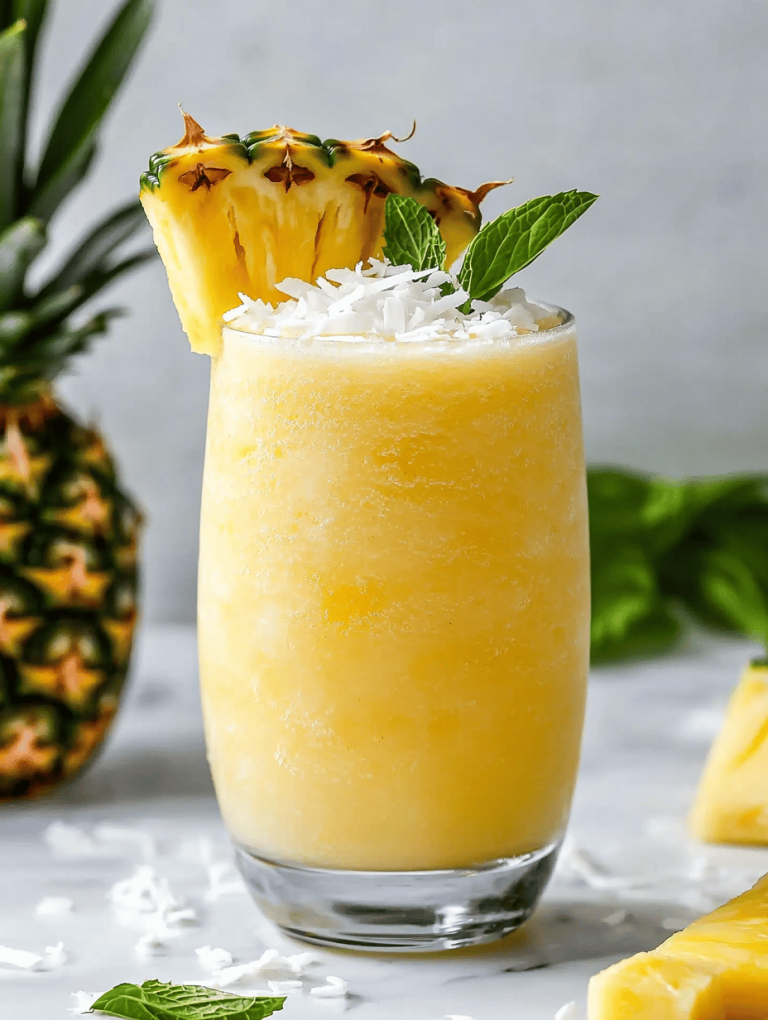
Tropical Twist: The Hidden Charm of Pineapple Slushie
Beverages
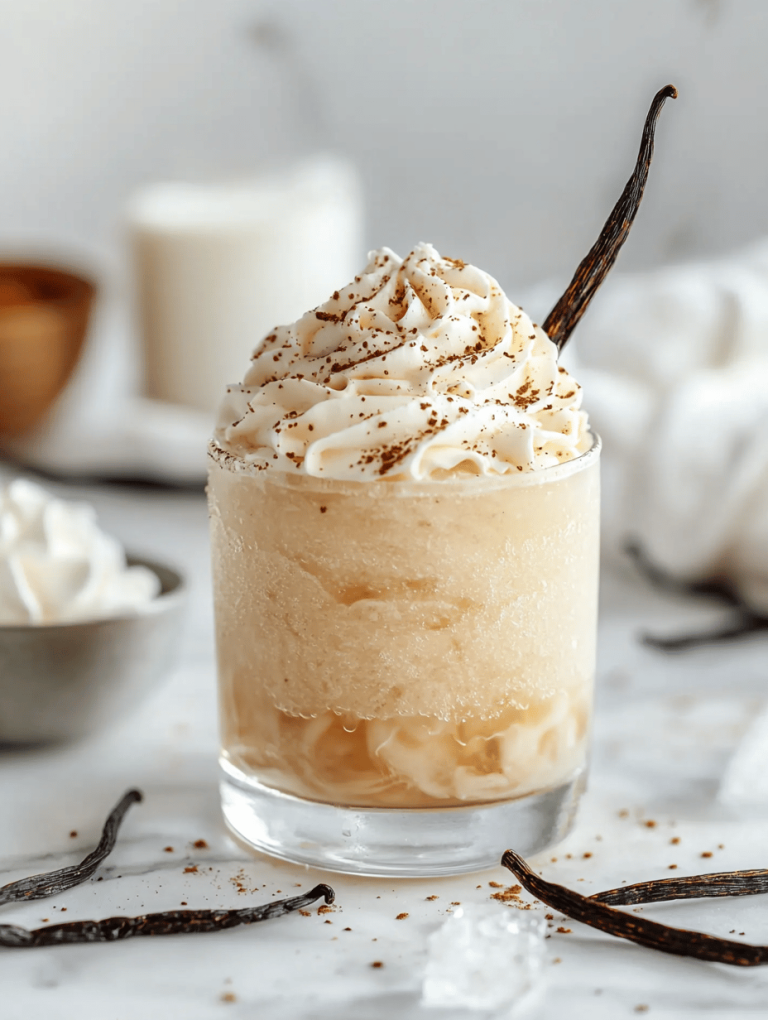
Chill Out with an Unusual Vanilla Slushie Twist
Page navigation
1
2
3
…
6
Next Page
Next
Scroll to top
Scroll to top
Main Course
Desserts
Appetizers
Beverages
Side Dishes
Soups
Salads
Toggle Menu Close
Search for:
Search