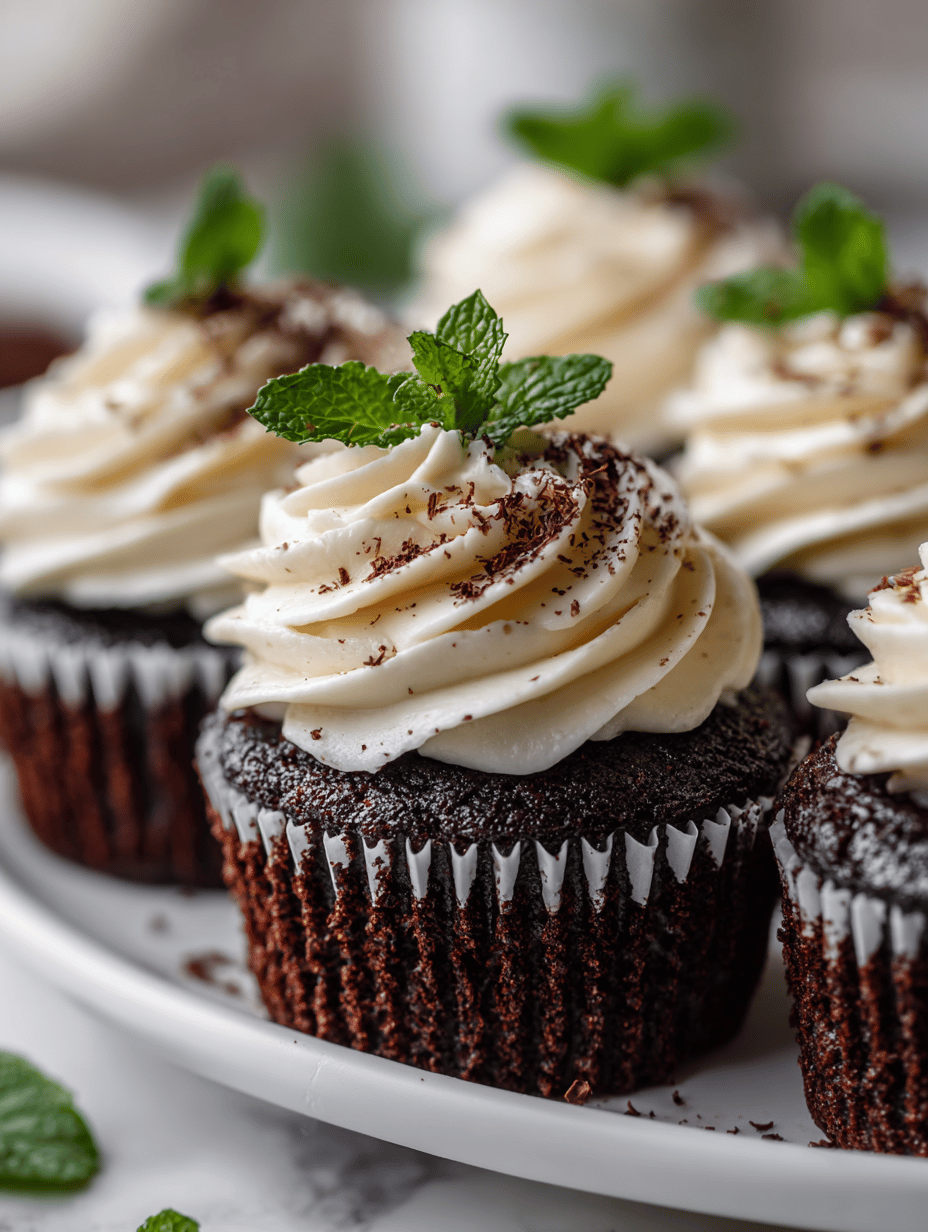
Black velvet cupcakes are the dark horse of the baking world. They’re not just about the color, but that deep cocoa flavor mingled with a subtle tang from buttermilk. It’s a recipe that feels slightly decadent, yet surprisingly simple. These cupcakes remind me of cozy evenings and quiet indulgence, perfect for when you want something that looks as good as it tastes.
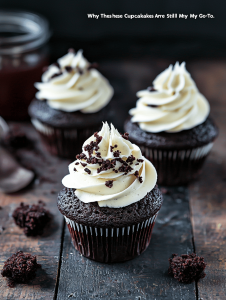
Why These Cupcakes Are Still My Go-To
They’re simple but striking, with a flavor that feels both nostalgic and daring. Baking them always reminds me of cozy nights and quiet mornings. Plus, they’re surprisingly forgiving—perfect for when I need a quick yet memorable treat.
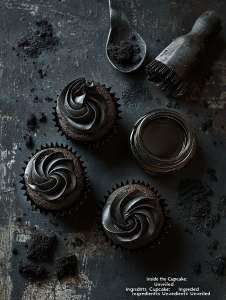
Inside the Cupcake: Ingredients Unveiled
- All-purpose flour: Provides structure. Swap with cake flour for a softer crumb.
- Cocoa powder: The soul of these cupcakes—rich, slightly bitter. Use Dutch-processed for a smoother taste.
- Buttermilk: Adds tang and moistness. Can substitute with yogurt or sour milk.
- Butter: For richness and tender crumb. Use high-quality for best flavor.
- Granulated sugar: Sweetens and tenderizes. Brown sugar will add depth.
- Eggs: Bind everything together. Room temp helps it blend better.
- Vanilla extract: Enhances all flavors. A splash of bourbon can add complexity.
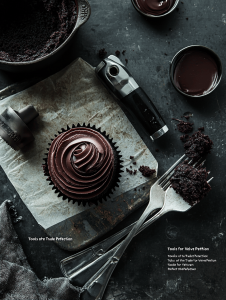
Tools of the Trade for Velvet Perfection
- Mixing bowls: For combining ingredients smoothly.
- Electric hand mixer: To beat butter and sugar until fluffy.
- Measuring cups and spoons: For accurate ingredient proportions.
- Muffin tin and paper liners: Shape and contain the cupcakes.
- Cooling rack: Allow cupcakes to cool evenly without sogginess.
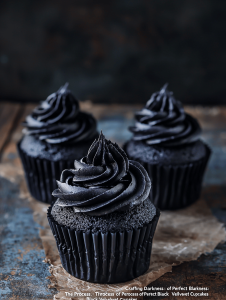
Crafting Darkness: The Process of Perfect Black Velvet Cupcakes
Step 1: Preheat your oven to 175°C (350°F).
Step 2: Line a muffin tin with paper liners.
Step 3: Sift together the flour, cocoa powder, and baking soda.
Step 4: In a separate bowl, beat the butter and sugar until light and fluffy.
Step 5: Add eggs one at a time, mixing well.
Step 6: Stir in buttermilk and vanilla extract.
Step 7: Gradually add the dry ingredients, mixing until just combined.
Step 8: Pour batter into liners, filling each about two-thirds full.
Step 9: Bake for 18-20 minutes, until a toothpick comes out clean.
Step 10: Let cupcakes cool in the tin for 5 minutes, then transfer to a wire rack.
Step 11: Once cool, frost with a rich cream cheese or dark chocolate ganache.
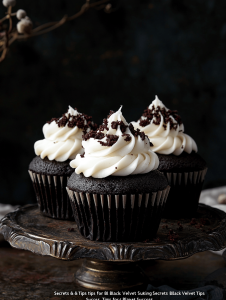
Cooking Secrets & Tips for Black Velvet Success
- Ensure butter isn’t melted; it should be soft but not greasy.
- Don’t overmix the batter—lumps are fine and keep cupcakes tender.
- Bake until a toothpick inserted in the center comes out with moist crumbs.
- Cool completely before frosting to prevent melting or slipping.
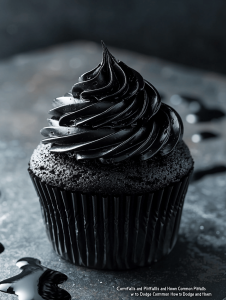
Common Pitfalls and How to Dodge Them
- Eggs added cold cause uneven mixing.? Use room temperature eggs to avoid curdling.
- Overmixing makes cupcakes dense and tough.? Don’t overmix once dry ingredients are in.
- Oven running hot can burn tops.? Check oven temperature with a thermometer.
- Frosting melts off or slides.? Allow cupcakes to cool entirely before frosting.
Black Velvet Cupcakes
Ingredients
Equipment
Method
- Preheat your oven to 175°C (350°F) and line a muffin tin with paper liners.
- Sift together the flour, cocoa powder, and baking soda into a large mixing bowl. This ensures an even distribution and a smooth batter.
- In a separate bowl, beat the softened butter and sugar with an electric mixer on medium speed until the mixture is light, fluffy, and slightly paler in color, about 2-3 minutes. You’ll hear it becoming creamy and see it expand slightly.
- Add the eggs one at a time, beating well after each addition, until the mixture is smooth and glossy. The batter may look a bit curdled, but that’s okay.
- Stir in the vanilla extract, followed by the buttermilk, mixing until just combined. The batter will look slightly thin but creamy.
- Gradually add the sifted dry ingredients to the wet mixture, folding gently with a spatula or mixing on low speed until just combined. Avoid overmixing to keep the cupcakes tender.
- Divide the batter evenly among the paper liners, filling each about two-thirds full. You can use an ice cream scoop for even portions.
- Bake the cupcakes in the preheated oven for 18-20 minutes. Check doneness by inserting a toothpick into the center; it should come out with moist crumbs, not wet batter.
- Remove the cupcakes from the oven and let them cool in the tin for about 5 minutes. Then, transfer them to a wire rack to cool completely. The cupcakes should feel firm but still tender to the touch.
- Once cooled, frost the cupcakes with your favorite rich cream cheese or dark chocolate ganache. This completes their decadent, striking look and taste.

Welcome to Exploreing New Tastes. I’m really glad you found your way here. I’m a food blogger driven by curiosity more than perfection. I think about flavors constantly, how they change across cultures, how a small tweak can completely shift a dish, and how food tells stories long before anyone sits down to eat. This blog is where I document that curiosity, one recipe and one experience at a time.