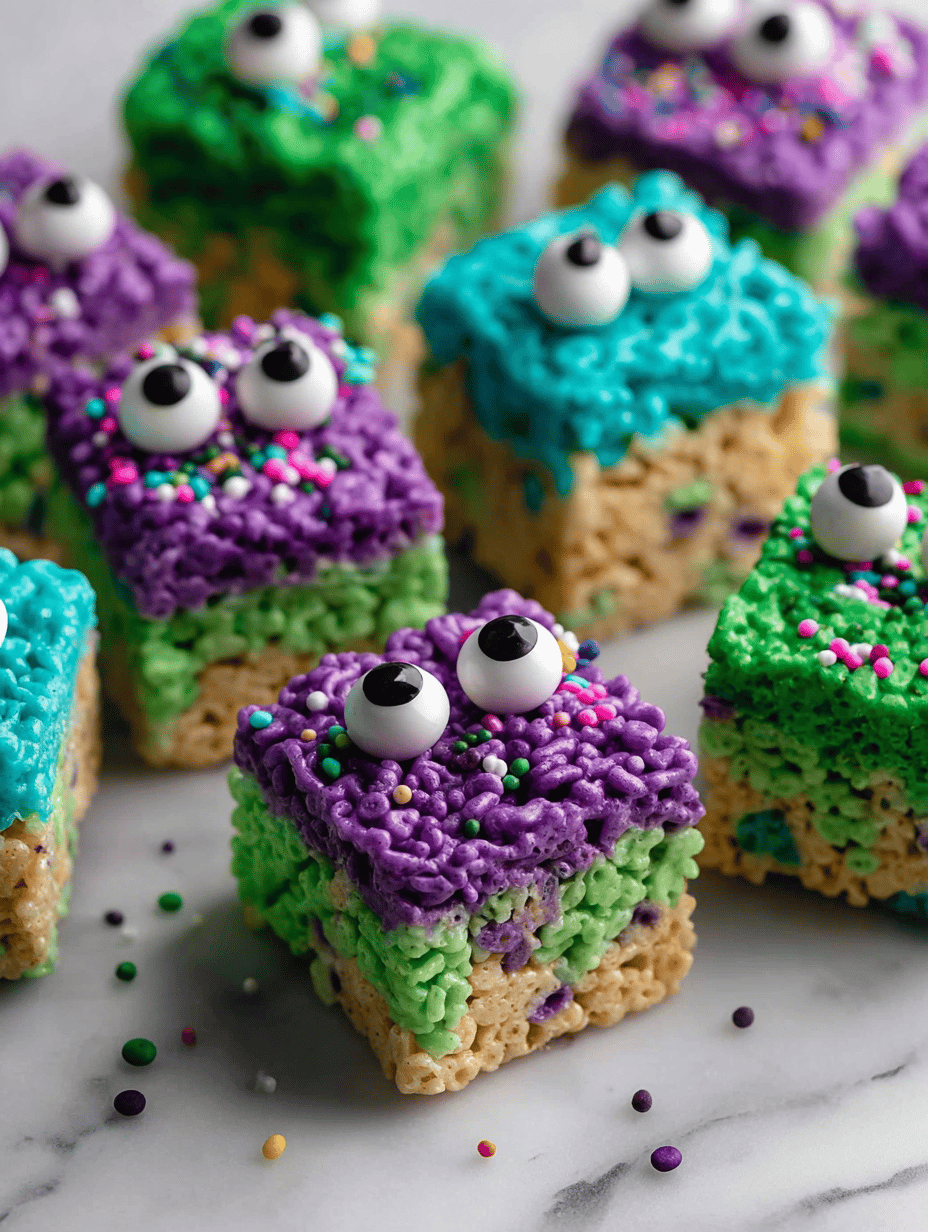
Monster Rice Krispie Treats are my chaos in the kitchen—a wild mash-up of chocolate, marshmallow, and crispy cereal. I love how they turn out imperfectly perfect, with gooey edges and crispy bites that make you want to grab another. It’s a recipe that’s forgiving, fun, and a little bit rebellious against the tidy, predictable treats.
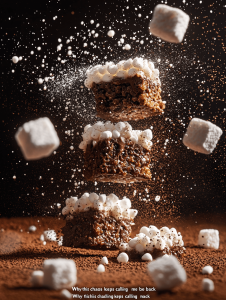
Why this chaos keeps calling me back
They remind me of childhood, the messy kitchen afternoons, and the thrill of making something wildly imperfect. Every batch feels like a small act of rebellion—crunchy, sticky, and just a little wild. Each time I make them, I forget the rules and embrace the chaos.
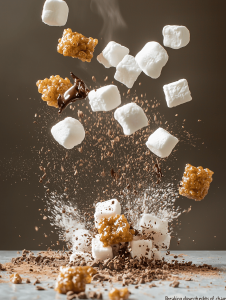
Breaking down the ingredients of chaos
- Crispy rice cereal: The backbone of the treat, brings the crunch, needs to be fresh for maximum crispness.
- Marshmallows: Sweet, gooey magic—use mini for easier melting, but large can work if broken down.
- Butter: Adds richness and helps everything stick together—unsalted is best, but salted works if you like a savory edge.
- Chocolate chips (optional): For a melty, smoky sweetness—toss in before mixing or drizzle on top after.
- Vanilla extract (optional): A splash boosts sweetness and adds depth—skip if you’re feeling minimalist.
- Sprinkles or candies (optional): For visual chaos—sprinkle on before setting or press into the mixture.
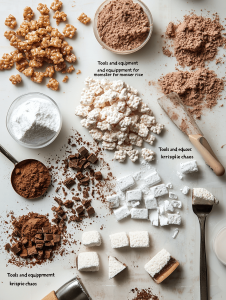
Tools and equipment for monster rice krispie chaos
- Large mixing bowl: To hold and mix all the ingredients comfortably.
- Medium saucepan: For melting butter and marshmallows evenly.
- Spatula: To stir and combine ingredients without breaking the marshmallow goo.
- 9×13 inch pan: To set and cut the treats into squares.
- Parchment paper: To prevent sticking and make cleanup easier.
Step-by-step for the most chaotic, delicious monster rice krispie treats
Step 1: Gather a large mixing bowl and a sturdy spatula. You’ll also need a microwave-safe bowl for melting butter and marshmallows.
Step 2: Melt 1/2 cup butter in a large pot over medium heat, about 5 minutes, until it smells nutty and golden.
Step 3: Add 4 cups mini marshmallows and stir continuously until they’re gooey, shiny, and just melted—about 3 minutes.
Step 4: Pour in 6 cups crispy rice cereal. Mix quickly and thoroughly, making sure every puff is coated in marshmallow goo.
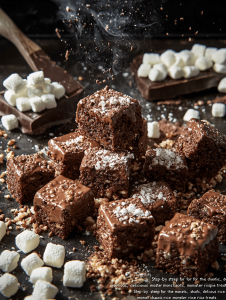
Cooking checkpoints and tips to keep your monster treats perfect
- The marshmallow mixture should be shiny and gooey, not browned or lumpy.
- The cereal needs to be coated evenly but not soggy—stop mixing once everything looks well combined.
- The treats should set with a firm, but not hard, texture—give them 30 minutes at room temperature.
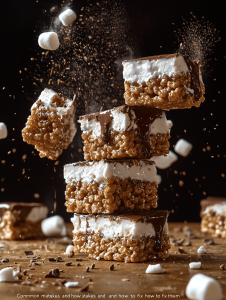
Common mistakes and how to fix them
- Using too little marshmallow or overcooking the mixture.? Add more marshmallows if the mixture is too dry and crumbly.
- Burning the marshmallow mixture.? Reduce heat or add a splash of water if marshmallows scorch.
- Treats falling apart when cutting.? Press treats firmly into pan to prevent crumbling.
- Cutting while still warm and sticky.? Let treats cool completely before cutting.
Monster Rice Krispie Treats
Ingredients
Equipment
Method
- Line your 9x13 inch pan with parchment paper to prevent sticking and set aside.
- Melt the butter in a medium saucepan over medium heat, stirring occasionally until it smells nutty and turns a light golden color, about 3-5 minutes.
- Add the mini marshmallows to the melted butter and stir continuously, watching as they melt into a shiny, gooey mixture. Keep stirring until completely melted and smooth, about 3 minutes.
- Remove the saucepan from heat and stir in the vanilla extract, if using. This enhances the sweetness and adds a subtle depth of flavor.
- Pour the crispy rice cereal into the marshmallow mixture. Quickly fold everything together with a spatula until all the cereal is evenly coated and shiny with marshmallow goo.
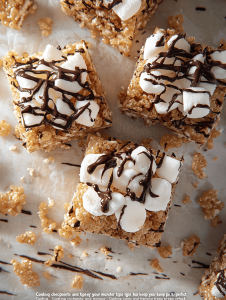
- If desired, sprinkle in chocolate chips or candies and gently fold them into the mixture, distributing evenly for bursts of sweetness and colorful chaos.
- Transfer the mixture into the prepared pan and press down firmly with a spatula or your fingers to create an even, compact layer. Don’t press too hard—just enough to set everything in place.
- Let the treats cool at room temperature for about 30 minutes, allowing them to set and become firm but still chewy.
- Once cooled, lift the treats out of the pan using the parchment paper and cut into squares or irregular shapes for that wild, rebellious look.
- Enjoy your imperfect, chaotic Monster Rice Krispie Treats — crunchy, sticky, and full of fun!
Notes

Welcome to Exploreing New Tastes. I’m really glad you found your way here. I’m a food blogger driven by curiosity more than perfection. I think about flavors constantly, how they change across cultures, how a small tweak can completely shift a dish, and how food tells stories long before anyone sits down to eat. This blog is where I document that curiosity, one recipe and one experience at a time.