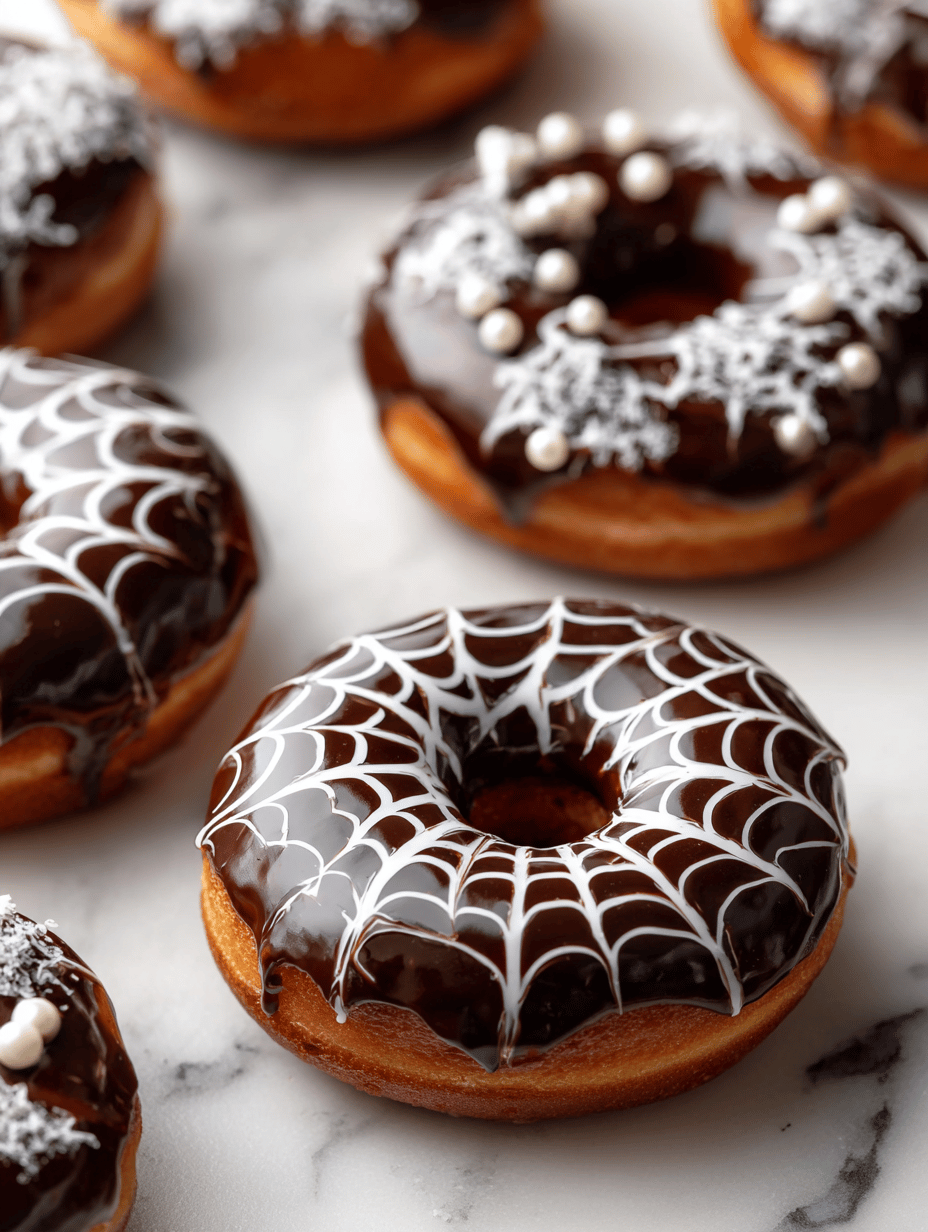
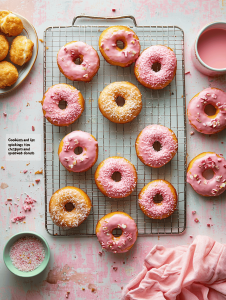
I’ve always loved the idea of combining art and food in the kitchen, and these spiderweb donuts are my favorite example. They’re not just sweet treats, but little canvases for spooky designs that make the whole process more playful. What I love most is that even if your web isn’t perfect, it looks charming in its own quirky way. They’re a reminder that baking is about fun, not perfection.
Why I keep making these spiderweb donuts
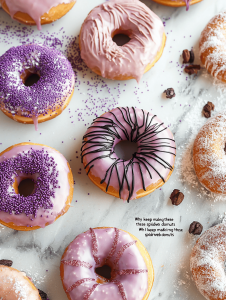
They’re a reminder to enjoy the process, not just the outcome. The web design makes every batch feel unique, and the smell of fried dough with sweet chocolate is irresistible. Plus, they’re a hit at parties, sparking smiles and oohs every time. The messier, the better—because it’s all part of the fun.
Breaking down the ingredients
- Flour: Provides structure, should be all-purpose for the best elasticity.
- Sugar: Sweetens and helps with browning; use fine granulated for even mixing.
- Yeast: Leavens the dough; active dry yeast needs warm water to activate.
- Milk: Adds richness and moisture; substitute with almond milk if dairy-free.
- Butter: For flavor and tenderness; use unsalted for control over salt.
- Chocolate and caramel: For web decoration; choose quality for better drizzles, or melt down your favorites.
- Oil: Deep frying requires neutral oil like canola or vegetable, no extra flavor needed.
Tools and equipment for perfect spiderweb donuts
- Dough cutter or glass: To cut out perfect circles for the donuts.
- Deep fryer or heavy-bottomed pot: For maintaining steady, even oil heat during frying.
- Slotted spoon: To lift donuts out of hot oil safely.
- Piping bag with fine tip: To drizzle the web pattern with melted chocolate and caramel.
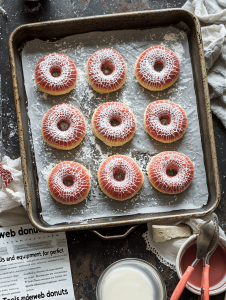
- Cooling rack: To drain excess oil and cool the donuts properly.
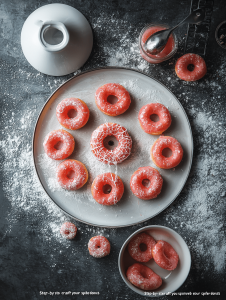
Step-by-step to craft your spiderweb donuts
Step 1: Mix flour, sugar, yeast, and salt in a large bowl. Add warm milk and melted butter.
Step 2: Knead until dough is smooth and elastic, about 8-10 minutes.
Step 3: Let dough rise in a warm place for 1 hour, or until doubled in size.
Step 4: Roll out dough to about 1 cm thick on a floured surface.
Step 5: Cut into circles with a donut cutter or a glass. Let rest for 10 minutes.
Step 6: Heat oil in a deep fryer or large pot to 180°C (356°F).
Step 7: Fry donuts in batches until golden brown, about 1-2 minutes per side.
Step 8: Remove with slotted spoon, drain on paper towels.
Step 9: While still warm, dip half of each donut into melted chocolate, then drizzle with caramel in a web pattern.
Step 10: Let chocolate set for 10 minutes before serving.
Cooking checkpoints and tips for spiderweb donuts
- Dough should be soft but not sticky, test by if it pulls away cleanly from the bowl.
- Oil temperature must stay steady at 180°C (356°F) for even frying.
- Web drizzle should be quick; slow drizzling causes uneven web lines.
- Don’t over-fry; donuts turn dark quickly, risking a bitter taste.
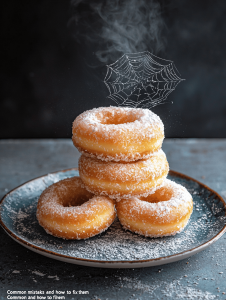
Common mistakes and how to fix them
- Oil too hot or too cold.? Use a candy thermometer to keep oil at 180°C (356°F).
- Dough is sticky or tearing.? Knead dough until smooth and elastic.
- Web pattern smudges or sinks.? Allow donuts to rest for 10 minutes before frying.
- Web lines are uneven or smudged.? Dip web drizzle quickly in a steady motion.
Spiderweb Donuts
Ingredients
Equipment
Method
- Combine flour, sugar, yeast, and salt in a large bowl, mixing well to distribute evenly.
- Add warm milk and melted butter to the dry mixture, stirring until a shaggy dough forms.
- Knead the dough on a floured surface for about 8-10 minutes until it's smooth, elastic, and slightly tacky.

- Place the dough in a greased bowl, cover with a damp cloth, and let it rise in a warm spot for 1 hour until doubled in size.
- Gently punch down the risen dough, then roll it out to about 1 cm thickness on a floured surface.
- Use a dough cutter or glass to cut out round donut shapes, then let them rest on a floured tray for 10 minutes to relax the dough.
- Heat oil in a deep fryer or heavy-bottomed pot to 180°C (356°F).
- Carefully fry the donuts in batches for 1-2 minutes per side until golden brown and crispy, listening for a gentle bubbling sound.
- Use a slotted spoon to remove the donuts, then drain on paper towels to remove excess oil.
- While the donuts are still warm, dip half of each donut into melted chocolate, then quickly drizzle with melted caramel to create web patterns using a piping bag.
- Allow the decorated donuts to sit for about 10 minutes so the web pattern sets before serving.
Notes

Welcome to Exploreing New Tastes. I’m really glad you found your way here. I’m a food blogger driven by curiosity more than perfection. I think about flavors constantly, how they change across cultures, how a small tweak can completely shift a dish, and how food tells stories long before anyone sits down to eat. This blog is where I document that curiosity, one recipe and one experience at a time.