Halloween is the perfect excuse to mess around with flavors and looks. These brownies started as a simple chocolate fix, but I can’t help turning them into something a bit more eerie every October. They’re my way of mixing nostalgia with a splash of chaos—because baking should be fun, right? And nothing says fun like a batch of fudgy, spooky brownies.
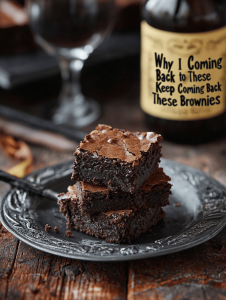
Why I Keep Coming Back to These Brownies
They’re a familiar canvas that I can endlessly customize for each Halloween. The scent of melting chocolate, the crackle as they bake, it’s a simple joy. Plus, they’re forgiving enough to play with and still turn out fudgy and dark every time.
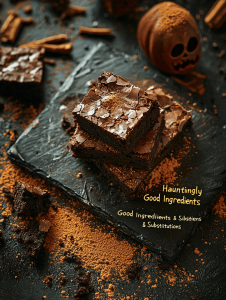
Hauntingly Good Ingredients & Substitutions
- Dark chocolate: Gives that rich, deep flavor, with a slight bitterness. Swap for milk chocolate if you want sweeter brownies.
- Butter: Adds richness and moisture. Can substitute with coconut oil for a dairy-free version.
- Eggs: Bind everything together and give structure. Use flax eggs for vegan baking.
- Sugar: Sweetens and helps create that fudgy texture. Honey or maple syrup can be used, but reduce liquids slightly.
- All-purpose flour: Provides structure. Swap for almond flour for a nuttier taste, but reduce the flour a bit.
- Salt: Enhances chocolate flavor; a pinch is enough.
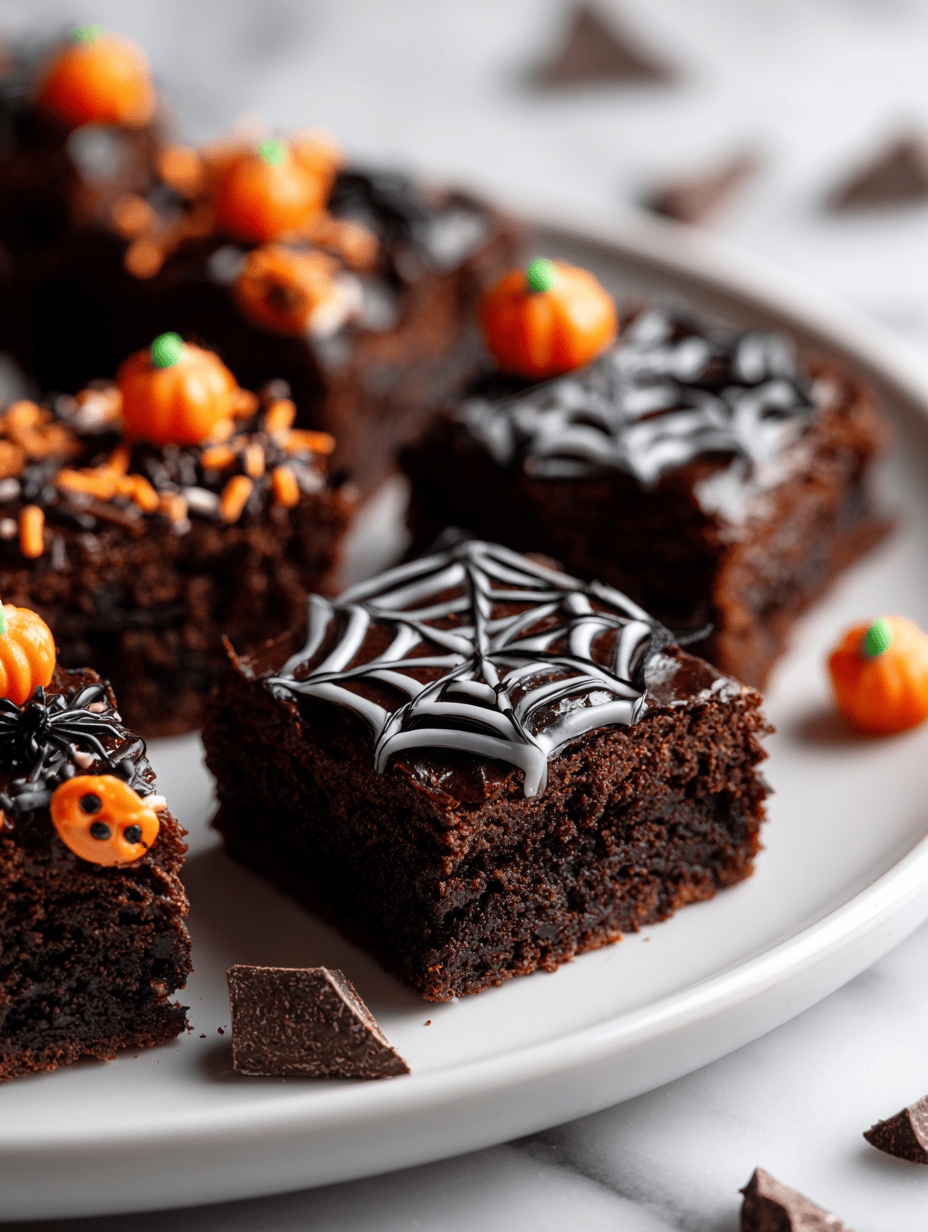
- Food coloring or edible decorations (optional): Add for spooky effects—think green, purple, or black sprays.
Tools of the Spooky Trade
- 8-inch square baking pan: To hold and shape the brownies evenly.
- Parchment paper: Prevents sticking and makes removal easier.
- Heatproof bowl: For melting chocolate and butter.
- Whisk: To beat eggs and mix ingredients smoothly.
- Rubber spatula: Folds ingredients gently without knocking out air.
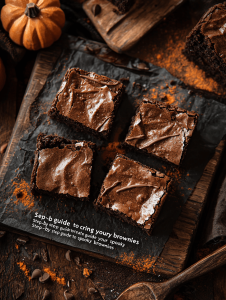
Step-by-step guide to creating your spooky brownies
Step 1: Preheat your oven to 175°C (350°F).
Step 2: Line a 20x20cm (8×8 inch) baking pan with parchment paper.
Step 3: Melt 200g (7 oz) of dark chocolate and 115g (1/2 cup) butter together. Stir until smooth.
Step 4: In a separate bowl, whisk 2 eggs with 150g (3/4 cup) sugar until fluffy.
Step 5: Fold the melted chocolate mixture into the eggs and sugar, then add 125g (1 cup) of all-purpose flour and a pinch of salt.
Step 6: Pour the batter into the prepared pan, smoothing the top.
Step 7: Bake for 25-30 minutes, until a toothpick inserted in the center comes out with moist crumbs.
Step 8: Let the brownies cool in the pan for 15 minutes, then transfer to a wire rack to cool completely.
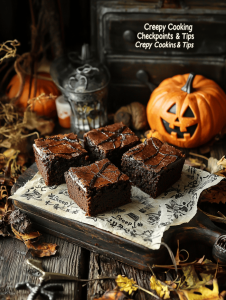
Creepy Cooking Checkpoints & Tips
- The chocolate should be glossy and smooth after melting.
- Brownie batter is thick but foldable; don’t overmix to keep them fudgy.
- The top should crack slightly when baked, signaling readiness.
- Brownies should be moist inside but not undercooked; test with a toothpick.
Spooky Mishaps & How to Fix Them
- Overmixing the batter.? MIXED TOO MUCH: Batter became tough. → Fold ingredients just until combined.
- Overbaking.? BARELY BAKED: Brownies are dry. → Check with a toothpick at 25 min.
- Adding flour directly without sifting.? FLOURY TASTE: Batter had a raw flour flavor. → Sift flour before adding.
- Using excess butter or no draining.? SOGGY BOTTOM: Brownies are greasy. → Drain melted chocolate well.
Spooky Halloween Brownies
Ingredients
Equipment
Method
- Preheat your oven to 175°C (350°F) and line your 8-inch square baking pan with parchment paper, leaving some overhang for easy removal.
- Place the dark chocolate and butter in a heatproof bowl and melt them together over a double boiler or in short bursts in the microwave, stirring until smooth and glossy. The aroma of melting chocolate should fill the air, and the mixture will be silky to the touch.
- In a separate bowl, whisk the eggs and sugar together with a hand whisk or electric mixer until the mixture is fluffy, pale, and slightly thickened. You should see ribbons forming when you lift the whisk.
- Pour the melted chocolate mixture into the eggs and sugar, gently folding them together with a rubber spatula until well combined and smooth. The batter should be shiny and thick.
- Sift the all-purpose flour and salt into the chocolate mixture, then fold gently until just incorporated. Avoid overmixing to keep the brownies fudgy and tender.

- Pour the batter into your prepared baking pan and smooth the top with the spatula, spreading it evenly to the edges. The batter will be thick and rich, with a dark, luscious appearance.
- Bake the brownies for 25 to 30 minutes, until the top is slightly cracked and a toothpick inserted into the center comes out with moist crumbs. The smell of baking chocolate will be irresistible.
- Remove the pan from the oven and let the brownies cool in the pan for about 15 minutes. They will set further as they cool, developing a dense, fudgy texture.
- Transfer the brownies to a wire rack using the parchment overhang, and allow them to cool completely. Once cooled, cut into squares and decorate with spooky colors or edible decorations if desired.
- Enjoy your hauntingly delicious brownies, perfect for Halloween festivities or a dark chocolate treat!

Welcome to Exploreing New Tastes. I’m really glad you found your way here. I’m a food blogger driven by curiosity more than perfection. I think about flavors constantly, how they change across cultures, how a small tweak can completely shift a dish, and how food tells stories long before anyone sits down to eat. This blog is where I document that curiosity, one recipe and one experience at a time.