Skip to content
Exploreing new tastes
Main Course
Desserts
Appetizers
Beverages
Side Dishes
Soups
Salads
Pinterest
Search
Toggle Menu
Main Course
Main Course
Vegan Stuffed Peppers Recipe
Main Course
Sweet Potato Carrot Soup Recipe
Main Course
Easy Vegan Potato Soup Recipe
Main Course
Vegan Lentil Soup Recipe
Main Course
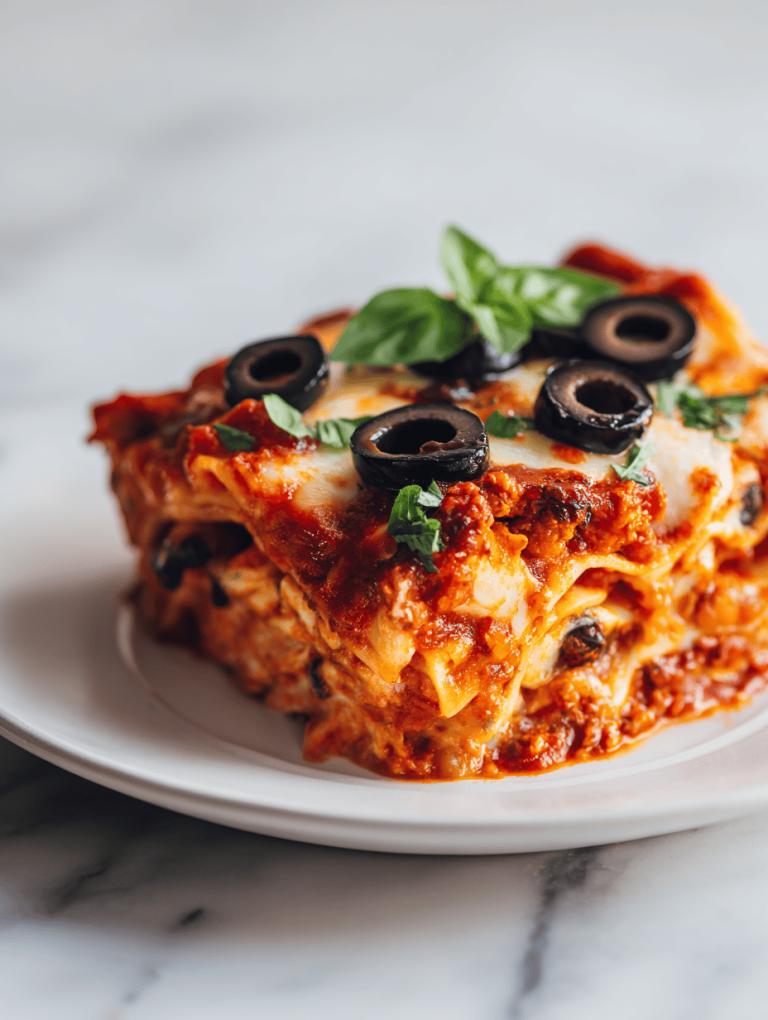
Spooky Goodness: Halloween Lasagna with a Ghoulish Twist
Main Course
Spooky Goodness: Halloween Lasagna with a Ghoulish Twist
Main Course
Spooky Goodness: Halloween Lasagna with a Ghoulish Twist
Main Course
Spooky Goodness: Halloween Lasagna with a Ghoulish Twist
Main Course
Pumpkin Alfredo Pasta: A Cozy Twist for Autumn Nights
Main Course
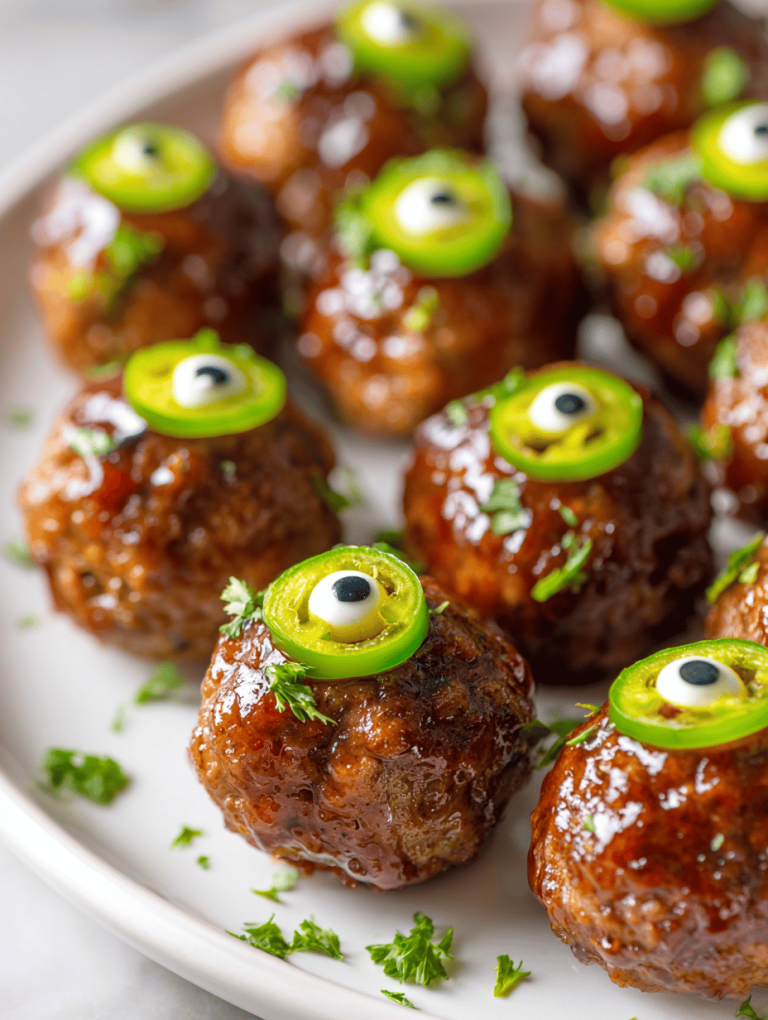
Eyeball Meatballs: An Unusual Take on Comfort Food
Page navigation
Previous Page
Previous
1
2
3
4
…
9
Next Page
Next
Scroll to top
Scroll to top
Main Course
Desserts
Appetizers
Beverages
Side Dishes
Soups
Salads
Toggle Menu Close
Search for:
Search